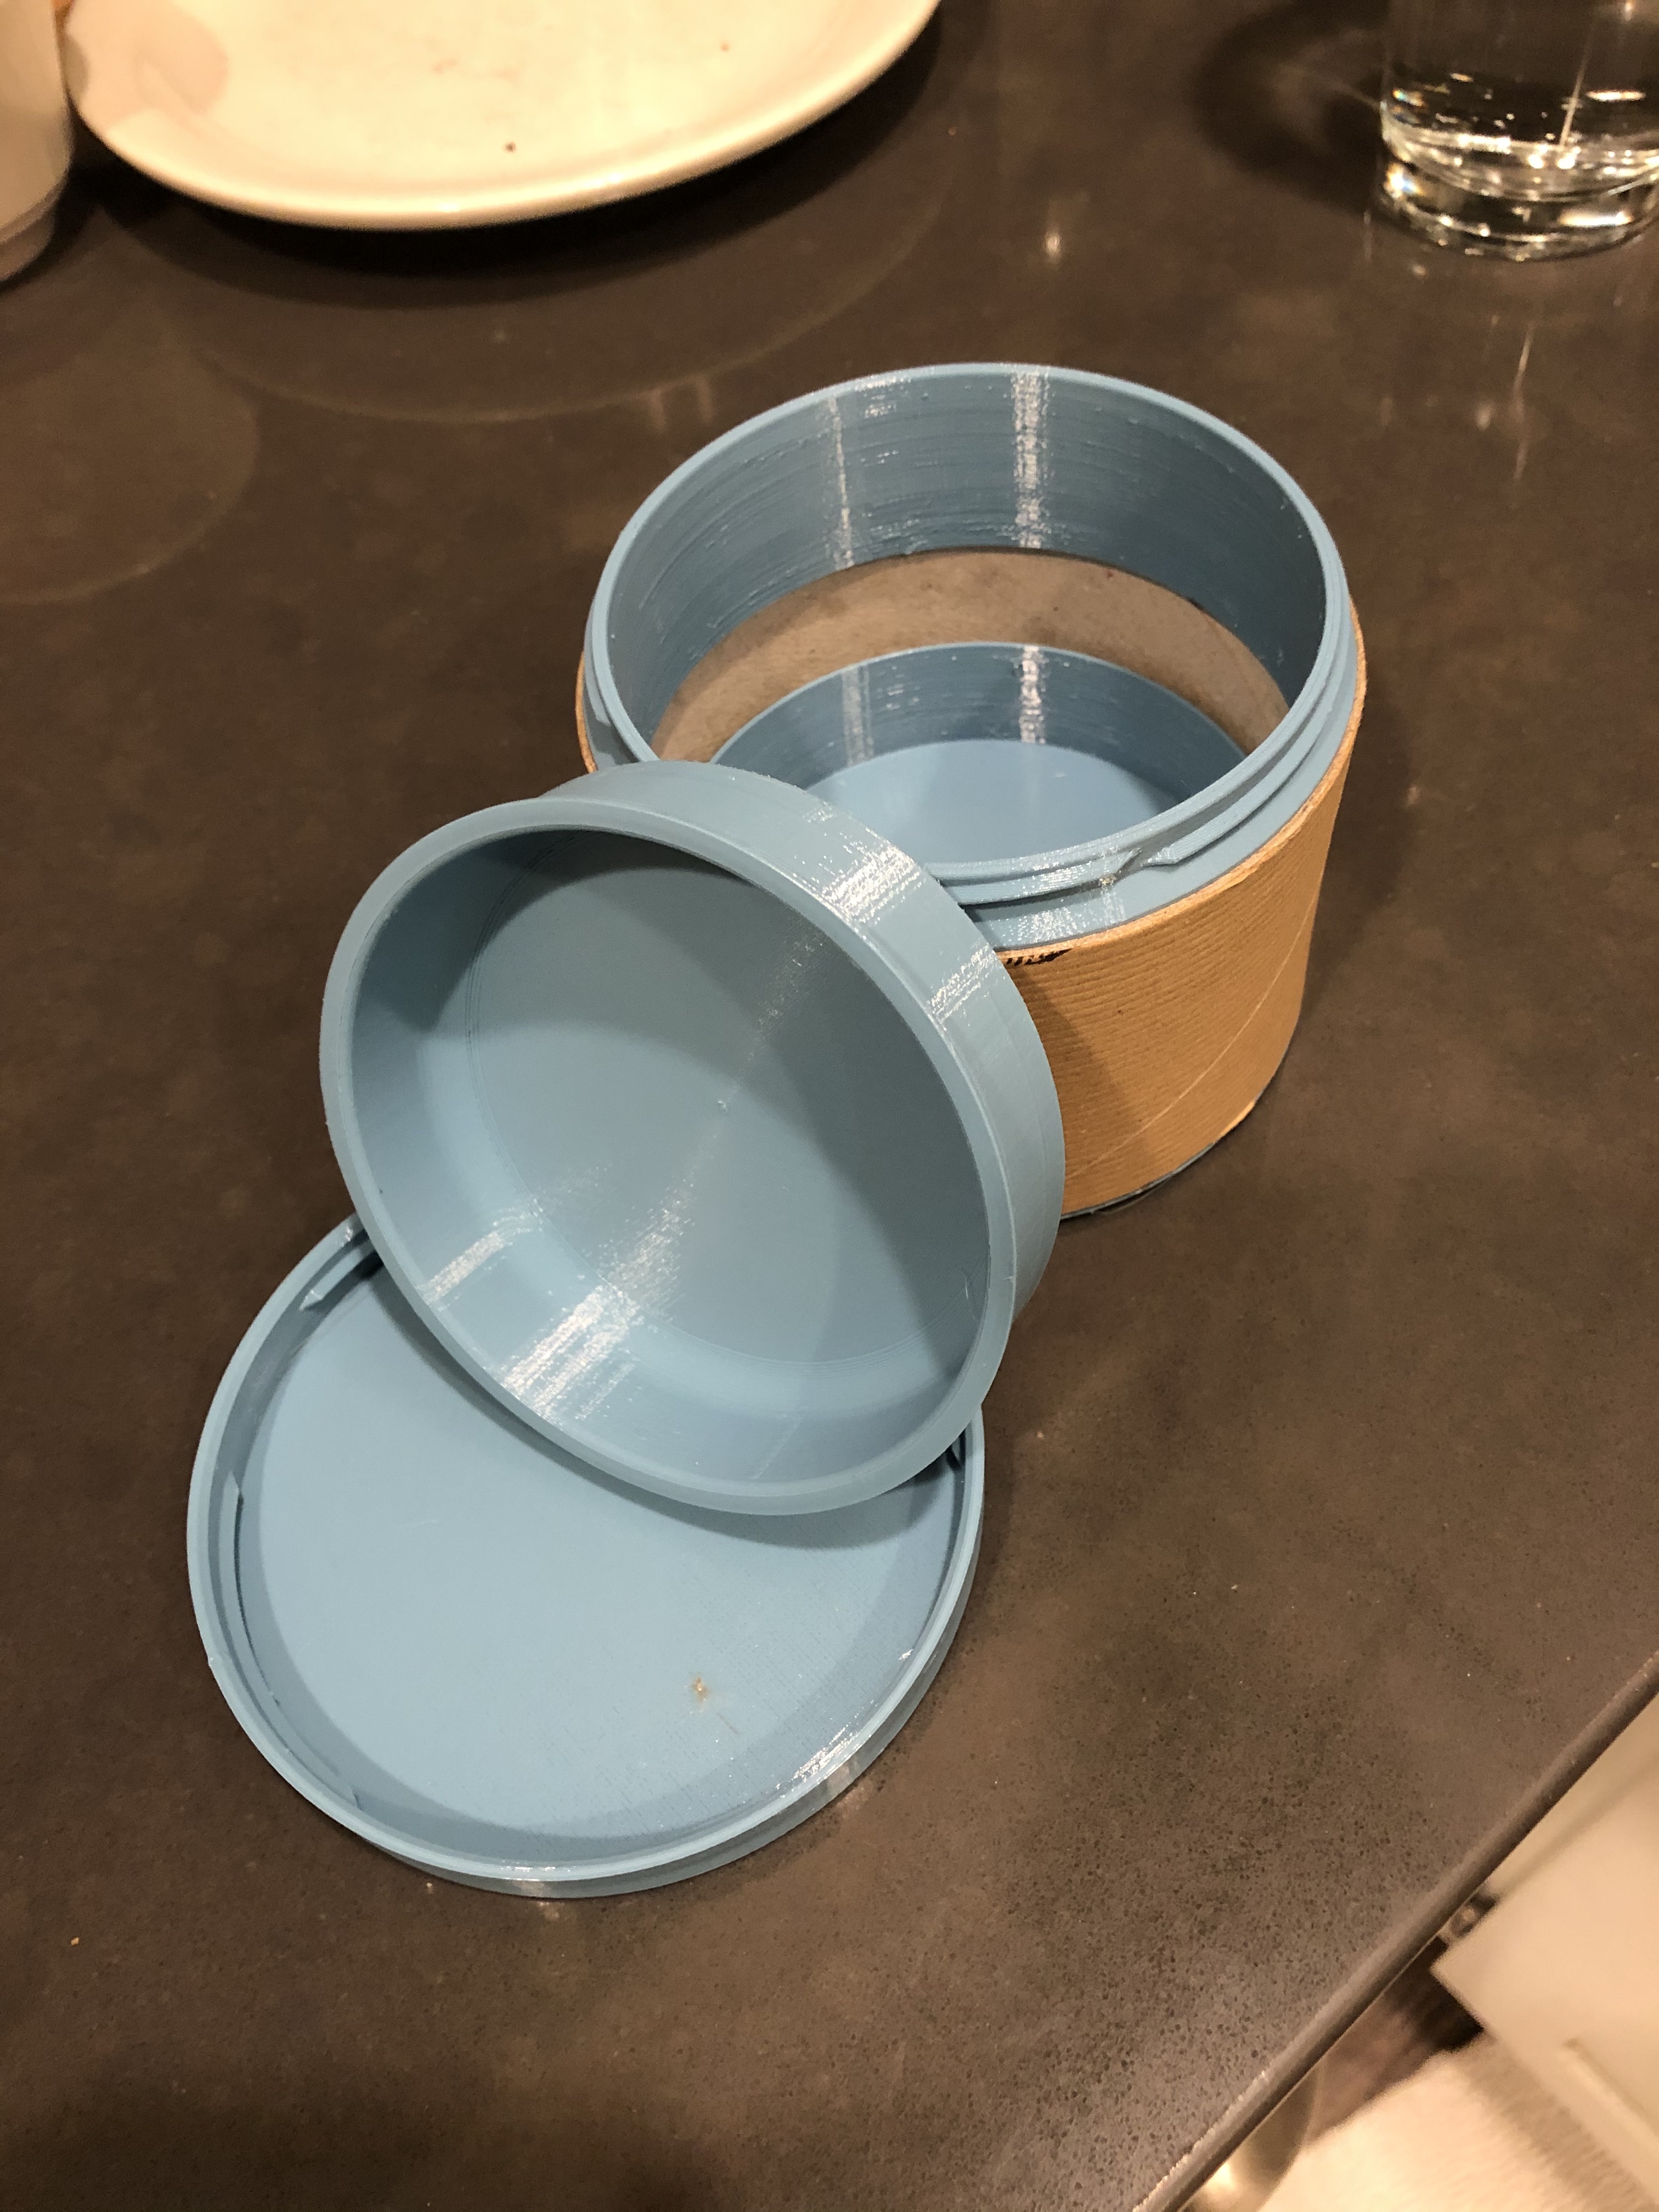
Screw Top Container Insert ** Added files for Shorter Print Time
prusaprinters
<p>From a different print I realized the center cup could be used as an insert into these little containers. Designing a new model of the original specs I changed the lip height along with a few minor changes.</p> <p>**I cut the the base and top by 10mm saving an hour each in print time and of course some material as well.</p> <p>*** Also added a file to join to spools together for a deeper container.</p> <h3>Print instructions</h3><p>Follow the print instructions from the original Screw-Top Container, I typically print the Container Bottom and Top at 101% which makes sure they are snug within the tube. The "ext-screw-top-lid" will import oversized for the print bed. Both the f3d file and stl into Slicer I reduced the image to a size of 10.1, matching the 101% print for the top piece and threads.</p> <p>The lid was extended to compensate for the 1.6mm lip of the insert, unfortunately the Original lid will not work with the insert.</p> <p>To adjust the depth of the insert I have included the f3d file, adjustments made on the 1st Feature Extrude "Set Depth" will allow your own height selection. The stl file is set to 25mm with -3.8mm in the last two Extruded cuts and a shell of 1.8mm, giving a depth of approximately 19.4mm. To accurately set a depth subtract the two amounts (3.8mm & 1.8mm = 5.6mm) from the first Extrude feature which creates the new body.</p>
With this file you will be able to print Screw Top Container Insert ** Added files for Shorter Print Time with your 3D printer. Click on the button and save the file on your computer to work, edit or customize your design. You can also find more 3D designs for printers on Screw Top Container Insert ** Added files for Shorter Print Time.
