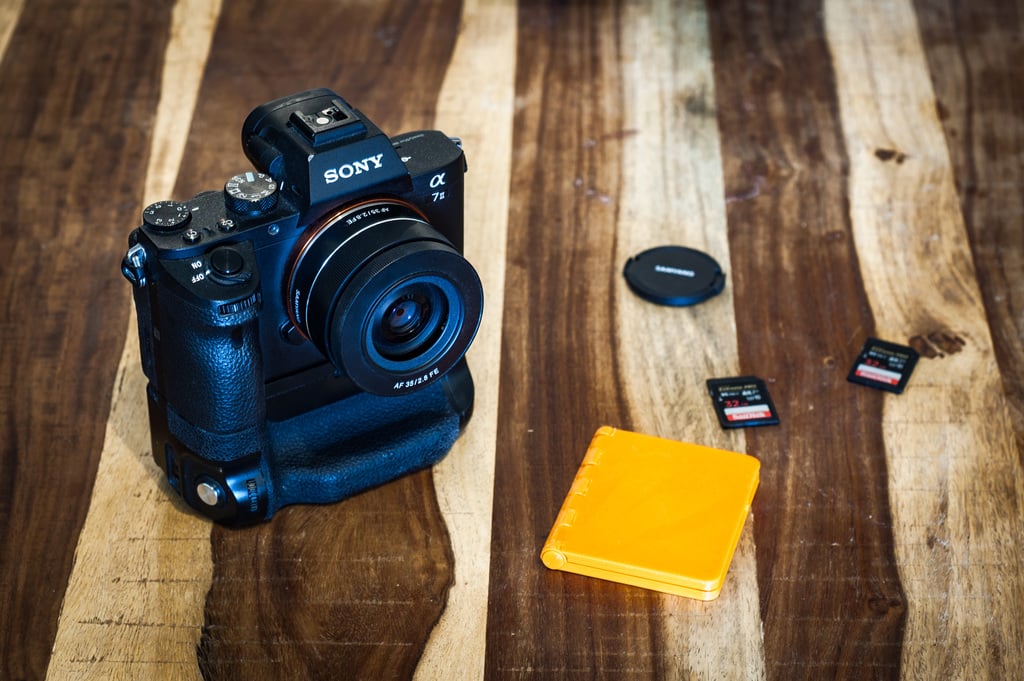
SD Card Wallet

SD Card Wallet

thingiverse

### **_NOUVELLE VERSION EMBOITABLE_** Parfois, les choses les plus simples sont les plus efficaces, c'est pourquoi je rajoute cette version simplifiée ou les deux pièces s’emboîtent simplement, plus simple à mettre en place et plus esthétique à mon goût. ### **_NEW VERSION NO FILAMENT NEEDED FOR ASSEMBLY_** Sometimes, simple things are more efficient, that's why I uploaded this simplified version where the two parts simply fits together. Much easier to assemble and to my taste, more beautiful. ================== # BAD ENGLISH BELOW ================== ### Intro Mon tout premier modèle Thingiverse ! J'ai été étonné de voir qu'il y avait peu voire pas d'étuis pour carte SD style porte-feuille alors j'ai décidé de m'y essayer et comme je suis plutôt content du résultat, je le partage avec la communauté. ### Slicer & Impression Rien de particulier, vous connaissez mieux votre imprimante que moi, la tolérance pour ce modèle est de 0.25mm environ, ajustez vos réglages en fonction. Je l'ai imprimé sans supports mais vous pourriez peut-être en mettre pour que l'arrondi de la jonction soit un peu plus propre. J'ai imprimé le mien à 0.2mm de hauteur de couche sur une Tevo Tornado à 215°C, cela me semble suffisant. Selon votre imprimante et/ou filament vous devrez peut-être ajuster l'échelle. J'ai un filament qui a imprimé parfaitement à 100% et un autre ou il aurait fallu imprimer à 101 ou 102%. Pareil pour les capuchons, l'échelle optimale pour mon cas a été 115%. J'ai imprimé les capuchons indépendamment avec 3 tailles différentes, 105,110 et 115% ça ne prends que 5 minutes. ### Après l'impression Il vous faudra détacher les "ressorts", une simple pression devrait suffire, mais soyez doux ou vous risquez de les casser. Un bout de filament brut est à enfiler pour joindre les deux parties. Taillé en pointe, le filament rentre beaucoup mieux. Coupez l'excédent de fil et rajouter les petits capuchons. Un petit coup de ponçage sur la charnière est peut-être nécessaire pour que les pièces s'assemblent à la perfection. ### Une fois assemblé Si la charnière est un peu dure, quelques va-et-vients devraient suffire à les fluidifier. ### Bonus Vous pouvez voir, à l'intérieur, quatre petits trous dans les coins. Ils sont la pour accueillir des aimants néodyme de taille 2mm x 1mm (2mm de diamètre et 1mm d'épaisseur). Je n'ai pas pu tester avec les aimants car j'ai commandé les miens et ils ne sont toujours pas arrivés mais j'éditerai tout ça des que j'ai pu tester. N'hésitez pas à me faire part de vos retours et suggestions. Merci. ================== # BAD ENGLISH HERE ================== ### Intro My very first model on Thingiverse ! I was surprised to see there is no wallet-style SD Card holder so I decided to give a try and as I'm pretty happy with the result, I decided to share it with the community. ### Slicing & Printing Nothing special, you know better your printer than I do ! Tolerance is about 0.25mm so adjust you setting if needed. I've printed it without supports but you could add ones so the rounded part will print smoother. It has been printed with 0.2mm layer height on a Tevo Tornado at 215°C, it seems good enough to me. Depending on your printer and / or filament you may need to adjust the scale. I have a filament that printed perfectly at 100% scale and another one that I should have printed at 101 or 102%. Same for the caps, the optimal scale in my case was 115%. I printed the caps independently with 3 different sizes, 105, 110 and 115% it only takes 5 minutes. ### After Printing You will have to snap the springy thing off, a little pressure should be enough but be careful, it could break ! Insert a piece of filament into the tiny hole to join the two parts together. Cut out the filament flush and insert the tiny caps. Sharpening the filament helps to run smoothly trough the hole. You may sand the hinge a little for a perfect fit ! ### Once Assembled If the hinge is too tight, open and close it a few times to smooth it out. ### Bonus As you can see, there are four little holes at the corners on the inside. That is to fit some neodyme magnets 2mm x 1mm (2mm of diameter and 1mm of thickness). I couldn't try this feature cause my magnets are still on the way. Feel free to send me your feedback and suggestions. Thanks. P.S. : Don't blame me for my english, Corsican guy ! :)

Download Model from thingiverse

With this file you will be able to print SD Card Wallet with your 3D printer. Click on the button and save the file on your computer to work, edit or customize your design. You can also find more 3D designs for printers on SD Card Wallet.