SD Rolodex
thingiverse
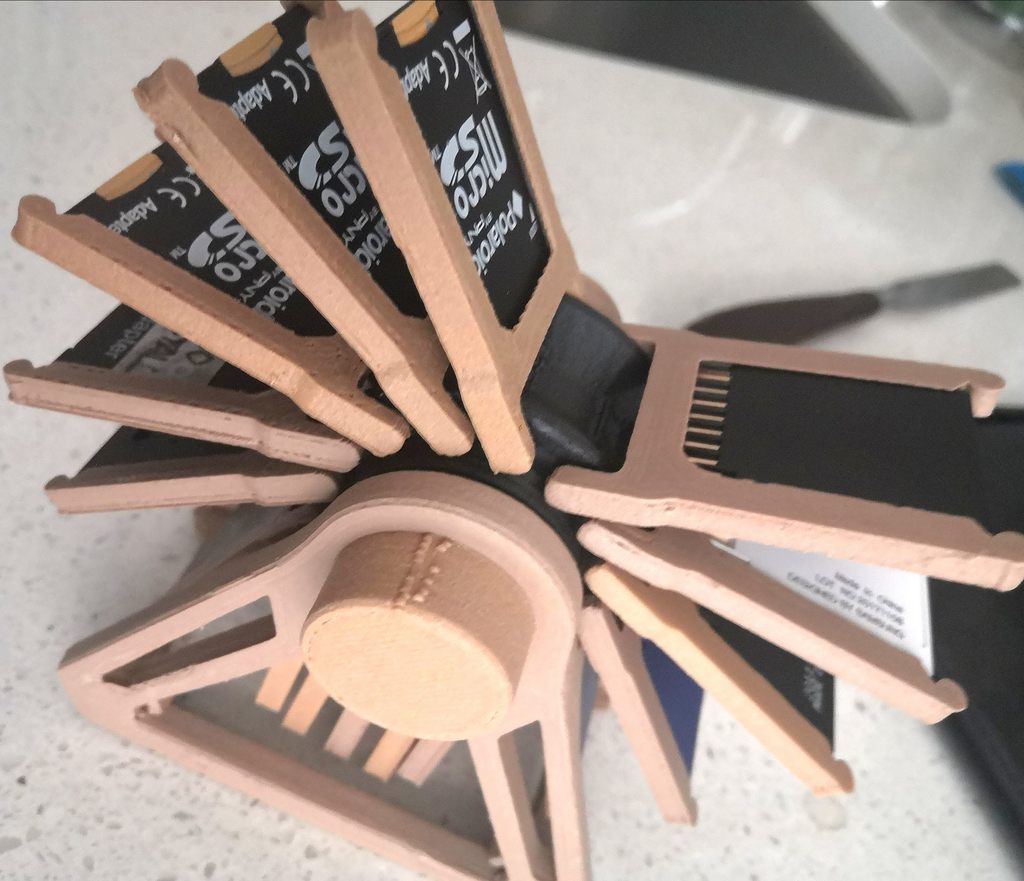
The SD Rolodex was inspired by a old rolodex design that I ran across. Originally, I was just going to modify the other design, but I chose to create something completely new, designing it so that it could be easily printed and assembled without a need for screws or tools. After a few days and many test prints, I made what you see here. Label your SDs, but use the numbers on the dex wheel to quickly navigate from position 1 to 16. The wheel is labeled by 2s. Since alphabets vary by language and there are less trays than most alphabets, digits seemed to make the most sense. The dex is comprised of 7 parts, a few of which must be printed several times to supply all necessary parts to fully assemble the SD Rolodex. Print parts --------------------------- 16 trays 1 tray wheel 2 wheel collars 1 wheel pivot 2 wheel caps 2 sides 2 cross bars Assembly: ------------- 1. Thread the 'wheelPivot' through the wheel. 2. Thread one collar to each side of the threaded wheel. 3. Thread a side support onto the pivot on the outside of each collar. 4. Screw a cap onto each side of the pivot until semi-tight. Be sure to make sure that the base of each side sits flat to a level surface, while doing so or adjust as needed. 5. Before caps are too tight, snap a crossbar between the inside base corners of the sides. 6. Tighten the pivot caps. 7. Snap all 16 trays onto the indentations in the outside of the wheel. Slide and snap SD cards into the tray to populate the dex. The rolodex should be fully assembles.
With this file you will be able to print SD Rolodex with your 3D printer. Click on the button and save the file on your computer to work, edit or customize your design. You can also find more 3D designs for printers on SD Rolodex.