Sea Sled: Outrigger/Catamaran Hull Sections
thingiverse
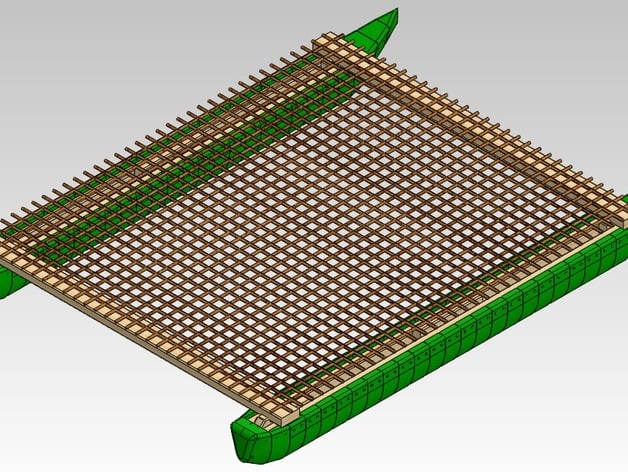
Design 3D-printable ama/outrigger segments for a catamaran or outrigger canoe that can be used as hulls. Provide STL and STEP files for original blanks and 3x2, 4x2 models for easy customization. Include a SolidWorks eDrawings file to visualize the assembly. Use actual rope lashings to secure beams together, and adjust designs for various beam lengths. The pre-holed versions of these models are compatible with 6ft-long 2x3 or 2x4 wood. Consider using high-grade stainless steel, admiralty brass, or aluminum fasteners at sea. Add holes for dowels if desired. A hole across each bow can be used for rigging or carrying. A pivot-and-pin adjustable rudder is another option. Bonus points for creating a sail, solar panel, battery, Arduino GPS Shield, sensors and actuators, and autonomously navigating the globe.
With this file you will be able to print Sea Sled: Outrigger/Catamaran Hull Sections with your 3D printer. Click on the button and save the file on your computer to work, edit or customize your design. You can also find more 3D designs for printers on Sea Sled: Outrigger/Catamaran Hull Sections.