Seagate NAS Extention
thingiverse
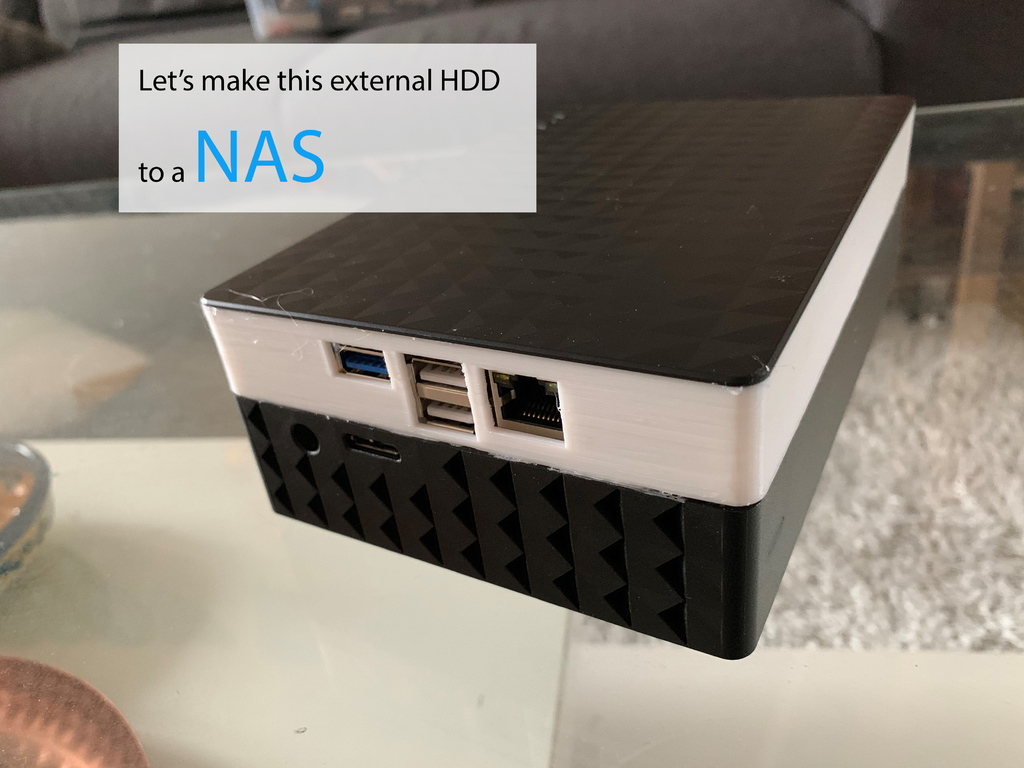
This model extends your external seagate harddisk with extra physical space to contain a Rock64 single computer board. Picture of the original hard disk is attached so you can compare if it fits your HDD. For my Rock64 i'm using Open Media Vault (OMV) which is a operating system design to work as a NAS for boards like the Raspberry Pi, Rock64, etc. I can recommend this guide for installing Open Media Vault and introduce you to the features of OMV. Techno Dad does a very good job at explaining you step by step how to build your first NAS. https://www.youtube.com/watch?v=vY5PSAhjD2s&t=795s For this build you will further need: - Seagate External HDD - Step Down Power Supply Buck Module (to convert 12v to 5v) - A single board computer (Raspberry Pi, Rock64) Tools: - Multi Meter - Solder iron Steps: 1. Connect your HDD to a power source 2. Use your multi meter to find the negative and positive 12v connection near the DC Barel (The plug you connect your HDD to power). 3. Solder a cable from the +/-12V to the respective voltage Input connections on your Step Down converter 4. Solder respective cables from the voltage Output of the step down converter to the single board computer. 5. Load an operating system to your single board computer. 6. Glue the 3D printed extension frame to your Seagate HDD (hot glue is also ok) 7. Glue the top_lock_adj.stl to each of the corners on the back side of the lid. 8. Mount the single board computer to the back side of the lid. 9. Close the enclosure by putting the lid on top of the extension frame. 7. Enjoy your customized NAS
With this file you will be able to print Seagate NAS Extention with your 3D printer. Click on the button and save the file on your computer to work, edit or customize your design. You can also find more 3D designs for printers on Seagate NAS Extention.