Seed Sprouter Tray
thingiverse
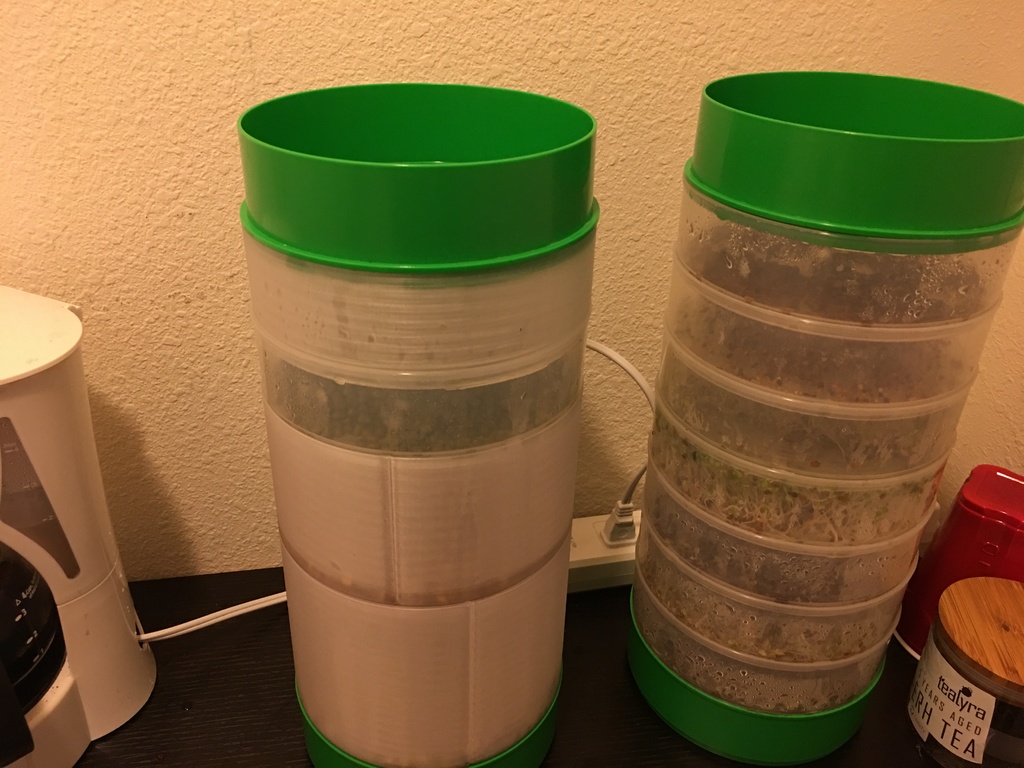
These are sprout trays and a tray extension for the 4-Tray Seed Sprouter by VICTORIO as seen on Amazon. This was printed in PETG plastic with a 1mm nozzle, a 0.5mm layer height and two perimeter walls. The resulting wall thickness is about 2.4mm thick, making it very strong. Five bottom layers were added to make it 2.5mm thick and no top layers with zero percent infill to make it hollow. If you want an extension instead of the tray, simply print with no bottom layers like the top and you will have an extension. If you under-extrude your tray prints by just a little bit around five percent or so, they will seep very slowly which is perfect for this application. You don't want them to be completely water-tight. If you find they don't leak enough, you can drill 1mm holes in the bottom to help the seeping. If you have never printed with PETG before, it's a thicker and more viscous plastic so reduce your print speed by about twenty-five percent unless you have a BondTech geared extruder that has tons of torque. The temperature should be between two thirty-five and two fifty degrees Celsius. If you go above two fifty degrees Celsius, the plastic may start to outgas and form tiny bubbles in your print. The printbed should be at seventy to seventy-five degrees Celsius. If you are printing an extension, add a four to six millimeter brim to help it stick to the printbed. I also use Aqua Net Extra Super Hold Professional Hair Spray Unscented 11 oz to help it stick to the bed. I apply a super thin layer and wipe it very quickly with a paper towel before it dries to spread it out over the whole printbed glass. If you can see the hairspray, you've put too much on. It won't affect your print, it just wastes the hairspray. One super thin invisible layer should last about ten prints before you have to respray if you let the glass cool off to forty degrees Celsius before trying to remove your print. Otherwise, a lot of the hairspray will come off on your print and you risk taking flakes out of your glass.
With this file you will be able to print Seed Sprouter Tray with your 3D printer. Click on the button and save the file on your computer to work, edit or customize your design. You can also find more 3D designs for printers on Seed Sprouter Tray.