Seed Starter System - Reusable & Print-in-Place
prusaprinters
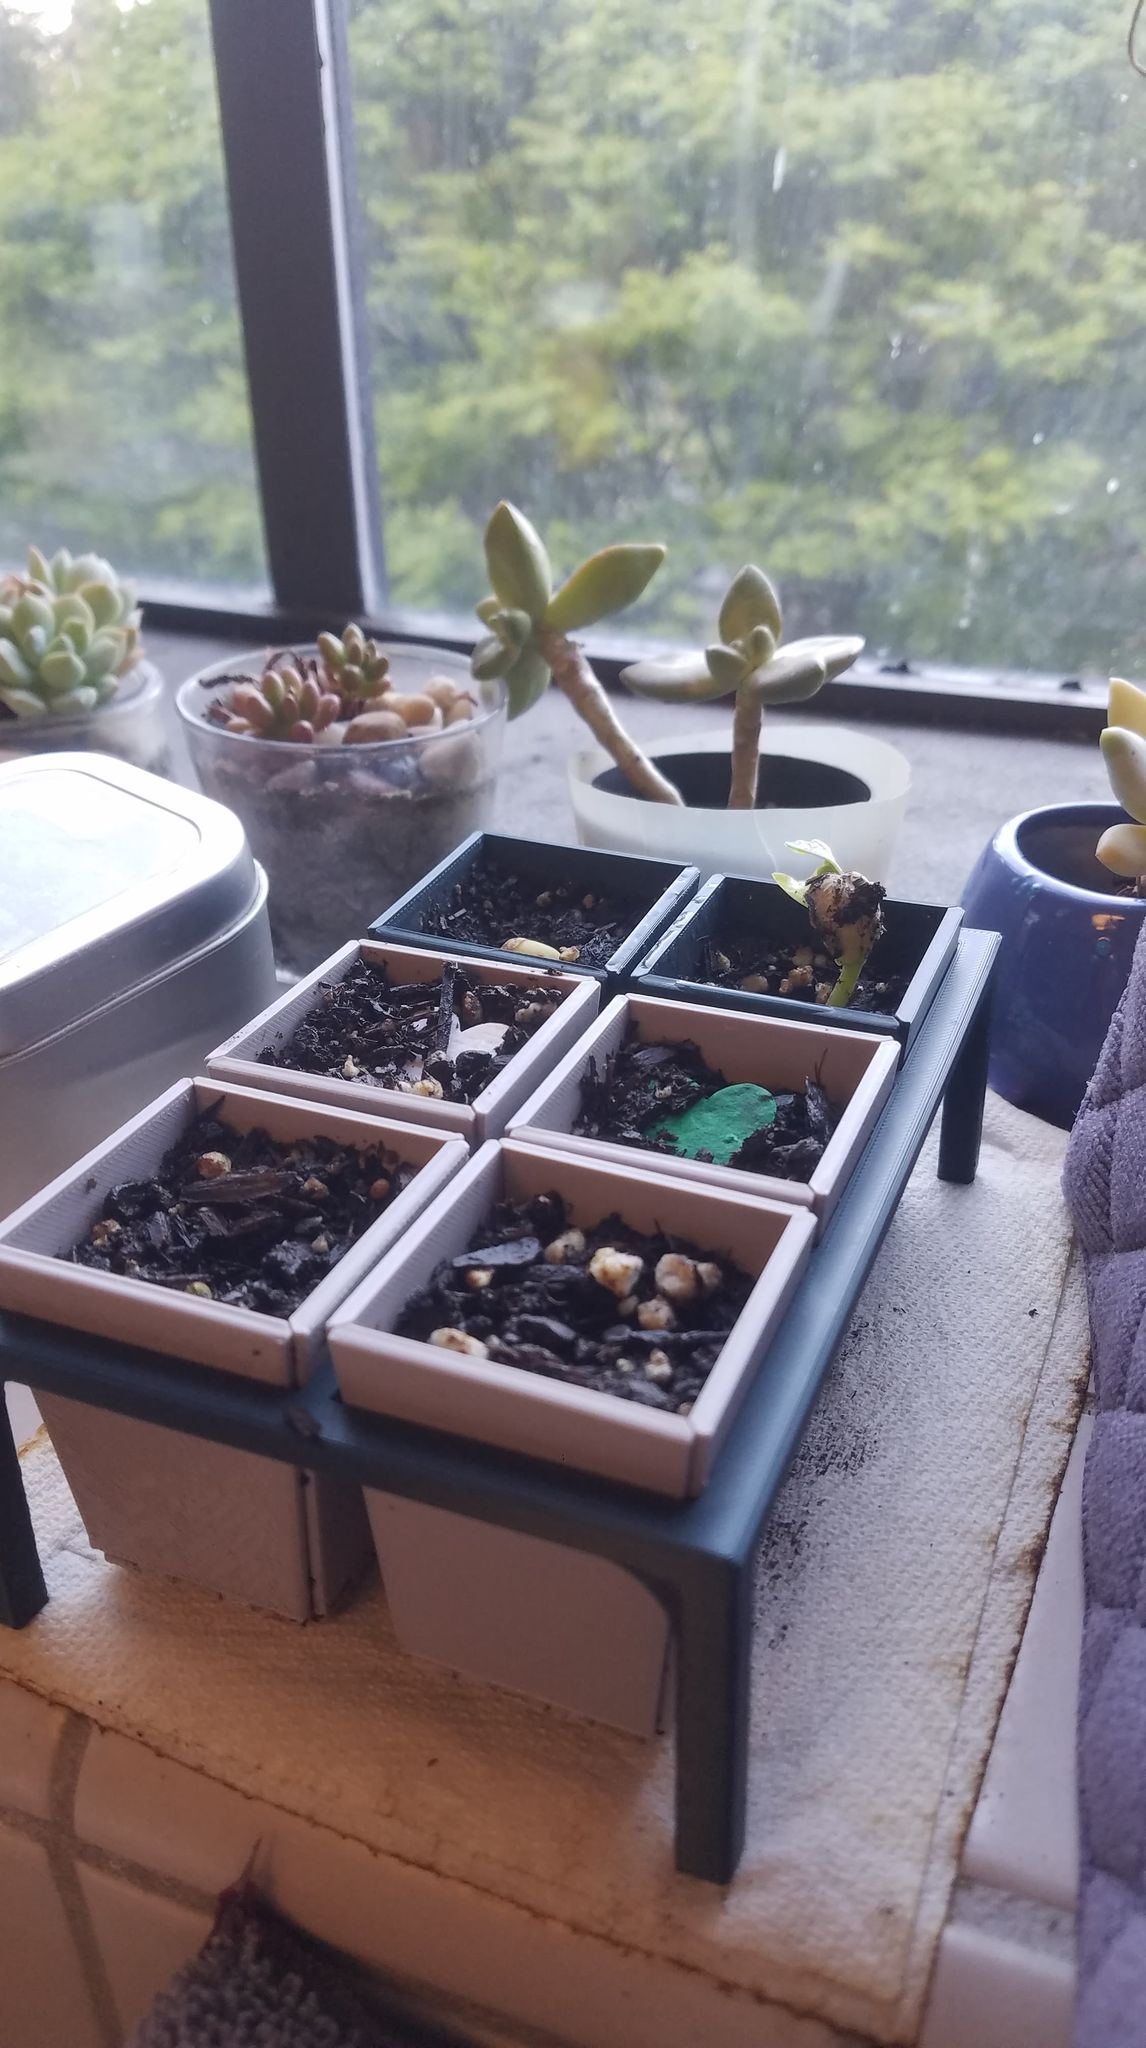
<p>I made this model because my partner loves gardening, and hates single use plastics. It drove me crazy that one of the easiest ways to start seeds is in those awful thin plastic cups that pretty much get destroyed after one use. This starter is easily printable, and because the sides are hinged, when a seedling is ready to be replanted, you simply take off the rubber band or whatever you've used to hold the sides together, and fold the sides down. Then the rootball should be completely free to be replanted, without having to mess with squeezing the container or trying to shake the seedling out, potentially harming it. </p><p>This seed starter is print in place. I printed it at 0.15 mm layer heights, with a 0.4 mm nozzle on my Prusa Mini. It does not require any supports and shouldn't have any issues with layer adhesion. Once it is printed, gently fold the side panels upwards and the chamfers along the edges should help you get the sides lined up. I repurposed a rubber band in order to hold it together, but really anything can be used to wrap around the sides and hold it closed. </p><p>I plan on making a tray for these, so if you want to print out a bunch of them they can all be placed in a tray that holds them closed and keeps them organized. </p><p> </p><p>Happy Printing!!!</p><p> </p><p>EDIT: Okay, I went ahead and made a tray for them, it holds 6 of the seed starters and you should not need to use anything besides the tray to keep them closed. I've added it as a file on this print. </p><p> </p><p>UPDATE: Okay, my plants are finally starting to sprout, so here's an update picture of the seed starters at work. Also, I ran out of PLA, so I printed out the grey starters in the picture in PETG. PETG actually seems to have worked better with the hinges, but if your printer strings or blobs too much with PETG then you may have issues with the hinges binding. </p><p>I've also added a modular tray so that you can upscale this project as much as you would like. It will hold 9 starters per tray and can attach to another tray on all sides. It's small enough to print on a prusa mini. I have not tested the design out, currently printing it on my mini and I'll update it if something doesn't work. </p><p>UPDATE 2: Alright, my test for the modular tray went well, and they can indeed be connected together. Please let me know how it goes if anybody tries printing these and let me know if there's any modification that would be helpful! I'm always more than happy to modify the models and post new revisions if anybody runs into snags or has an idea of ways to improve the design. </p><p>UPDATE 3: Finally finished filling out a set of 3 modular trays, and added a picture of them here. I love my mini but the little thing can only print so fast so it took me about a 3 or 4 days. The trays work great and I highly recommend using them if you want to upscale the number of seed starters. </p><p>Make sure to print the modular trays with some sort of elephant foot compensation, or to deburr the bottom edge after printing. I had turned off my elephant foot compensation and had a hard time getting the trays to slot together until I remembered and cleaned up that bottom edge. Once the burr was gone, they went together great, nice and snug but not too tight to easily get together. And when printed with elephant foot compensation set properly, they went together without any issues. </p><p>UPDATE 4: As suggested by Sean B., I've added a second version of the modular tray, with a lead in feature added to the edge of the interlock features. This should make it easier to assemble and make it not necessary to have your elephant foot compensation as dialed in. </p><p>UPDATE 5: Alright, today I finished one full round of seedlings, and planted around 30 black eyed pea sprouts. After planting all these, and seeing the state of all the starters and the hole maker after planting all these, I would say this project has been a success!</p><p>I made a hole maker tool to easily make holes that are perfectly shaped for the seed starters. The hole it makes should match the shape and size of the root ball/dirt that comes out of the seed starters. I printed it with the flat of the handle on the build tray, and I used a 0.15mm layer height with no supports, and bridging perimeters turned on. To use it, I pressed it into the ground, sometimes driving it in a little harder by smacking it into the ground, and then after removing it I'd smack the side of it to loosen the dirt inside so it can release and fall out. </p><p>The only thing left that I'd change is that PLA does not stand up to being wet and in the sun while under a load, so it would be a better idea to print the modular trays out of PETG or a different, more durable, material. They are all still perfectly functional, but they did warp a bit and are no longer flat on the top. That being said, none of the starters themselves warped, and they all still fit perfectly into the trays. </p><p>I've added pictures of the planting process if you're interested in a closer look at how it all worked out. I really hope that these can be used to help make planting easier and especially to help reduce waste plastic in gardening, and maybe even larger scale farming if the idea get's passed on, so please spread this idea around, I would love to see it put to good use!</p>
With this file you will be able to print Seed Starter System - Reusable & Print-in-Place with your 3D printer. Click on the button and save the file on your computer to work, edit or customize your design. You can also find more 3D designs for printers on Seed Starter System - Reusable & Print-in-Place.