SemiAuto Filament Winder.
thingiverse
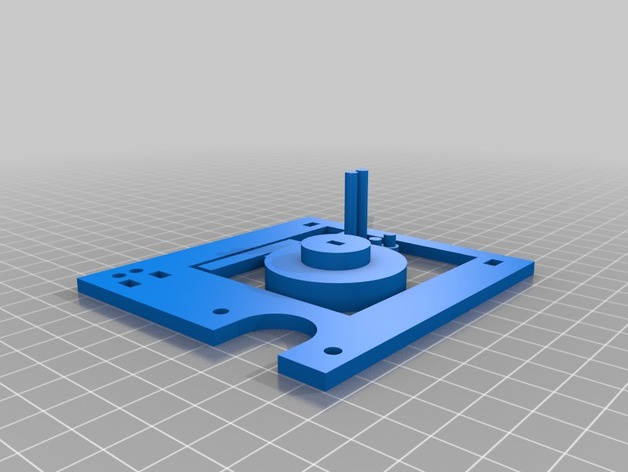
---UPDATE---MARCH-31-2017--- Changed the description to describe use of two 28BYJ-48 steppers geared for ~2048 steps per revolution. Turned out the extra torque is often needed when winding, had to help it by hand to often with two of the 513 step per revolution versions, and even worse with only one of the 513 step per revolution version. --END-UPDATE-- ---UPDATE---March-15-2017--- I updated the C source for the Raspberry Pi controller program, now easier to use. --END-UPDATE-- This is a simple winder powered by a Raspberry Pi, requires also 2 - 28BYJ-48 5 volt stepper motors and a ULN2803 darlington array. This uses keyboard input to adjust the speed of the stepper motor attached to a Raspberry Pi computer. Once you get the speed as close as possible to the rate of extrusion on your filament making extruder you will not have to adjust it as often. This is a lot better than hand winding, and a lot more reliable than getting laser diodes and sensors to line up perfect every time (like the auto-winders do). Also this takes very little electricity. As filament extrusion speed is not a constant, and will very in unpredictable ways you will still need to make an adjustment to the speed every now and again. Even though just finished on the day of this posting, I have already put this to use. Print Settings Printer: HomeMade Custom. Rafts: No Supports: No Infill: Between 15% and 25%, honeycomb. Notes: Print hot and slow for best results. Small enough parts for almost all printers, no more than 90x110 mm. Can be printed even on something as small as a ToyRep. Use PLA for best results, with a print temperature of between 210 and 220 degrees (depending on printer). Post-Printing Some quick instructions for assembly: -The spool ends go into the ends of the spool, tight fit as they turn the spool. -The square rods go inbetween the two sides. Print the main part twice to get all parts. -The stepper adaptor goes into the holes by the spool slot in the sides, you need two, one for each side. -The stepper motor is held to the adaptor by the small round pegs, again two, one for each side. -Filimant feeds between the two cross braces infront of the spool. The adapter is needed, so you can use this as a spool holder after you have made your filament. The spools hold 0.25KG of filament, you can print multiple spools, remember each should have its own spool ends so that they are not removed and continue to fit tight. Hook the stepper motor up to the ULN2803, with the ULN2803's four used inputs going to pins 33,35,37,39 of the Raspberry Pi IO header, these are GPIO pins 6,13,19,26. BE CAREFUL. It is possible to cause damage to your Raspberry Pi, Stepper, person, electrical, etc, so take care not to cause such damage. Extra Requirements You will need a Raspberry Pi running Raspbian Linux with WiringPi installed (installed by default in the desktop distro). The controller source code is included. You will also need two 5 volt 28BYJ-48 stepper motors, preferably with the 64 to 1 gearbox, these are fairly common, and I purchase mine for $1.75 US each from Amozon (they are 2 for $3.50 US). You will want to use only the 64 to one geared, as the lowered geared (like the 16 to one) do not provide quite enough torque, learned the hard way. To power the motors a ULN2803, ULN2003, or other driver that can directly handle unipolar steppers is required. Make sure it is just a driver as the control pulses come from the Raspberry Pi GPIO. Wire the two motors on the same outputs, having the order of the control wires reversed on one relative to the other so it runs the opisite direction in lock step with the first (though the power wire still goes to the 5V supply).
With this file you will be able to print SemiAuto Filament Winder. with your 3D printer. Click on the button and save the file on your computer to work, edit or customize your design. You can also find more 3D designs for printers on SemiAuto Filament Winder..