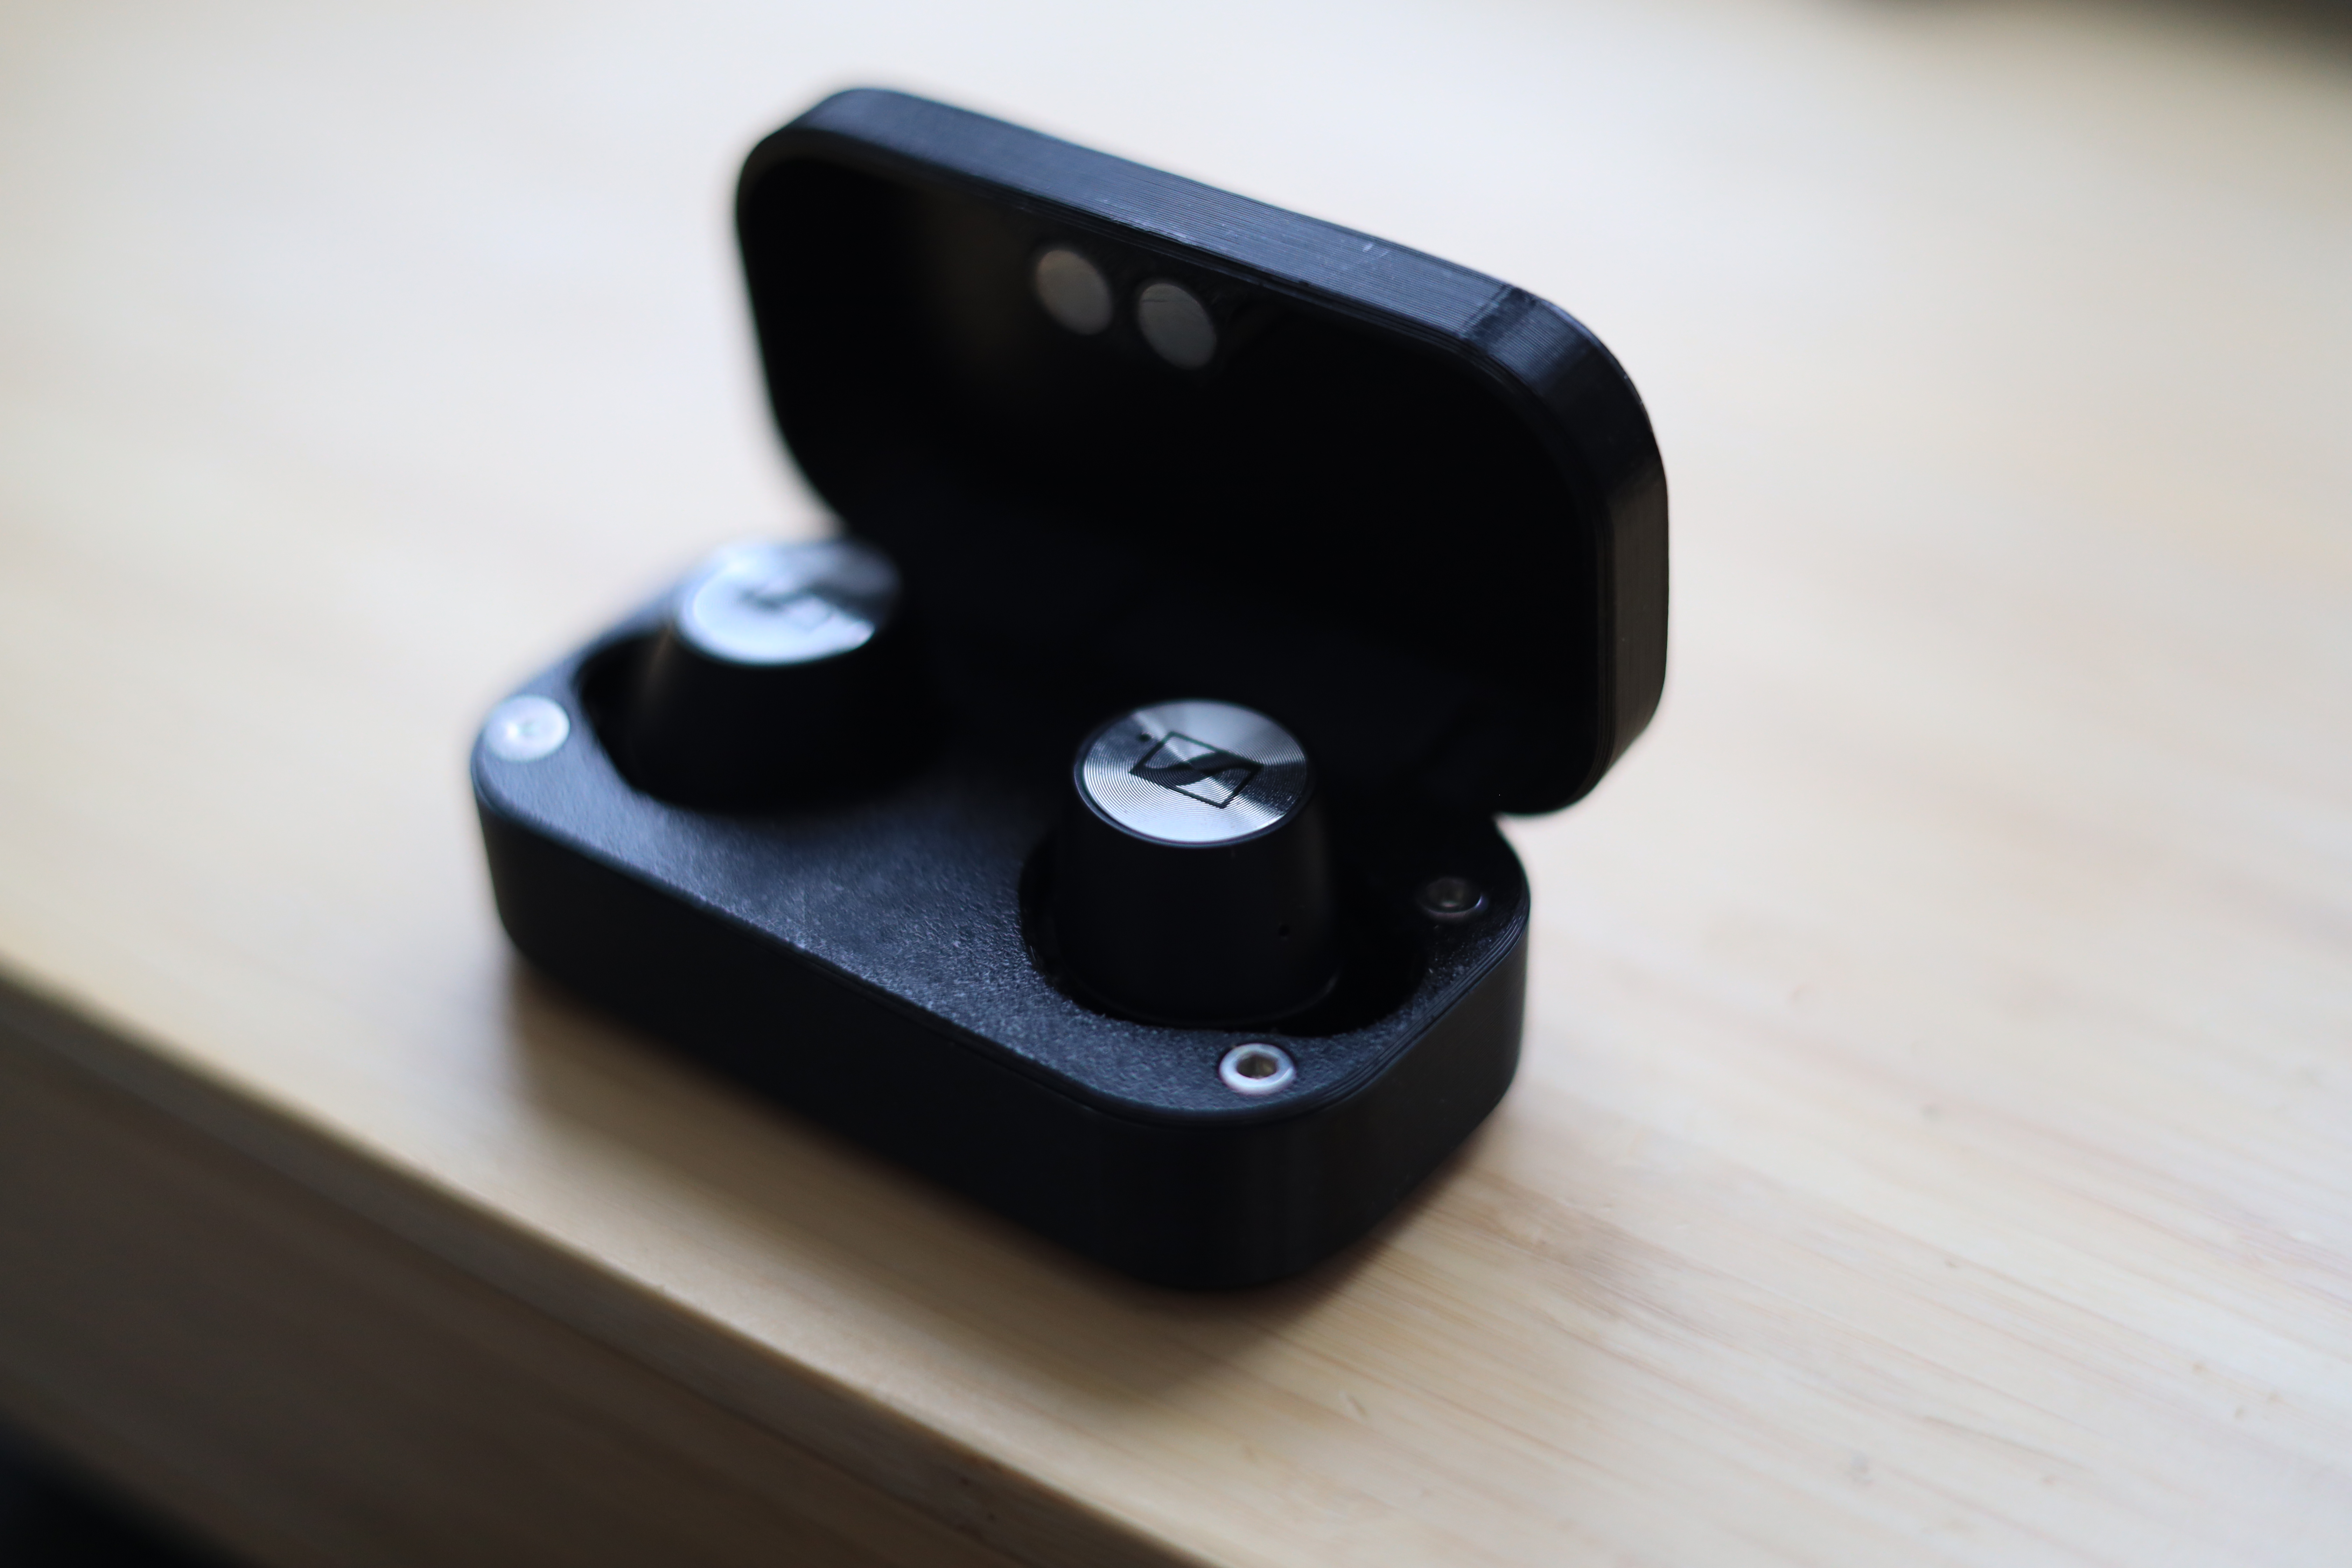
Sennheiser Momentum True Wireless Charging Case
prusaprinters
<h3>How i designed this</h3><ol><li>The hinge on my stock case broke</li><li>A new case is $100</li><li>The earbuds cost $100 used</li><li>…</li><li>Spent several weeks desinging a new one from scratch</li></ol><h3>How to print</h3><ul><li>I printed it in PETG, but PLA should also work.</li><li>The 3mf file includes tuned support settings that i found to be optimal</li><li>Support removal is a bit tricky with this one, be careful not to damage the model</li></ul><h3>You will need</h3><ul><li>A bit of Filament</li><li>4 <a href="http://alii.pub/6dzz2m">7x1 mm magnets</a></li><li>4 <a href="http://alii.pub/6dzz6p">M3x12 screws</a></li><li><a href="http://alii.pub/6dzz89">Sidecutters</a> or a knife</li><li>Screwdriver with a small philips head and a 2.5 mm hex bit (here's a cool <a href="http://alii.pub/6dzz9m">electric</a> one I made an awasome magnetic <a href="https://www.printables.com/model/138845-wowstick-case-with-magnetic-bit-holders-parametric">case</a> for)</li></ul><h3>How to assemble</h3><ol><li>Pry apart the original case (it uses clips all the way around, can you manage to not preak them?)</li><li>Unplug the battery, then remove it from the bottom part of the case (its stuck using double-sided tape, don't remove it, you will be reusing it)</li><li>Unsrew the board (fixed with 4 phillips screws)</li><li>Take 4 7x1 mm magnets, glue them into the corresponding slots in the middle part and the lid (MAKE SURE THAT THE LID IS ATTRACKED TO THE MIDDLE)</li><li>Take the lid (just the lid) and put a piece of filament though the hinge, cut it to length, then pull it out</li><li>Combine the lid and the middle</li><li>Put the filament you've cut though the hinge (this can tricky, giving it a bit of a bend will help)<img src="https://media.printables.com/media/prints/233820/rich_content/e30b51eb-7308-4bcc-95d5-a51c32672604/untitled.png#%7B%22uuid%22%3A%22c56ceeeb-29e7-4a9a-8c09-d8a8a6c55d37%22%2C%22w%22%3A2531%2C%22h%22%3A1438%7D"></li><li>Attach the board to the middle part using the original screws</li><li>Connect the battery</li><li>Stick the battery to the bottom of the case</li><li>Attach the bottom to the middle using 4 M3x12 screws</li><li>Plug the case in and see if the led in the back lights up.</li></ol><h3>Issues i can't be bothered to fix</h3><p>I've printed more than 20 of these to get to this point, and it works fine as is, but there are things that can still be improved</p><h5>The use of screws</h5><p>I really wanted this case to be snap fit but couldn't desing clips that could hold it together well (or at all, to be honest). I would LOVE to se a remix that fixes this.</p><h5>The wobbly back plate</h5><p>The back plate can be bent in with a finger. Mine didn't break yet, but it's probably a good idea to add something that would hold it in place better</p><h5>The shape of the holes</h5><p>Since i don't have a 3d scanner, i was only able to model the holes approximately. The headphones do fit and charge, but it's not ideal.</p><h5>Chamfered edges</h5><p>This case is actually smaller that the original, but it looks bigger because it has relatively small chamfers instead of fillets that are present on the stock one. The issue with adding bigger fillets is that the battery might not fit in the bottom because of that. I did not test this though.</p>
With this file you will be able to print Sennheiser Momentum True Wireless Charging Case with your 3D printer. Click on the button and save the file on your computer to work, edit or customize your design. You can also find more 3D designs for printers on Sennheiser Momentum True Wireless Charging Case.