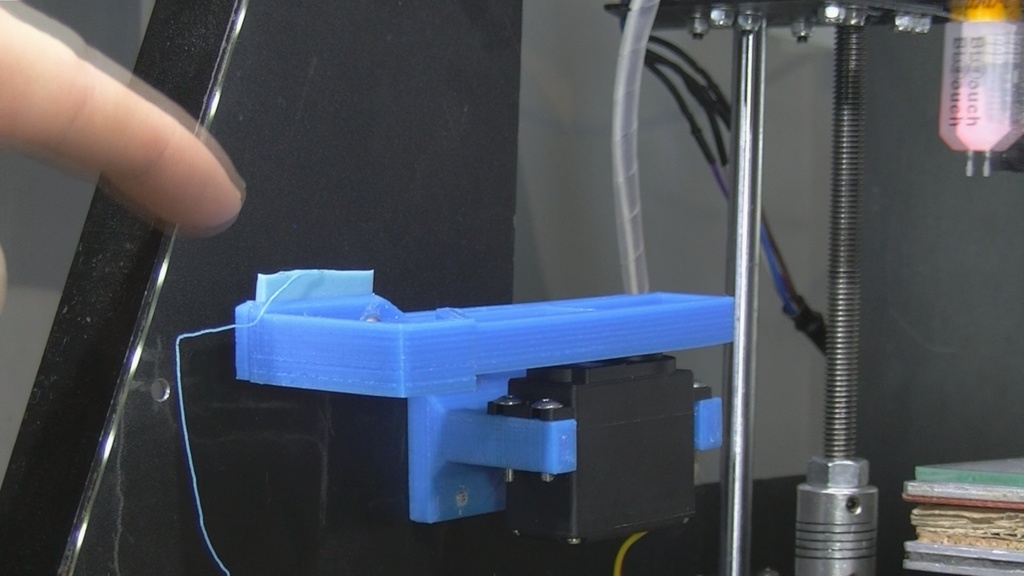
Servo driven nozzle wiper arm
thingiverse
This is a G-code script for a 3D printer, specifically designed to clean the servo nozzle on an E3D V6 hotend. Here's a breakdown of the code: **Initialization** * `G21` sets units to millimeters. * `G90` uses absolute coordinates. * `M117 Servo Nozzle Clean Test` displays a message on the printer's screen. **Setup** * `M280 P1 S180` parks the wiper arm at the front of the printer. * `G28` homes all axes (X, Y, Z). * `G28 X` homes the X axis specifically. **Purging Filament** * `M109 S245` sets the extruder temperature to 245°C (ABS hotend setting). * `G92 E0` resets the extruder position. * `G1 E 10 F300` feeds filament 10mm into the wiper tray to purge the nozzle. **Wiping Nozzle** * `M280 P1 S25` moves the wiper arm to wipe the nozzle. * `G4 P500` pauses for half a second to allow the wiper to move. * `G1 Z 60.00 F2500` moves the nozzle above the wipe height. **Finalization** * `G4 P2000` pauses for 2 seconds to wait for the printer nozzle to move up. * `M280 P1 S180` parks the wiper arm at the front of the printer. * `G4 P500` pauses for half a second to allow the wiper to move. * `M117 End Servo Nozzle Clean Test` displays a message on the printer's screen. **Simulation** * The script performs some X carriage movements to simulate 3D printing and ensure the printer is functioning properly. Overall, this script provides a thorough cleaning of the servo nozzle on an E3D V6 hotend. It ensures proper temperature settings, resets the extruder position, feeds filament into the wiper tray, wipes the nozzle, and parks the wiper arm in its final position.
With this file you will be able to print Servo driven nozzle wiper arm with your 3D printer. Click on the button and save the file on your computer to work, edit or customize your design. You can also find more 3D designs for printers on Servo driven nozzle wiper arm.