Servo Mount
thingiverse
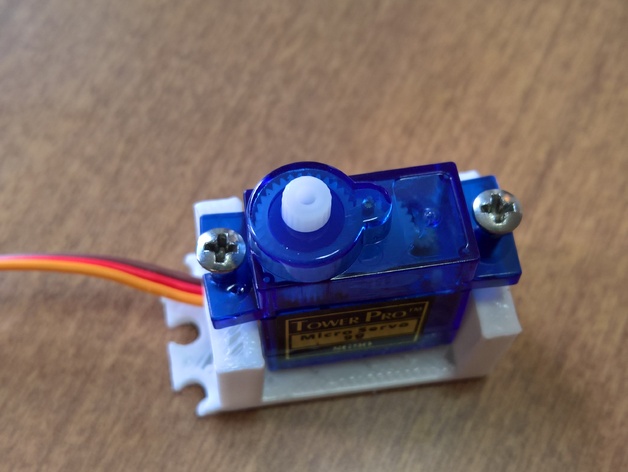
Mounts a Tower Pro 9 gram micro servo and a Fitec 9 gram continuous micro servo with precision. Two sheet-metal Phillips oval 4 x 3/4 screws are used to secure the front of the servo to the mount, as shown in the picture above. For the back, four x 3/8 screws are required. The mount is then secured to a base by three M3 * 5 mounting screws. Recently, an updated design was added with two side attachments, replacing the previous single attachment. Some users may find that the recommended screw size for the front is too large; however, a smaller screw size of 4 x 3/8 is suggested by another user in the comments. Print Settings: Printer Brand: Printrbot Printer: Simple Black Rafts: No Supports: No Resolution: Fine Infill: 15% Notes: When printing this model, the base was prone to breaking. To prevent this, a higher infill percentage is recommended. Post-Printing: After printing, it was observed that the inside of the model required additional support and infill to prevent breakage. Instructions: 1) Feed the 3-pin female connector through the rectangular hole from the inside. 2) Push the servo into place by the front. 3) Secure the servo with two long thin screws. 4) Mount the base in place using three M3 * 5 mounting screws.
With this file you will be able to print Servo Mount with your 3D printer. Click on the button and save the file on your computer to work, edit or customize your design. You can also find more 3D designs for printers on Servo Mount.