Shapeoko 2 Arduino Mount
thingiverse
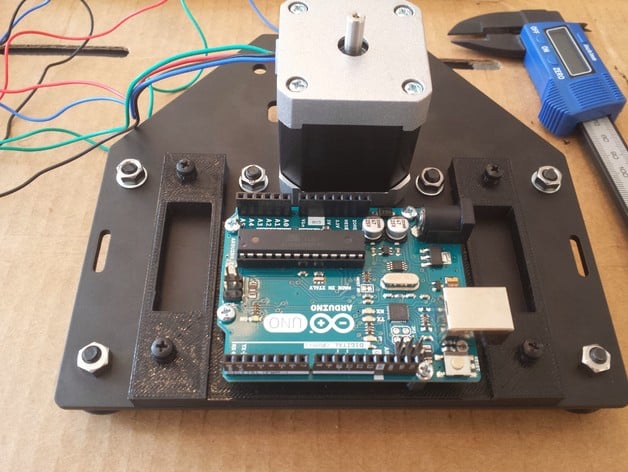
This is a remix of the original model by lordmundi. The original model had been imported into sketchup, and had a bunch of stl errors as a result. I cleaned it up, slightly changed all the dimensions, and changed the mounting for the arduino to use M2.5 bolts. You can optionally insert nuts from the bottom to screw the bolts into, but they will hold into the plastic on their own. Watch my review and build-log of the Shapeoko2, here:http://www.jeremyblum.com/2015/04/26/shapeoko2/ This is designed to mount the Arduino on the Shapeoko 2 for Wiring method 3: http://docs.shapeoko.com/wiring_3.html Instructions Print the part. Screw the Arduino in using M2.5 Bolts and options nuts. Attach the part to the right Y axis mounting plating using M3 bolts and nuts.
With this file you will be able to print Shapeoko 2 Arduino Mount with your 3D printer. Click on the button and save the file on your computer to work, edit or customize your design. You can also find more 3D designs for printers on Shapeoko 2 Arduino Mount.