Shapeoko 2 Arduino Mount
thingiverse
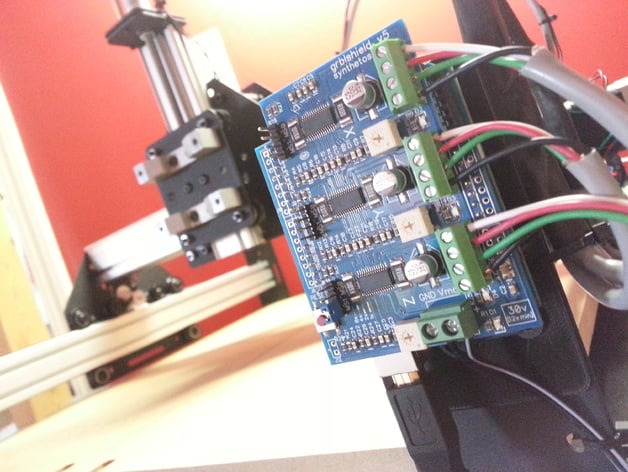
Secure your Arduino and Grbl shield to the Shapeoko 2's end plate using 4 x 10mm M5 bolts and nuts. If necessary, remove the Grbl shield from the Arduino before attaching it to the printed part with 3 x 10mm M3 bolts. Be cautious not to obstruct the header pins on the Arduino with bolt caps. Reattach the Grbl shield afterwards. For added security and strain relief, utilize a zip tie through the bottom hole of the end plate and printed part. Additionally, secure the power cable's stress by zip tying it to the end plate's bottom.
With this file you will be able to print Shapeoko 2 Arduino Mount with your 3D printer. Click on the button and save the file on your computer to work, edit or customize your design. You can also find more 3D designs for printers on Shapeoko 2 Arduino Mount.