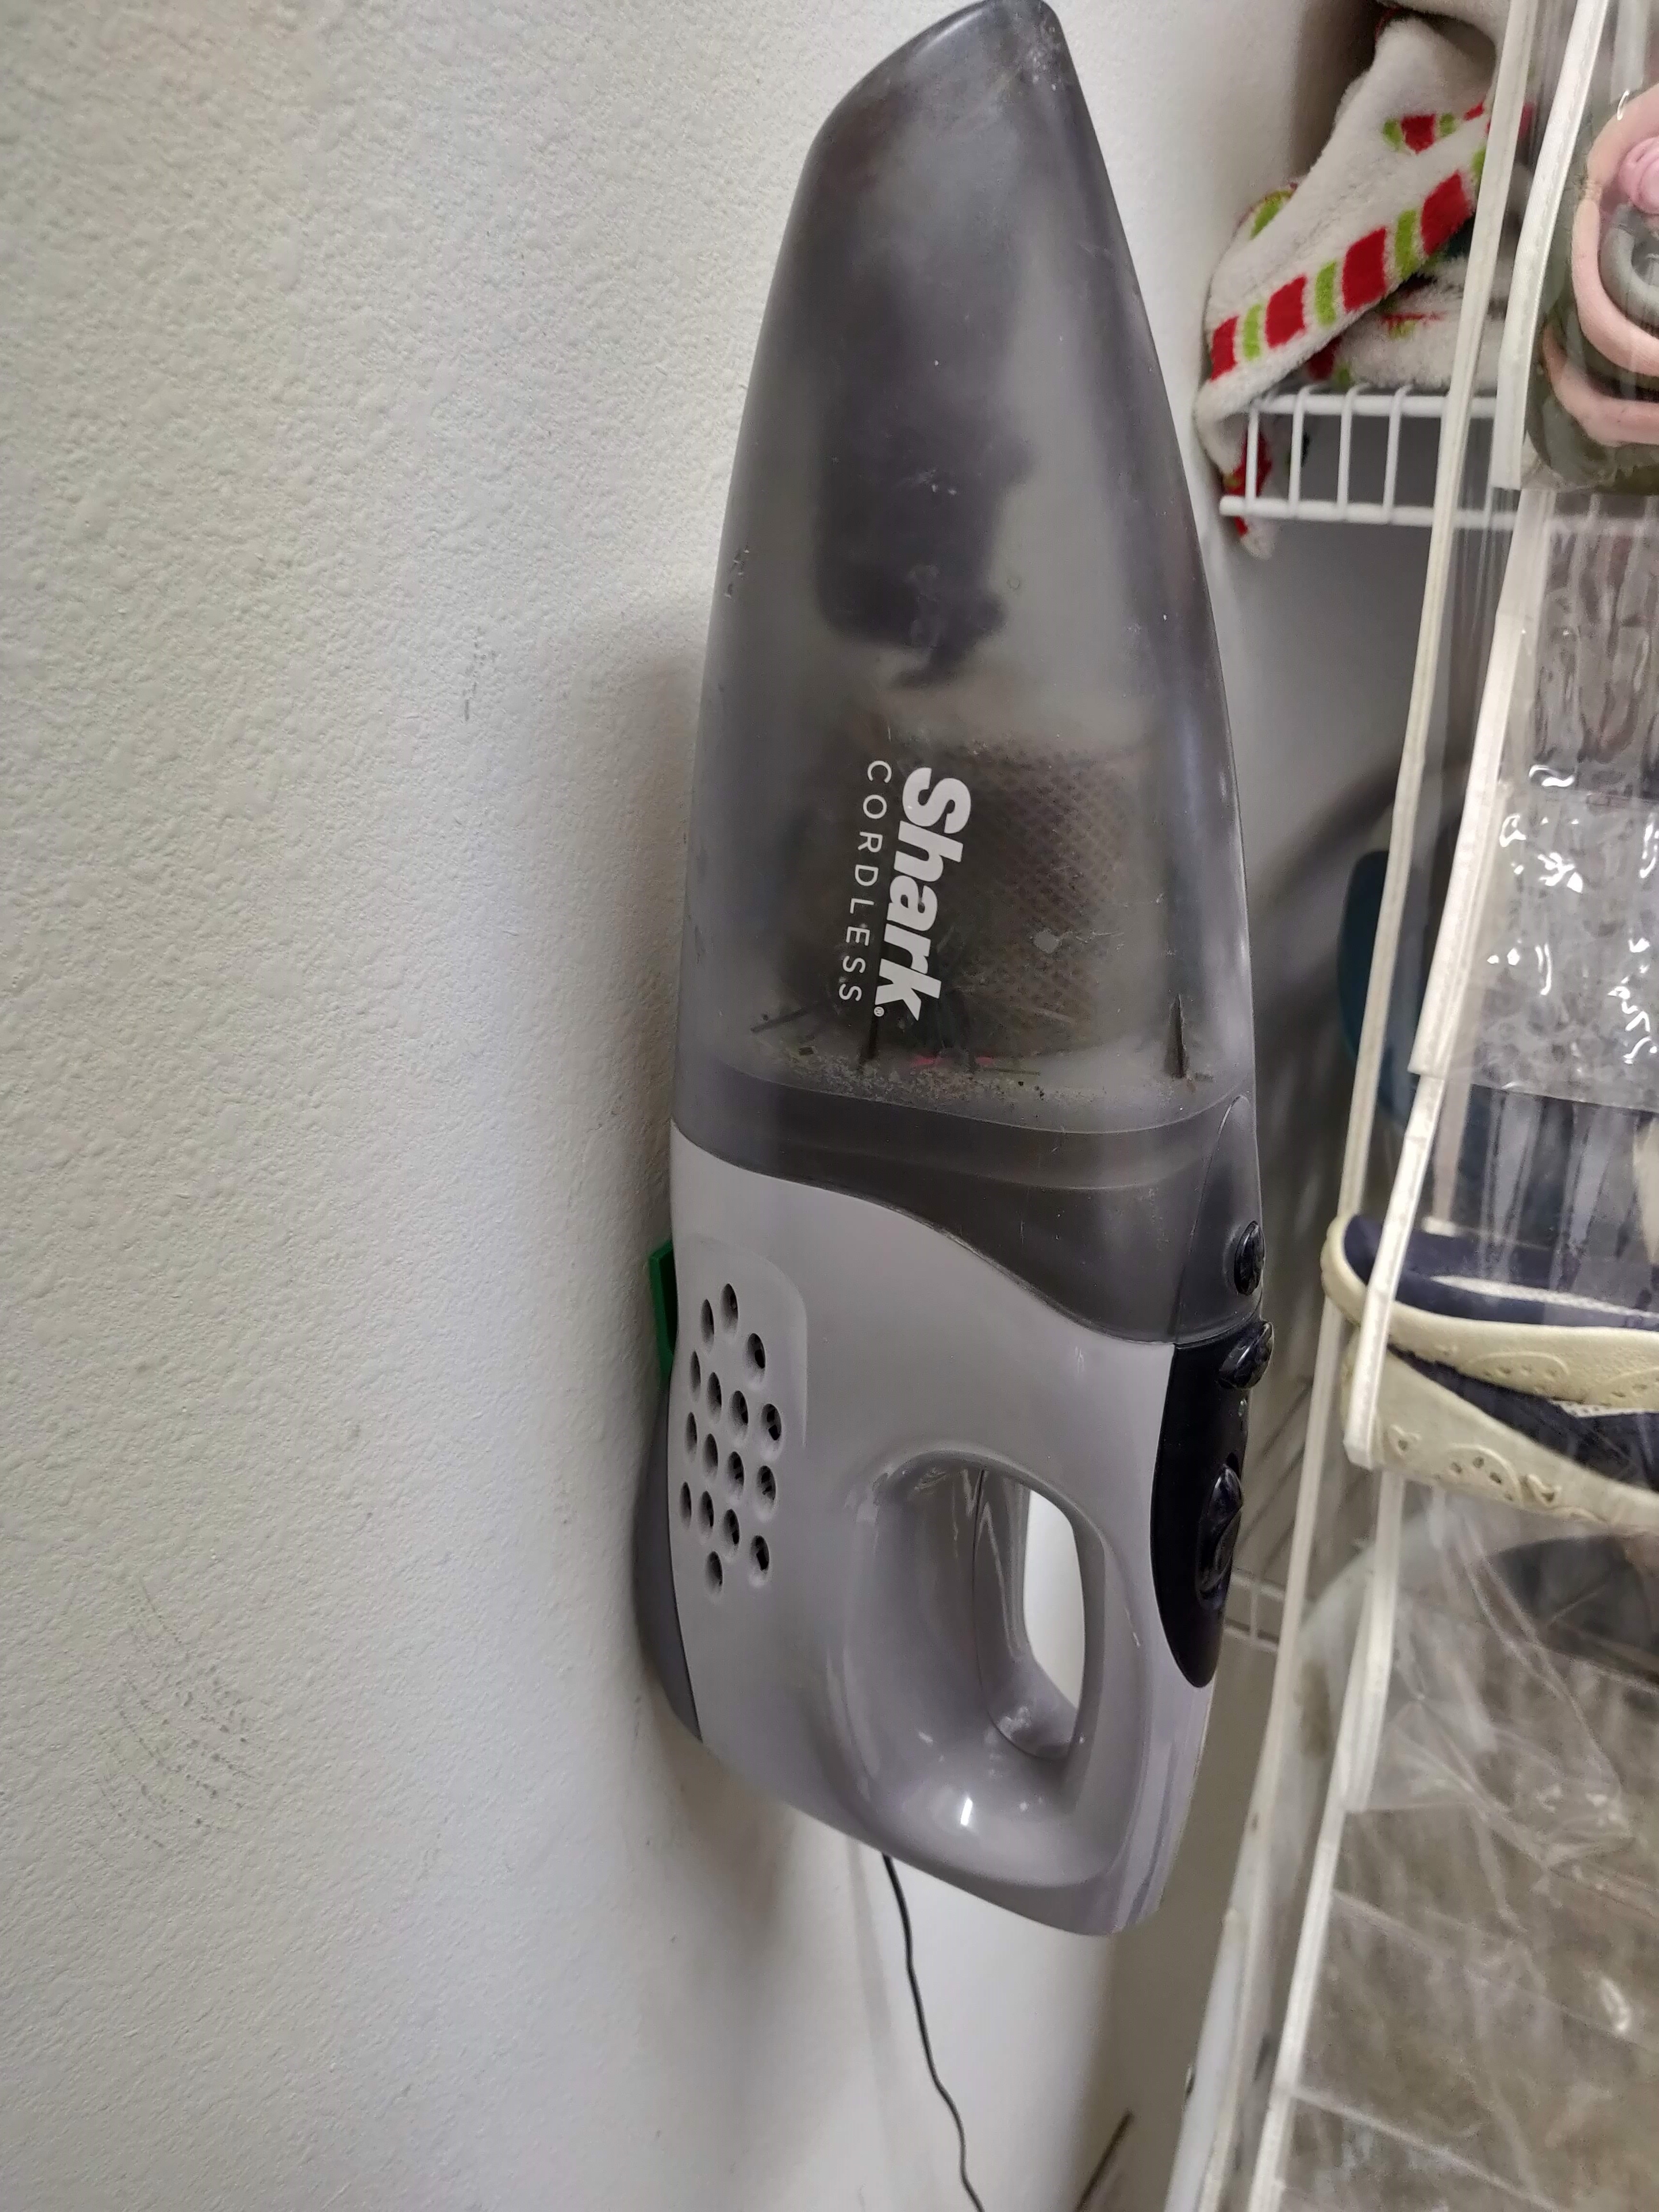
Shark hand vacuum wall mount
prusaprinters
<p>I decided to make a wall mount / docking station for my Shark SV7728 Hand Vacuum.</p> <p>Shark doesn't offer one for this model. I saw some other mounts on Thingiverse, but they didn't fit, so I made my own.</p> <p>After my first print, I realized I could add mounting for the power connector. If you want that feature, print 2 pins and glue or melt them into the frame. (see below).</p> <p>Now the vacuum drops onto the mount and the charge light lights up!</p> <p>Designed in <a href="http://cad.onshape.com">http://cad.onshape.com</a></p> <h3>Print instructions</h3><p><strong>Printer Brand:</strong> Prusa<br/> <strong>Printer:</strong> <a href="http://amzn.to/2rqZ6Uo">i3 MK3</a><br/> <strong>Rafts:</strong> No<br/> <strong>Supports:</strong> No<br/> <strong>Resolution:</strong> .3<br/> <strong>Infill:</strong> 20%<br/> <strong>Filament:</strong> Amazon Basics PLA green<br/> <strong>Notes:</strong></p> <p>I rotated the pins to the bed, but it doesn't matter that much. Frame prints sideways to avoid supports and provide a stronger print.</p> <h3> Post-Printing</h3> <p>The pins and power connection are optional of course. The battery may last longer if you don't keep it 100% charged. I'm going to just unplug it from the wall when I don't want to charge.</p> <p>Even though the pin holes were 0.2mm bigger than the pins, they don't fit. So, I melted them in. :)</p> <p>While holding the pin with needle nose pliers, I heated up the end with a torch for about a second. I then pressed the soft plastic into the hole. Probably a stronger fit than glue. :) Make sure they're straight and perpendicular to the plane of pin holes.</p>
With this file you will be able to print Shark hand vacuum wall mount with your 3D printer. Click on the button and save the file on your computer to work, edit or customize your design. You can also find more 3D designs for printers on Shark hand vacuum wall mount.
