Side lit picture frame
prusaprinters
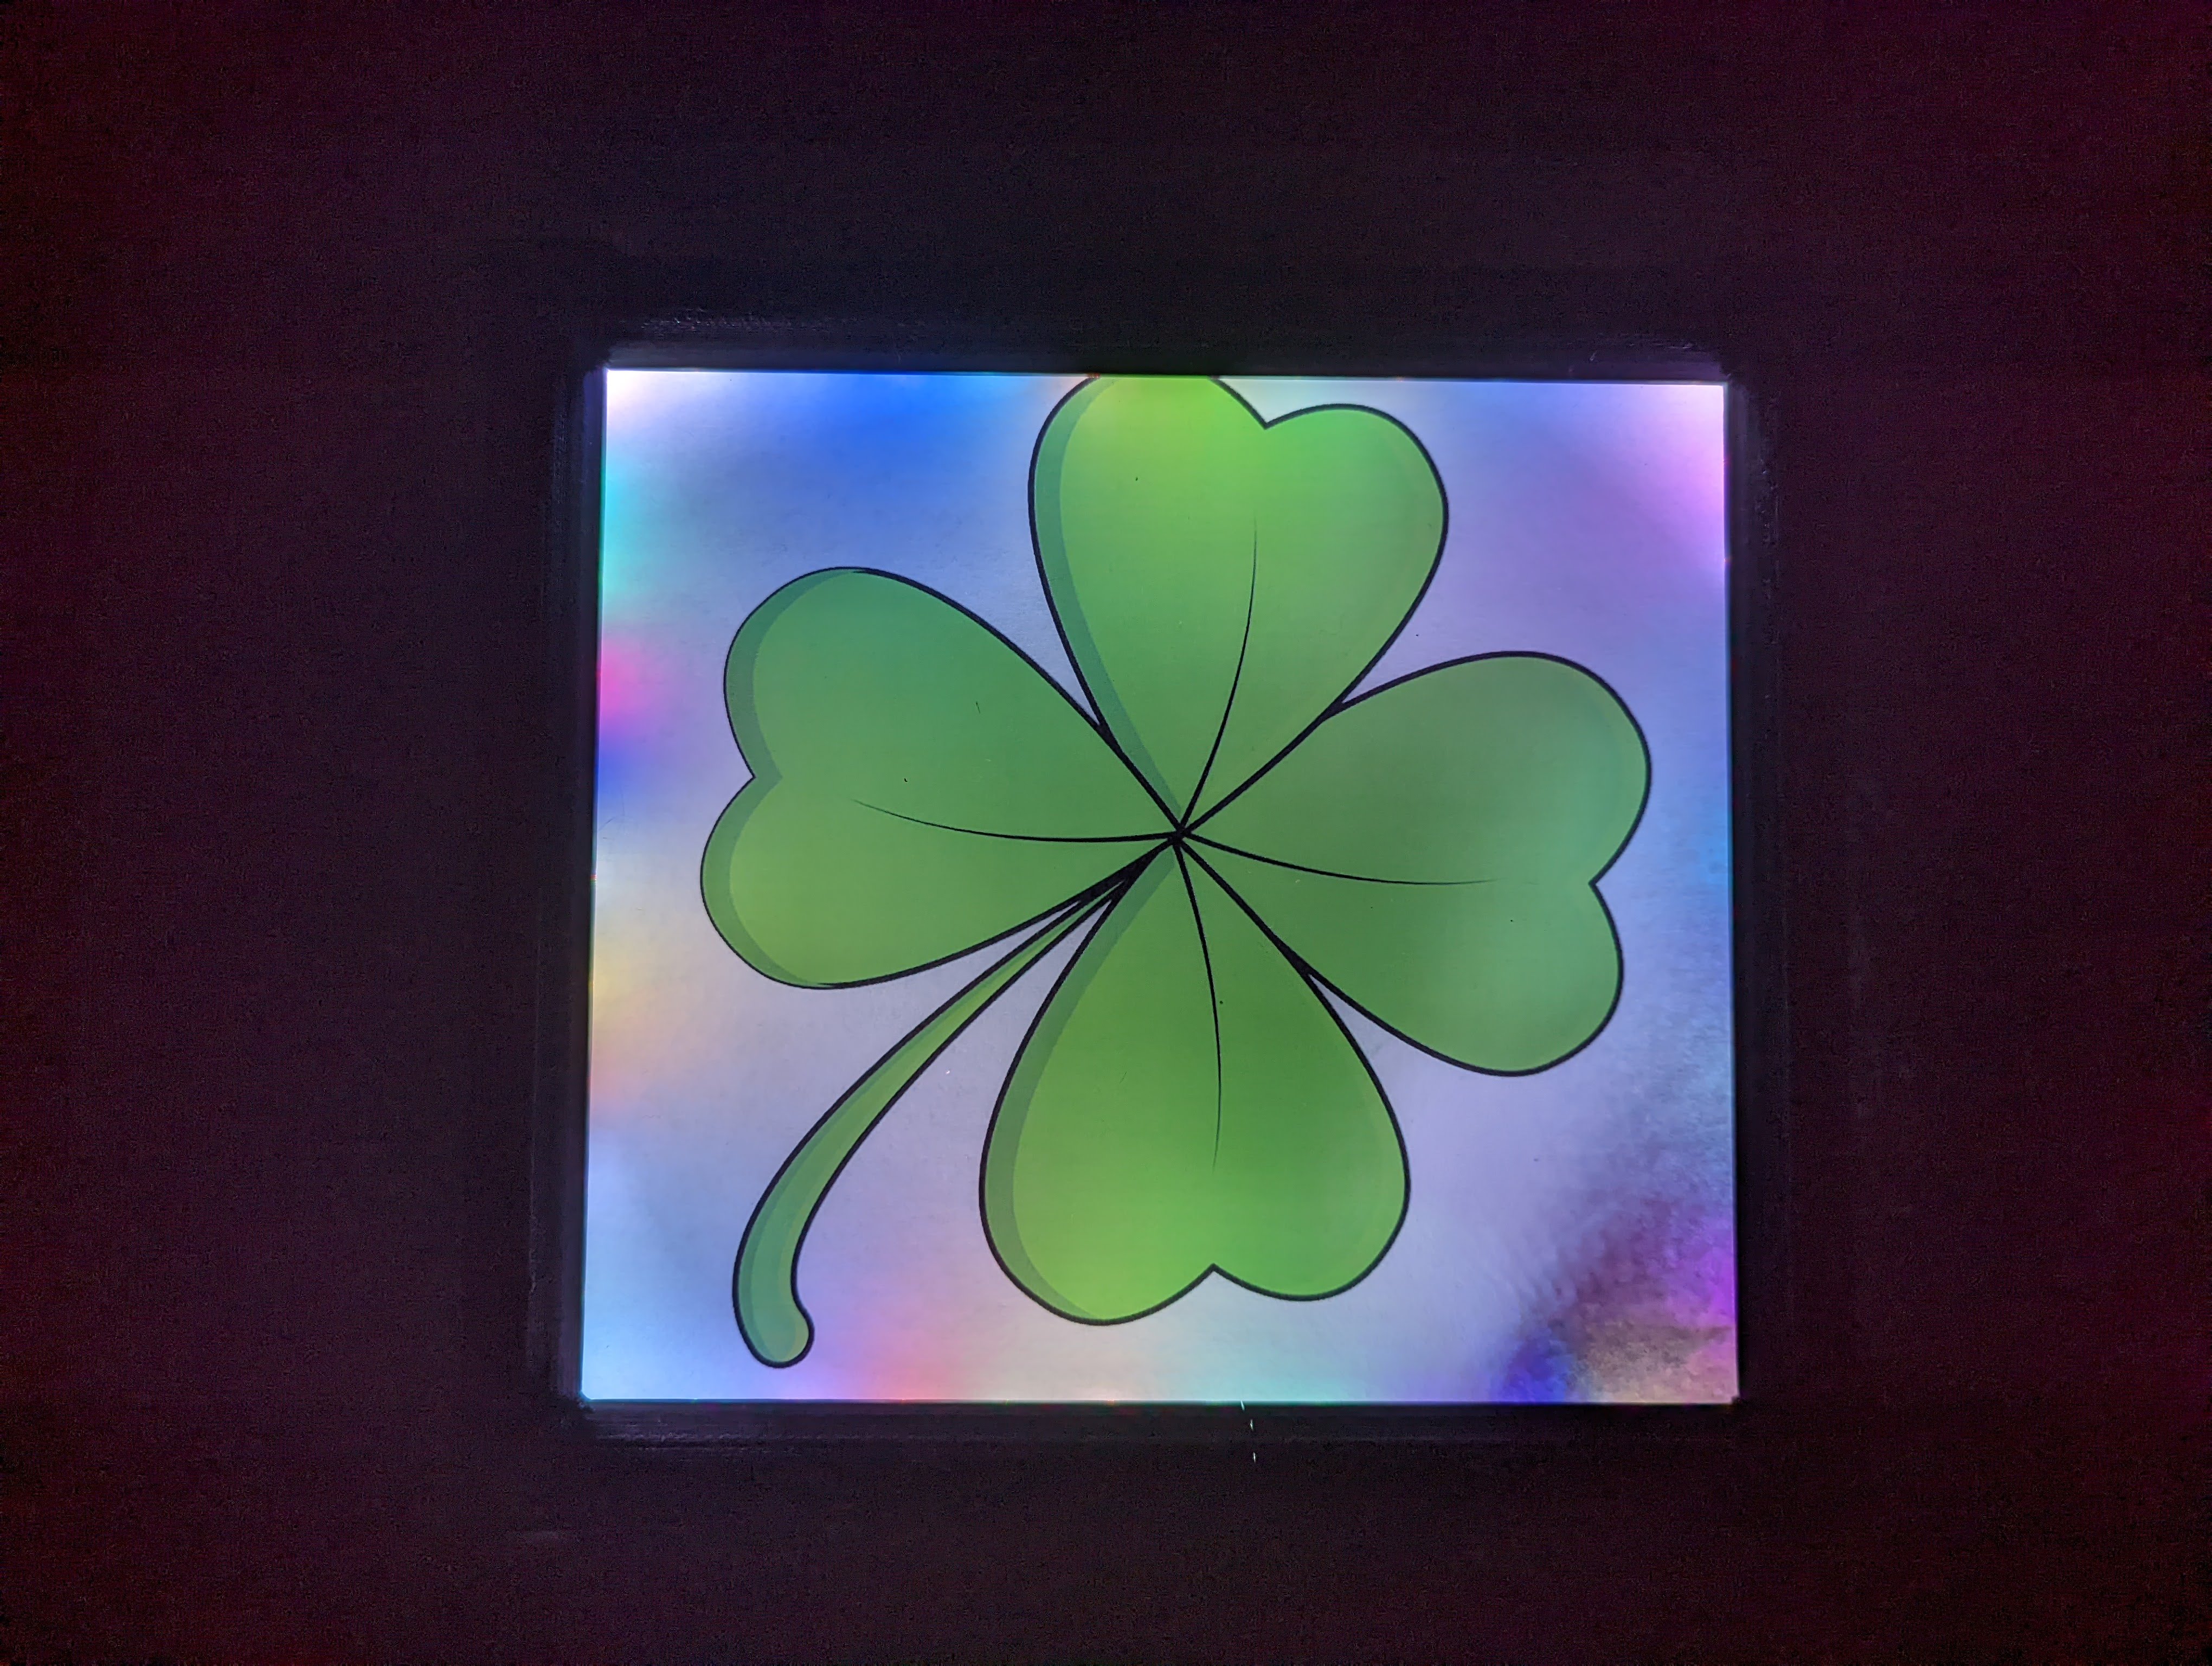
<p>This is a lighted picture frame that you can use as a picture frame during the day and a light source in the dark. The base consists of a rectangular frame with mount for an Arduino controller and a LED light strip taped on the sides. The top cover is where you can print any image you like and secure it to the base.</p><p>Design was made in <a href="https://openscad.org/">OpenSCAD </a>and source is included if you want to modify. Rendering (F6)</p><p>for export as STL takes a few minutes since there is a lot of curvature to the spheres on the</p><p>corners ($fn=100). You can reduce that number to 10 and get a much a much faster render.</p><p>Included is a small Arduino code example run on a<a href="https://www.aliexpress.com/item/32808551116.html?spm=a2g0o.productlist.0.0.980d3619yvCtZn&algo_pvid=896a58a9-b855-4219-81b9-3eb2985c161e&algo_exp_id=896a58a9-b855-4219-81b9-3eb2985c161e-0&pdp_ext_f=%7B%22sku_id%22%3A%2266406327919%22%7D&pdp_pi=-1%3B6.5%3B-1%3B-1%40salePrice%3BUSD%3Bsearch-mainSearch"> Lolin WEMOS D32</a>, requires using the <a href="https://www.arduino.cc/en/software">Arduino editor</a> and a computer to upload the code to the controller and soldering three wires to the Arduino and LED strip (5V WS2812 with 5050 SMD RGB LEDS). Or if you prefer, cut any LED strip to the correct length and tape. inside and run the wires out the side..</p><p>Printing and image on paper, trimming and gently taping to the inside of the front cover works best. You can also print on transparency, though the controller becomes visible so you may want to add a backing....</p><p> </p><p> </p>
With this file you will be able to print Side lit picture frame with your 3D printer. Click on the button and save the file on your computer to work, edit or customize your design. You can also find more 3D designs for printers on Side lit picture frame.