Simon's Omnidirectional 4-wheeled Robot (modified Robodyssey Mouse)
thingiverse
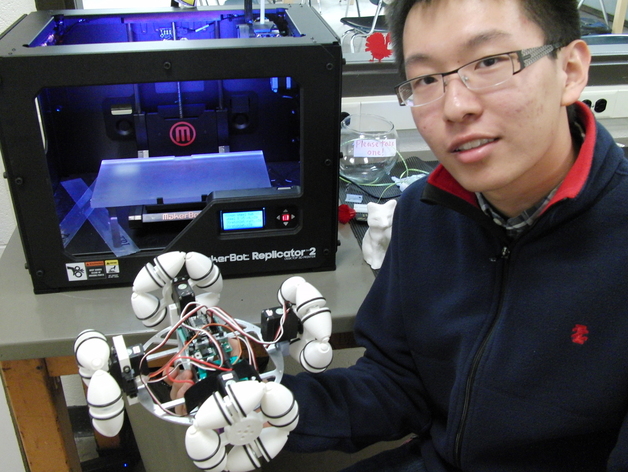
Simon of my students created this to fit on the chassis of the Robodyssey Systems' Mouse robot (http://www.robodyssey.com/teensy-mouse-kit/). Now, the two-wheeled Mouse robot can transform into an omnidirectional vehicle due to these wheels, hubs, and servo mounts. Watch it in action on YouTube: http://youtu.be/jVVpeu6Htxc. An update for users is that they now have the choice to print the wheel hubs and servo mounts with or without brass inserts. The latter option allows screws to bite into metal inserts, enabling them to be inserted and removed frequently without damaging the plastic parts. However, some might not wish to buy extra hardware, so another version is available that doesn't require brass inserts. Instead, screws can be directly inserted into the plastic (though holes need to be tapped or self-tapping screws used). Simon and I printed these with a MakerBot Replicator 2 at low resolution (0.3mm/layer). Conical wheel sections have approximately 15% infill with two shells, while wheel hubs and servo motor mounts have three shells and 25% infill. Only the lower part of the servo mount is necessary, designed to fit the Robodyssey Mouse robot (http://www.robodyssey.com/teensy-mouse-kit/). The top portion provides extra stability and two mounting holes on each side for a Sharp Infrared sensor (http://www.robodyssey.com/sharp-2yoa21-infrared-ranging-sensor/). A 4mm aluminum rod from McMaster-Carr (http://www.mcmaster.com part number 1681T22) is required for the wheels, each cut to 35mm length. For traction, each wheel needs a large o-ring (3mm, 29mm ID), which can be bought from McMaster-Carr as well (http://www.mcmaster.com part number 9262K742). A small washer should be inserted between the wheel and wheel hub to prevent plastic parts from rubbing. The washer size depends on the downloaded file - for "tap holes" files, use a 4.3mm ID washer, while for "brass inserts" files, a 5.3mm ID washer is required to fit over the nylon spacer. Servos attach to printed servo mounts with 8-32 screws, and wheel hubs connect to servo horns using 4-40 screws (also used for attaching Sharp IR sensors). Now, two options are available for the servo mount and wheel hub files - those with "tap holes" can be printed and used as is, requiring no additional hardware other than listed above. However, these require tapping of 4-40 and 8-32 screw holes or using self-tapping screws. The second option includes files with "brass inserts", which require purchase of extra brass inserts and nylon spacers for smooth spinning of the metal axle rod. Threaded brass inserts (http://www.mcmaster.com part numbers 92395A114 and 92395A112) are used, as they allow screws to bite into metal rather than plastic.
With this file you will be able to print Simon's Omnidirectional 4-wheeled Robot (modified Robodyssey Mouse) with your 3D printer. Click on the button and save the file on your computer to work, edit or customize your design. You can also find more 3D designs for printers on Simon's Omnidirectional 4-wheeled Robot (modified Robodyssey Mouse).