Simple and reliable XY square test
thingiverse
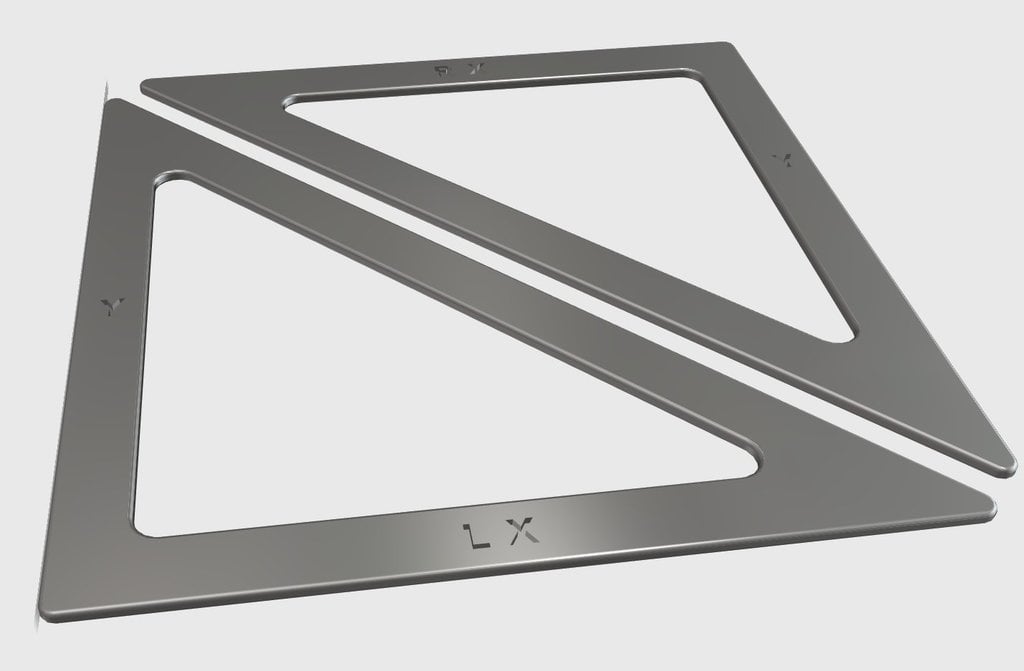
Are the X- and Y-axes of your printer perpendicular? This simple test reveals the answer without precision measurement equipment. While making a large object consisting of several parts with tight tolerances, I learned that the X- and Y-axes of my Creality CR-20 PRO were not exactly perpendicular. To reveal the magnitude of error, I designed this tool. When printed and placed on a flat surface as the photos show, the angle between the L and R parts is twice the deviation of the angle between X- and Y-axes from 90 degrees. The triangles can be printed together (xy90.stl) or separately (L and R). If you print the parts separately, make sure that the 90 degree angles point to opposite corners. Slice the triangles on the printer bed so that sides labeled X and Y are parallel to X- and Y-axes of the printer. This makes it easier to decide the direction of correction. If the gap between the triangles widens downwards, as in photo "before", Y-axis should be turned clockwise or X-axis should be turned counterclockwise. See the adjusment image. The required adjustment is half of the angle of the gap. To ease the adjustment, mark current position of the axis with a sharp tool. Change from "before" to "after" was remarkable in a 40 cm long object requiring 0.8 mm tolerance. "Before" would have ruined the result. Note: If the triangles are printed in 90 degrees rotated position - i.e. X- and Y-axes are swapped - the direction of the correction is opposite to the presented one. Also in this case the tool works correctly.
With this file you will be able to print Simple and reliable XY square test with your 3D printer. Click on the button and save the file on your computer to work, edit or customize your design. You can also find more 3D designs for printers on Simple and reliable XY square test.