Simple Ikea Lack Printer Case
thingiverse
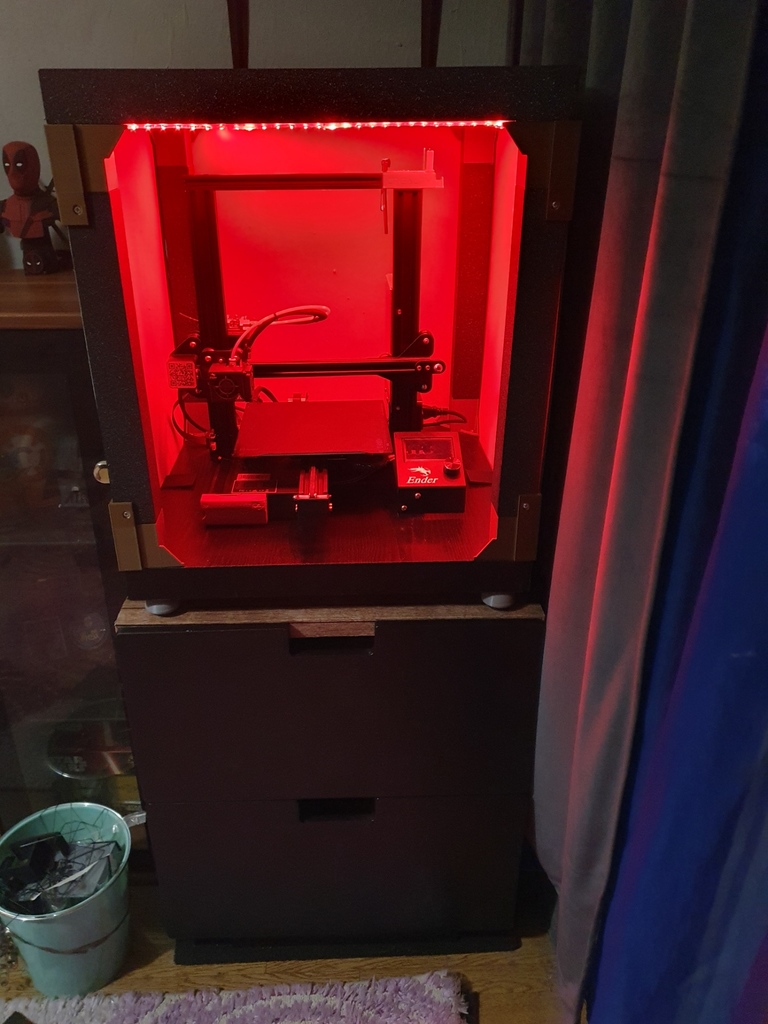
Hi zusammen, Hier habe ich ein ganz simples und schlichtes Ikea Tisch Gehäuse gemacht. Es ist sicher nicht das schönste, benötigt aber wenig teile. Mir war es wichtig es so einfach wie möglich zu halten. 1. Die Eckverbinder Drucken (8 Stück ), diese habe ich in der Z Achse verlängert, um mehr freien Platz zu haben, damit ich eine Led Leiste anbringen kann. Daten sind im Bild mit den Einstellungen. 2. 6 -8 Clips, diese haben werden einfach auf die Tischplatte geschoben, wo ich dann Schrankrückwand Platten angestrichen und reingehängt habe. Bitte beachten, das die Rückwände beim Bestreichen verziehen können. Ich habe jeweils nur oben und unten ein Clip gemacht. Man kann dies aber auch noch seitlich anbringen. Meine Clips haben 3.2mm Spalt, Glashalter sind aber auch dabei. 3. Filament Durchführung gedruckt. Zusammenbau: 1 Tischplatte die gedruckten Eckverbinder angeschraubt, darauf dann das Tischbein geschraubt und später die Beine an der anderen Platte festgeschraubt. Danach die ein Loch gebohrt für die Filament Durchführung und diese dann durch geschoben. Dann nur noch die Clips ran und die Platten rein. ---------------------------------------------------------------------------------------------------------------------- Englisch Translated Hi everyone, Here I made a very simple and plain Ikea table case. It is certainly not the prettiest, but requires few parts. It was important to me to keep it as simple as possible. 1. Print the corner connectors (8 pieces), I lengthened them in the Z axis, to have more free space so I can attach a Led bar. Data is in the picture with the settings. 2. 6 -8 clips, these simply slide onto the table top, where I then painted panels on the back wall of the cabinet and hung them up. Please note that the back walls can warp when painting. I only made one clip each at the top and bottom. But you can also attach it to the side. My clips have a 3.2mm gap, but glass holders are also included. 3. Filament printed through. Assembly: 1 table top screwed on the printed corner connectors, then screwed the table leg on it and later screwed the legs to the other plate. Then drilled a hole for the filament passage and then pushed it through. Then just grab the clips and put the records in.
With this file you will be able to print Simple Ikea Lack Printer Case with your 3D printer. Click on the button and save the file on your computer to work, edit or customize your design. You can also find more 3D designs for printers on Simple Ikea Lack Printer Case.