Simple Lamp
thingiverse
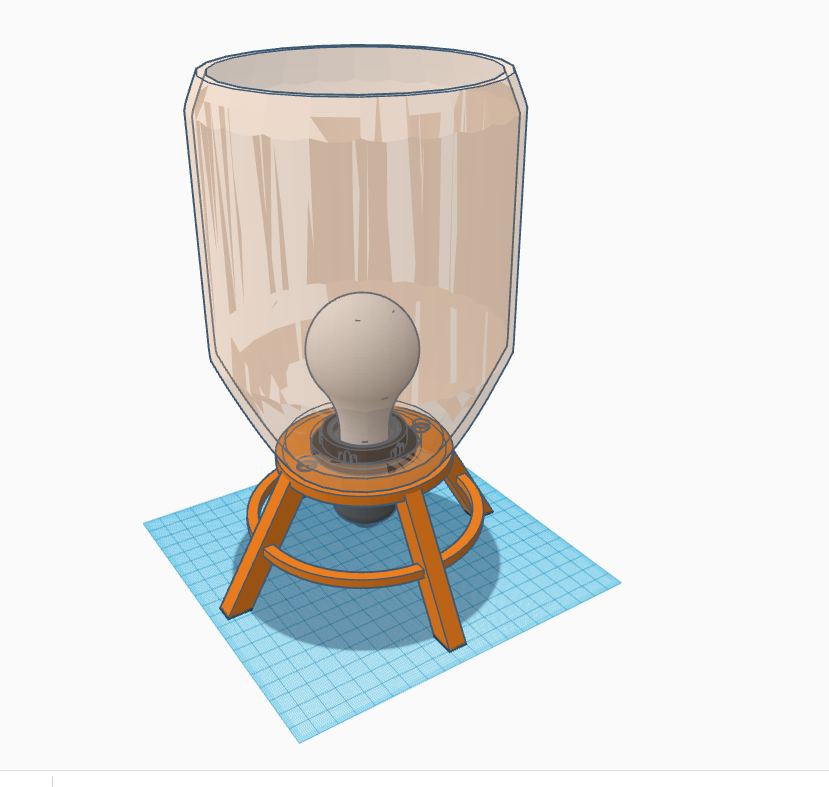
This is a simple, two-piece desktop lamp design. The lampshade connects with the lamp base with four inset magnets, and is designed to use a hanging lantern cord. Parts needed: 1. Hanging lantern cord. Make sure to use one with a threaded nut: https://www.amazon.com/gp/product/B088F4MWB1/ref=ppx_yo_dt_b_asin_image_o01_s00?ie=UTF8&psc=1 2. LED bulb 3. PETG/PLA filament 4. 10mm button magnets (x4) like this: https://www.amazon.com/gp/product/B091DXF4JJ/ref=ppx_yo_dt_b_asin_image_o02_s00?ie=UTF8&psc=1 Instructions: 1. Print the lampshade using a clear or light-colored filament. I used semi-clear PETG at about 20% infill. 2. Print the base with the flat side down. You WILL need to use supports (I suggest tree supports in CURA...they work amazing). I suggest a higher infill on this to ensure there is enough strength (around 35%). 3. Once printed, put two magnets in the base of the lampshade and two in the lamp base. Make sure to note the polarity so the magnets don't repel one-another. Attach magnets to both the lampshade and the base using superglue. 4. Insert the lamp cord in the base and affix using the threaded nut that came with the cord. 5. Insert your bulb. 6. Enjoy! I strongly suggest an LED bulb for this lamp. I use an Edison bulb in the included pictures just for show, but these types of bulbs produce quite a bit of heat. Though a PETG lampshade should not melt, it is wise to be on the safe side and use something that does not produce heat (and uses less electricity!)
With this file you will be able to print Simple Lamp with your 3D printer. Click on the button and save the file on your computer to work, edit or customize your design. You can also find more 3D designs for printers on Simple Lamp.