Simple LED Desk Lamp
prusaprinters
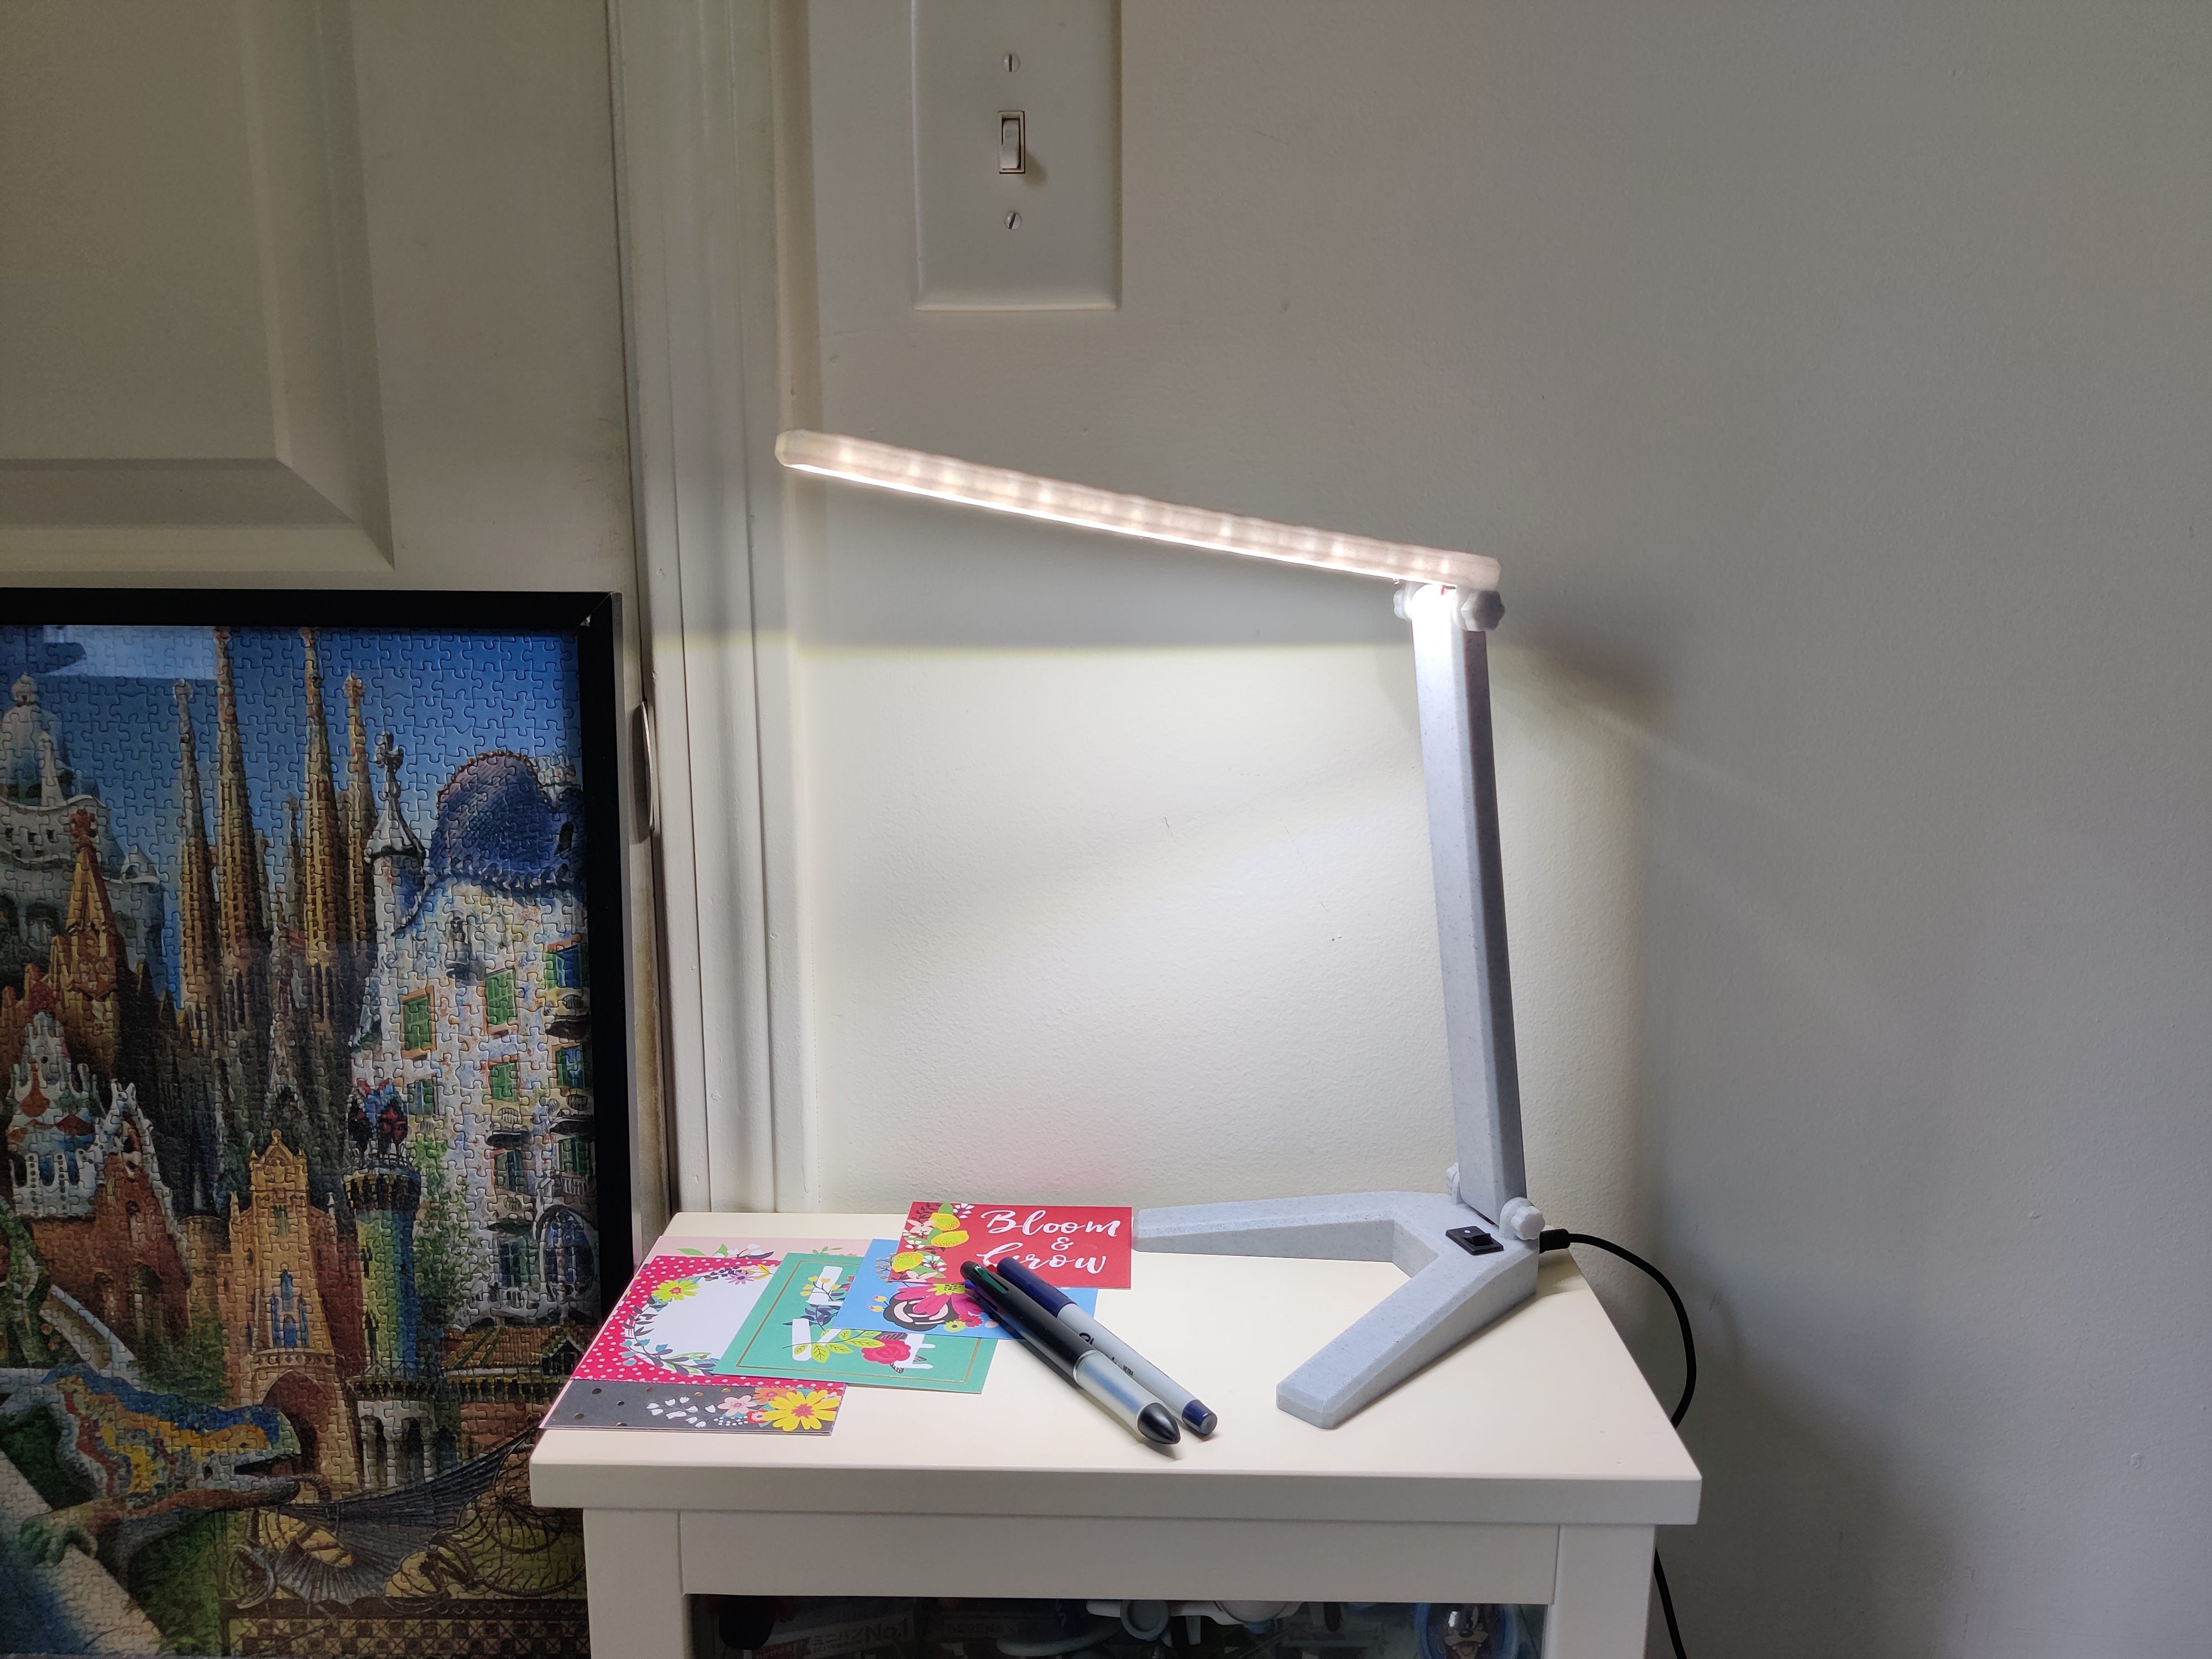
<p>A simple and basic LED desk lamp for your workspace with a power switch. You need to assemble electronic parts.</p><h4>Background</h4><p>I had some spare parts at home, unused LED strips, hookup wires, heat shrink tubes, a rocker switch and AC/DC power supply. Then my desk lamp broke so decided to make one myself! Have some ideas to enhance the joint as twist, make it foldable for the travel portability. So far this is good enough for what I need on my desk.</p><h4>Print</h4><p>Use PETG or other heat resistant materials. PLA will warp overtime with a heat of the LED strips and should not be used.</p><h4>Required items </h4><ul><li>12v LED strip (240-250mm long, 9mm width) [2 pieces] - Any 12v LED strips should work, I used this <a href="https://amzn.to/3vRIvIv">https://amzn.to/3vRIvIv</a> </li><li>12v AC DC power supply</li><li>Rocker switch [1 piece] - <a href="https://amzn.to/3MWZgaR">https://amzn.to/3MWZgaR</a> or equivalent</li><li>12v power cable [1 female] - <a href="https://amzn.to/3yoQGgW">https://amzn.to/3yoQGgW</a> or equivalent</li><li>Hookup wires [2 colors]</li><li>Heat shrink tube</li><li>Soldering iron</li><li>Soldering wire</li><li>Double sided tape</li></ul><h4>Assemble</h4><ol><li>Print all parts. Make sure to print 4 M6 bolts.</li><li>Gently bend a female power cable, put through the hole of the <strong>base</strong> <strong>part</strong>, cut one line of the wire then solder each end with a rocker switch.</li><li>Install the rocker switch into the square area, push to the end.</li><li>Put the female power cable connector to the back of the <strong>base</strong> <strong>part</strong> hole for the 12v AC DC power supply.</li><li>Place the <strong>cover</strong> <strong>part</strong> on the center of the base. Use -0.1mm if the regular size is too tight.</li><li>Solder both red and black wire of the female power cable with hookup wires. Put the hookup wires through the <strong>arm part</strong>. </li><li>Solder two 12v LED strips.</li><li>Adhere two 12v LED strips to the <strong>head</strong> <strong>part</strong>, keep one end slightly open without adhering to the surface so you can solder with hookup wires coming from the <strong>arm</strong> <strong>part</strong>.</li><li>Solder hookup wires from <strong>arm</strong> <strong>part</strong> with one side of LED strip. Make sure to connect the right wire to + and - of the LED strip.</li><li>Use the <strong>bolt thread parts</strong> to joint the <strong>head part</strong> and the <strong>arm part</strong>, as well as the <strong>arm part</strong> and the <strong>base part</strong>.</li></ol>
With this file you will be able to print Simple LED Desk Lamp with your 3D printer. Click on the button and save the file on your computer to work, edit or customize your design. You can also find more 3D designs for printers on Simple LED Desk Lamp.