Simple modular x-carriage for Prusa (igus bushings)
thingiverse
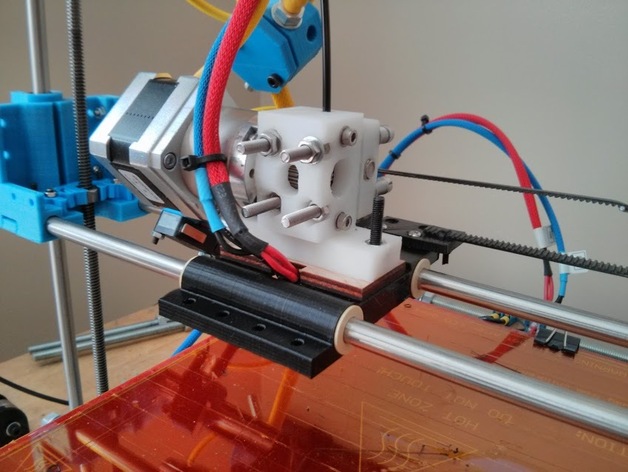
This x-carriage is designed for compatibility with standard Wade's or MakerGear extruders and 8mm smooth rods at the usual spacing. To ensure ease of upgrading and part replacement, I developed a modular x-axis design. The carriage features attachment brackets for accessories like belt clamps, fan mounts, and pen holders. If your x-ends are changed and the belt misaligns, simply print a new clamp instead of an entirely new carriage. To assemble, print the carriage rotated onto its side, insert four igus bushings into the rod holes, and slide them onto the x-rods. Attach one or two belt clamps to the carriage using m3 screws/nuts (nut traps are underneath the brackets). Feed a cable tie through the small rectangular holes on the belt clamp and tighten it around the belt. Due to potential belt offset differences, you may need to modify the belt clamp module in the scad file and reprint accordingly. The mounting brackets have m3 holes spaced 15mm apart for creating additional accessories like fan mounts.
With this file you will be able to print Simple modular x-carriage for Prusa (igus bushings) with your 3D printer. Click on the button and save the file on your computer to work, edit or customize your design. You can also find more 3D designs for printers on Simple modular x-carriage for Prusa (igus bushings).