Simple Sonoff S31 Flashing Clip
thingiverse
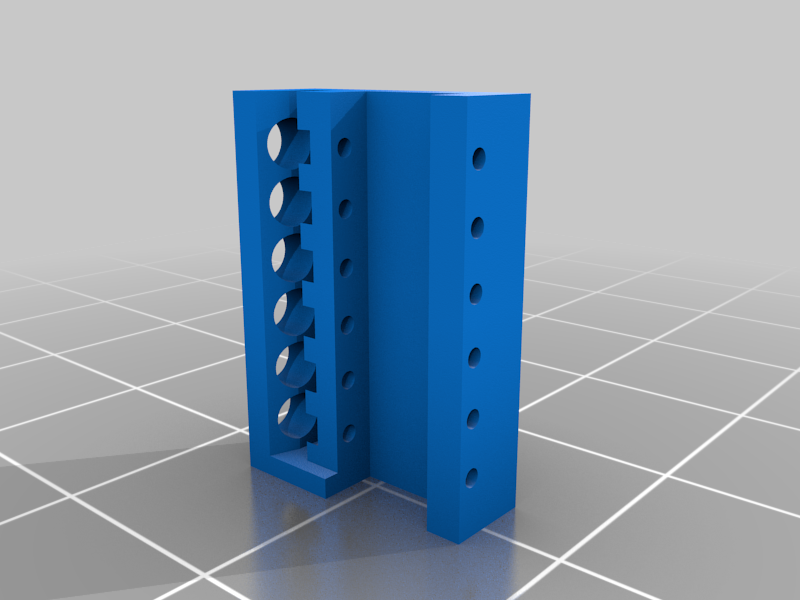
**UPDATES:** *2023-04-05* I have cut out the backing behind the used posts to make it easier to attach spring clips if that is where you want them to be clipped. Its still tight but it should allow them to fit in a little easier as it gives a little extra space for the hook to move. **Sonoff S31 Flash clip v2.stl** I have not tested this as I use the Dupont connectors instead. **SUMMARY:** I use Tasmotizer to flash my Sonoff devices to Tasmota and it has been working great. I have been flashing a few of my Sonoff S31 plugs to Tasmota using some spring clips instead of soldering on headers or wires. They work fine but are a little finicky because they get in the way of each other and I have to be very careful that they stay where I put them. Just for fun I thought I would try and make a little, slip-on clip that could be used instead. I know there are a bunch of other fancier clips out there but I wanted something simple that I could make with what I had around the house. I used 4 short sewing pins (*25mm x 0.80mm; Head: 2.0 mm diam x 0.9 mm depth*) and inserted them into my 3D printed part. The pins do not appear to be too consistent so ensure that there is enough clearance to fit and that the head of the pin will not contact with more than 1 pad. The bottom holes have to be large enough for the pin head to pass through so make sure they are cleaned out before trying to pull the pin through. I pushed mine from the bottom first and then pulled them up using needle nose pliers. I then used some small sharp cutters to take off the ends of the pins. They are really hard so wear eye protection and cut carefully. You should be able to use thinner pins that are longer, as long as the heads are not larger than what I have specified. The heads need to be small enough to fit into the holes in the upper section and only protrude a small amount so that they make contact with the pads but do not damage them. If you use thinner pins they may be a little loose so you may have to glue them in place. The clip slips over the edge of the circuit board and the pin heads rest against the pads. The clip should be snug and the pin heads should be centred on each pad. Connect leads to the pins or use the spring clips to connect. I clipped off the pointed ends of the pins leaving enough for my connectors to slide over. The pins fit pretty tightly into the clip but if they were a little sloppy a little UV curing glue applied at the top should hold them in place. You don't want to tear off the top of the pads so push the part onto the board carefully. I found starting at an angle made it easier to slide on. **Caution. Use at your own risk. If you do not align the clip carefully you could potentially short out the board. Always check the fit and positioning of the clip carefully before applying any power and be sure the clip is tight enough that there is no possibility of it moving.** Since I decided to make this after I had already flashed all the plugs I had, I have not done any extensive testing on it. I did take apart one of my previously flashed S31s to get measurements and ensure the clip fit properly. Since I had that one apart already I used it as my test and re-flashed it using Tasmotizer. It worked perfectly. I would assume that the pads will be consistent as they match a standard header but the trimming of the board may be slightly off so ensure the fitment before proceeding.
With this file you will be able to print Simple Sonoff S31 Flashing Clip with your 3D printer. Click on the button and save the file on your computer to work, edit or customize your design. You can also find more 3D designs for printers on Simple Sonoff S31 Flashing Clip.