Simpsons TV - 3.5" Screen
thingiverse
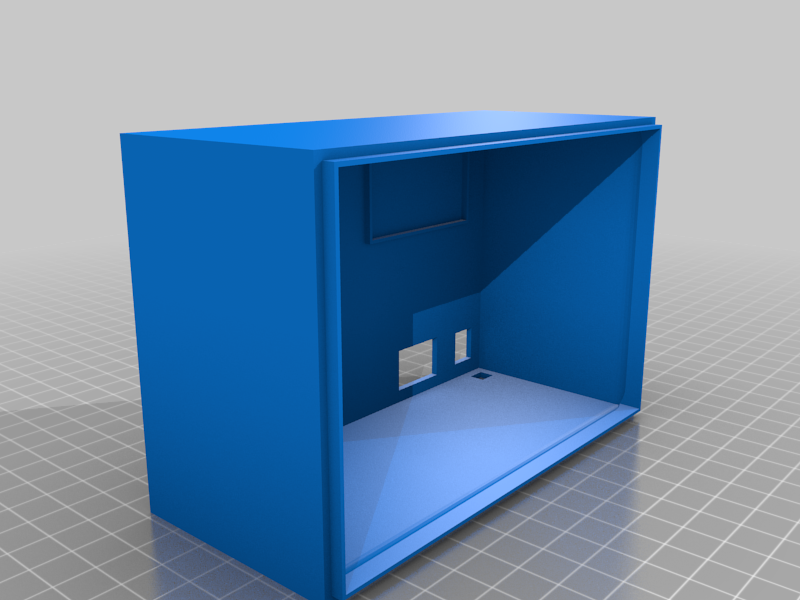
This is a remix of the popular Simpsons TV, made by Buba447. I basically redesigned every part except for the VCR, but VERY heavily took inspiration from his original design. The main difference is the difference in size, this is using a 3.5" Adafruit PiTFT touch screen instead of the 2.8" screen. I'm including the Fusion 360 file for anyone else to remix from this, or accomidate different parts. <h1>Parts used:</h1> <ul> <li><b>3.5" Adafruit PiTFT touch screen:</b> https://www.adafruit.com/product/2097</li> <li><b>KY-040 Rotary Encoder:</b> https://www.amazon.ca/s?k=KY-040</li> <li><b>Super generic potentiometer:</b> https://www.amazon.ca/Uxcell-a15011600ux0235-Linear-Rotary-Potentiometer/dp/B01DKCUVMQ</li> <li><b>LM2596 Buck converter:</b> https://www.amazon.ca/s?k=LM2596</li> <li><b>Barrel jack plug:</b> https://www.amazon.ca/Uxcell-a15012900ux0190-5-5x2-1-Female-Connector/dp/B011HFLKI2/</li> <li><b>Super basic rocker switch:</b> https://www.amazon.ca/FBApayipa-Solder-Rocker-Switch-Toggle/dp/B01N2U8PK0/</li> <li><b>Random 12v DC power supply</b> I had in a box in my closet</li> <li><b>Raspberry Pi Zero W</b> (However, this will perfectly fit a full sized Raspberry Pi</li> <li><b>Salvaged speaker and audio amp</b> - You can use whats used in the OG build guide, I just happened to have something I made work for now</li> </ul> <h1>Assembly</h1> It should be pretty straight forward, you can follow the OG guide for the software basics, the only difference is the rotery encoder if you chose to use it. You'll need to code something yourself to make use of it. Right now I'm only using the push button switch to turn on the amp I stole out of a broken bluetooth speaker until the amp boards I ordered show up. Eventually I'll make use of it, but I'm not sure how to use it to control omxplayer right now. If you're using the buck conveter, make sure you adjust the pot to ~5v, so you don't fry everything when you flick the switch on. 5V is good for a rPi zero, and 5.1-5.2v for a full size rPi. There are several different files in there depending on how you want to print it. <ul> <li><b>Front TV (Purple)</b> - This is the front housing, but just the part that is colored purple. Print it face up, with supports. This is because the grill part stops it from printing it the way you'd want to. </li> <li><b>Front TV (Black)</b> - This is the middle section that wraps around the screen. It also has the mounting for the PiTFT. Also needs supports, but not as annoying. If you're comfident with your bridging and how well it'll stick to the bed, you can try the other way. This should fit pretty snug into the purple part, but use some super glue or hot glue to make sure. </li> <li><b>Front TV (Purple, no supports)</b> - This is the same as the first, but without the lip for the grill. This will let you print it without supports, but not use the grill piece. </li> <li><b>Front TV (One piece)</b> - This is the black and purple piece as one model, like in the OG version. You can paint it yourself, or leave it purple.</li> <li><b>Front TV (One piece, no supports)</b> - Same as previous, minus the grill lip</li> </ul> The rest of the parts are straight forward. Theres buttons and housings for the electroics to run the knobs. If they don't work for what you have on hand, the fusion360 file is there for you to make some adjustments. <h1>Colors</h1> I'm using Eurekatec PLA, I found their colors are perfect for this build. <ul> <li><b>EurekaTec Violet</b> - https://www.eurekatec.ca/product/eurekatec-violet-4043d-1-75mm-pla-filament-1kg/1078?cp=true&sa=false&sbp=false&q=false&category_id=36</li> <li><b>EurekaTec Peacock Blue</b> - https://www.eurekatec.ca/product/eurekatec-peacock-blue-4043d-1-75mm-pla-filament-1kg/1076?cp=true&sa=false&sbp=false&q=false&category_id=36</li> <li><b>EurekaTec Black</b> - https://www.eurekatec.ca/product/eurekatec-black-4043d-1-75mm-pla-filament-1kg/965?cp=true&sa=false&sbp=false&q=false&category_id=36</li> </ul>
With this file you will be able to print Simpsons TV - 3.5" Screen with your 3D printer. Click on the button and save the file on your computer to work, edit or customize your design. You can also find more 3D designs for printers on Simpsons TV - 3.5" Screen .
