Single Piece, 3 Color, 8-bit Mario Mushroom
thingiverse
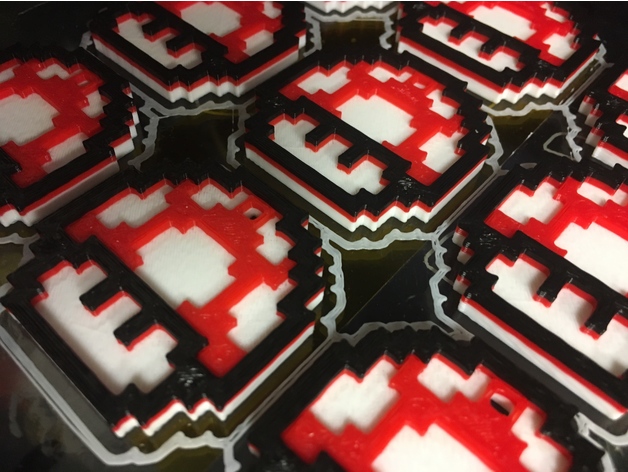
Needing to make several of these, I didn't want to spend a lot of time assembling them by hand. I decided to use the filament swapping technique to get the same full color look. It's true that the result is not flat on top, but the colors come out so crisp that I think it's a good trade off. I took the separate parts and combined them so that each colored section was a different height. I used the @pause command to get the pauses in, but this only works with repiter host, so you might need to switch to this control program for your actual prints. Details are in the Print Settings section. Print Settings Printer Brand: MakerGear Printer: MakerGear M2 Rafts: No Supports: No Resolution: 2mm Infill: 50% Notes: Printed going from darkest to lightest (white to red to black) keeps the colors nice and crisp. 50% infill helps get the top of the object nice and smooth. I also bumped up the extruder temperature in order to help get nice flat top layers. In order to get the automatic pauses in my g-code, I identified the layer for each switch in my slicing program, exported to g-code and then modified the g-code using Notepad++. Searching for each layer I added the following code: G1 Z100 G1 E-100 @pause Change Filament So that layer 14, in my case now looks like below: ; layer 14, Z = 2.7 G1 Z100 G1 E-100 @pause Change Filament M105 Run in Repitier Host and switch filament as needed.
With this file you will be able to print Single Piece, 3 Color, 8-bit Mario Mushroom with your 3D printer. Click on the button and save the file on your computer to work, edit or customize your design. You can also find more 3D designs for printers on Single Piece, 3 Color, 8-bit Mario Mushroom.