Single Point Levelling and Z-Offset Test
thingiverse
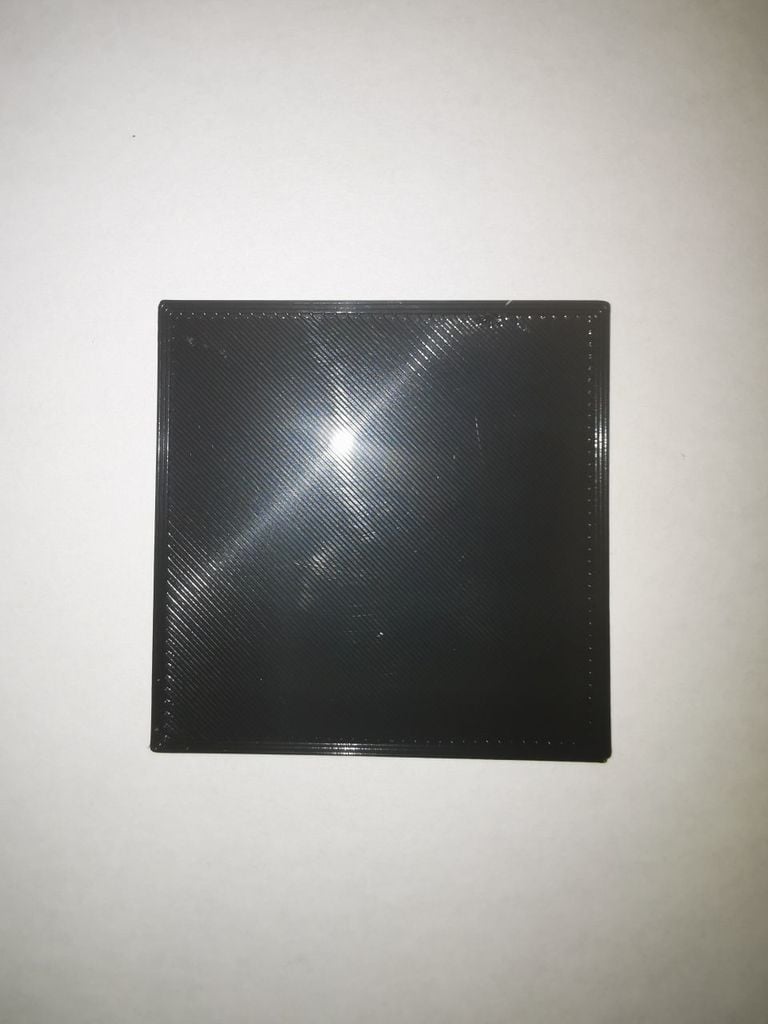
**There is no possible way I could describe the intended results better than the wonderful work of Billie Ruben.** ------------------------------ [Please follow this guide](https://imgur.com/tbvOlB9) in order to get your perfect first layer. This is a 20x20x0.1mm single point levelling test for you to do as part of your Z-Offset tuning, and initial levelling of your bed. The reason this is 0.1mm tall is because it allows you to calibrate and slice any layer height above 0.1mm. If this was any taller, if you had a 0.2mm nozzle and wanted your first layer to be 0.1mm (half the nozzle size), the slicer would not recognise it as an object. Typically, with a 0.4mm nozzle, you should set the slicer first layer to 0.2mm. This helps with first layer adhesion to the bed. This is for really dialing in the first layer, typically after the paper levelling technique. This has never worked for me, so I use a single point, possibly scaled up 250-300% (NOTE: only adjust the scaling on the X and Y directions), and manually adjust my Z-Offset. This is a really simple print, and should work on all print surfaces. I have tested PLA on glass this way, along with on the textured Carborundum Creality glass side, and textured PEI. PETG also works, and there is no reason why any other filament would not work. You can place multiple of these on your buildplate in order to test more than one place, such as in all 4 corners, the 4 edges, around the centre and the centre itself.
With this file you will be able to print Single Point Levelling and Z-Offset Test with your 3D printer. Click on the button and save the file on your computer to work, edit or customize your design. You can also find more 3D designs for printers on Single Point Levelling and Z-Offset Test.