Skin Layer Model: improved
prusaprinters
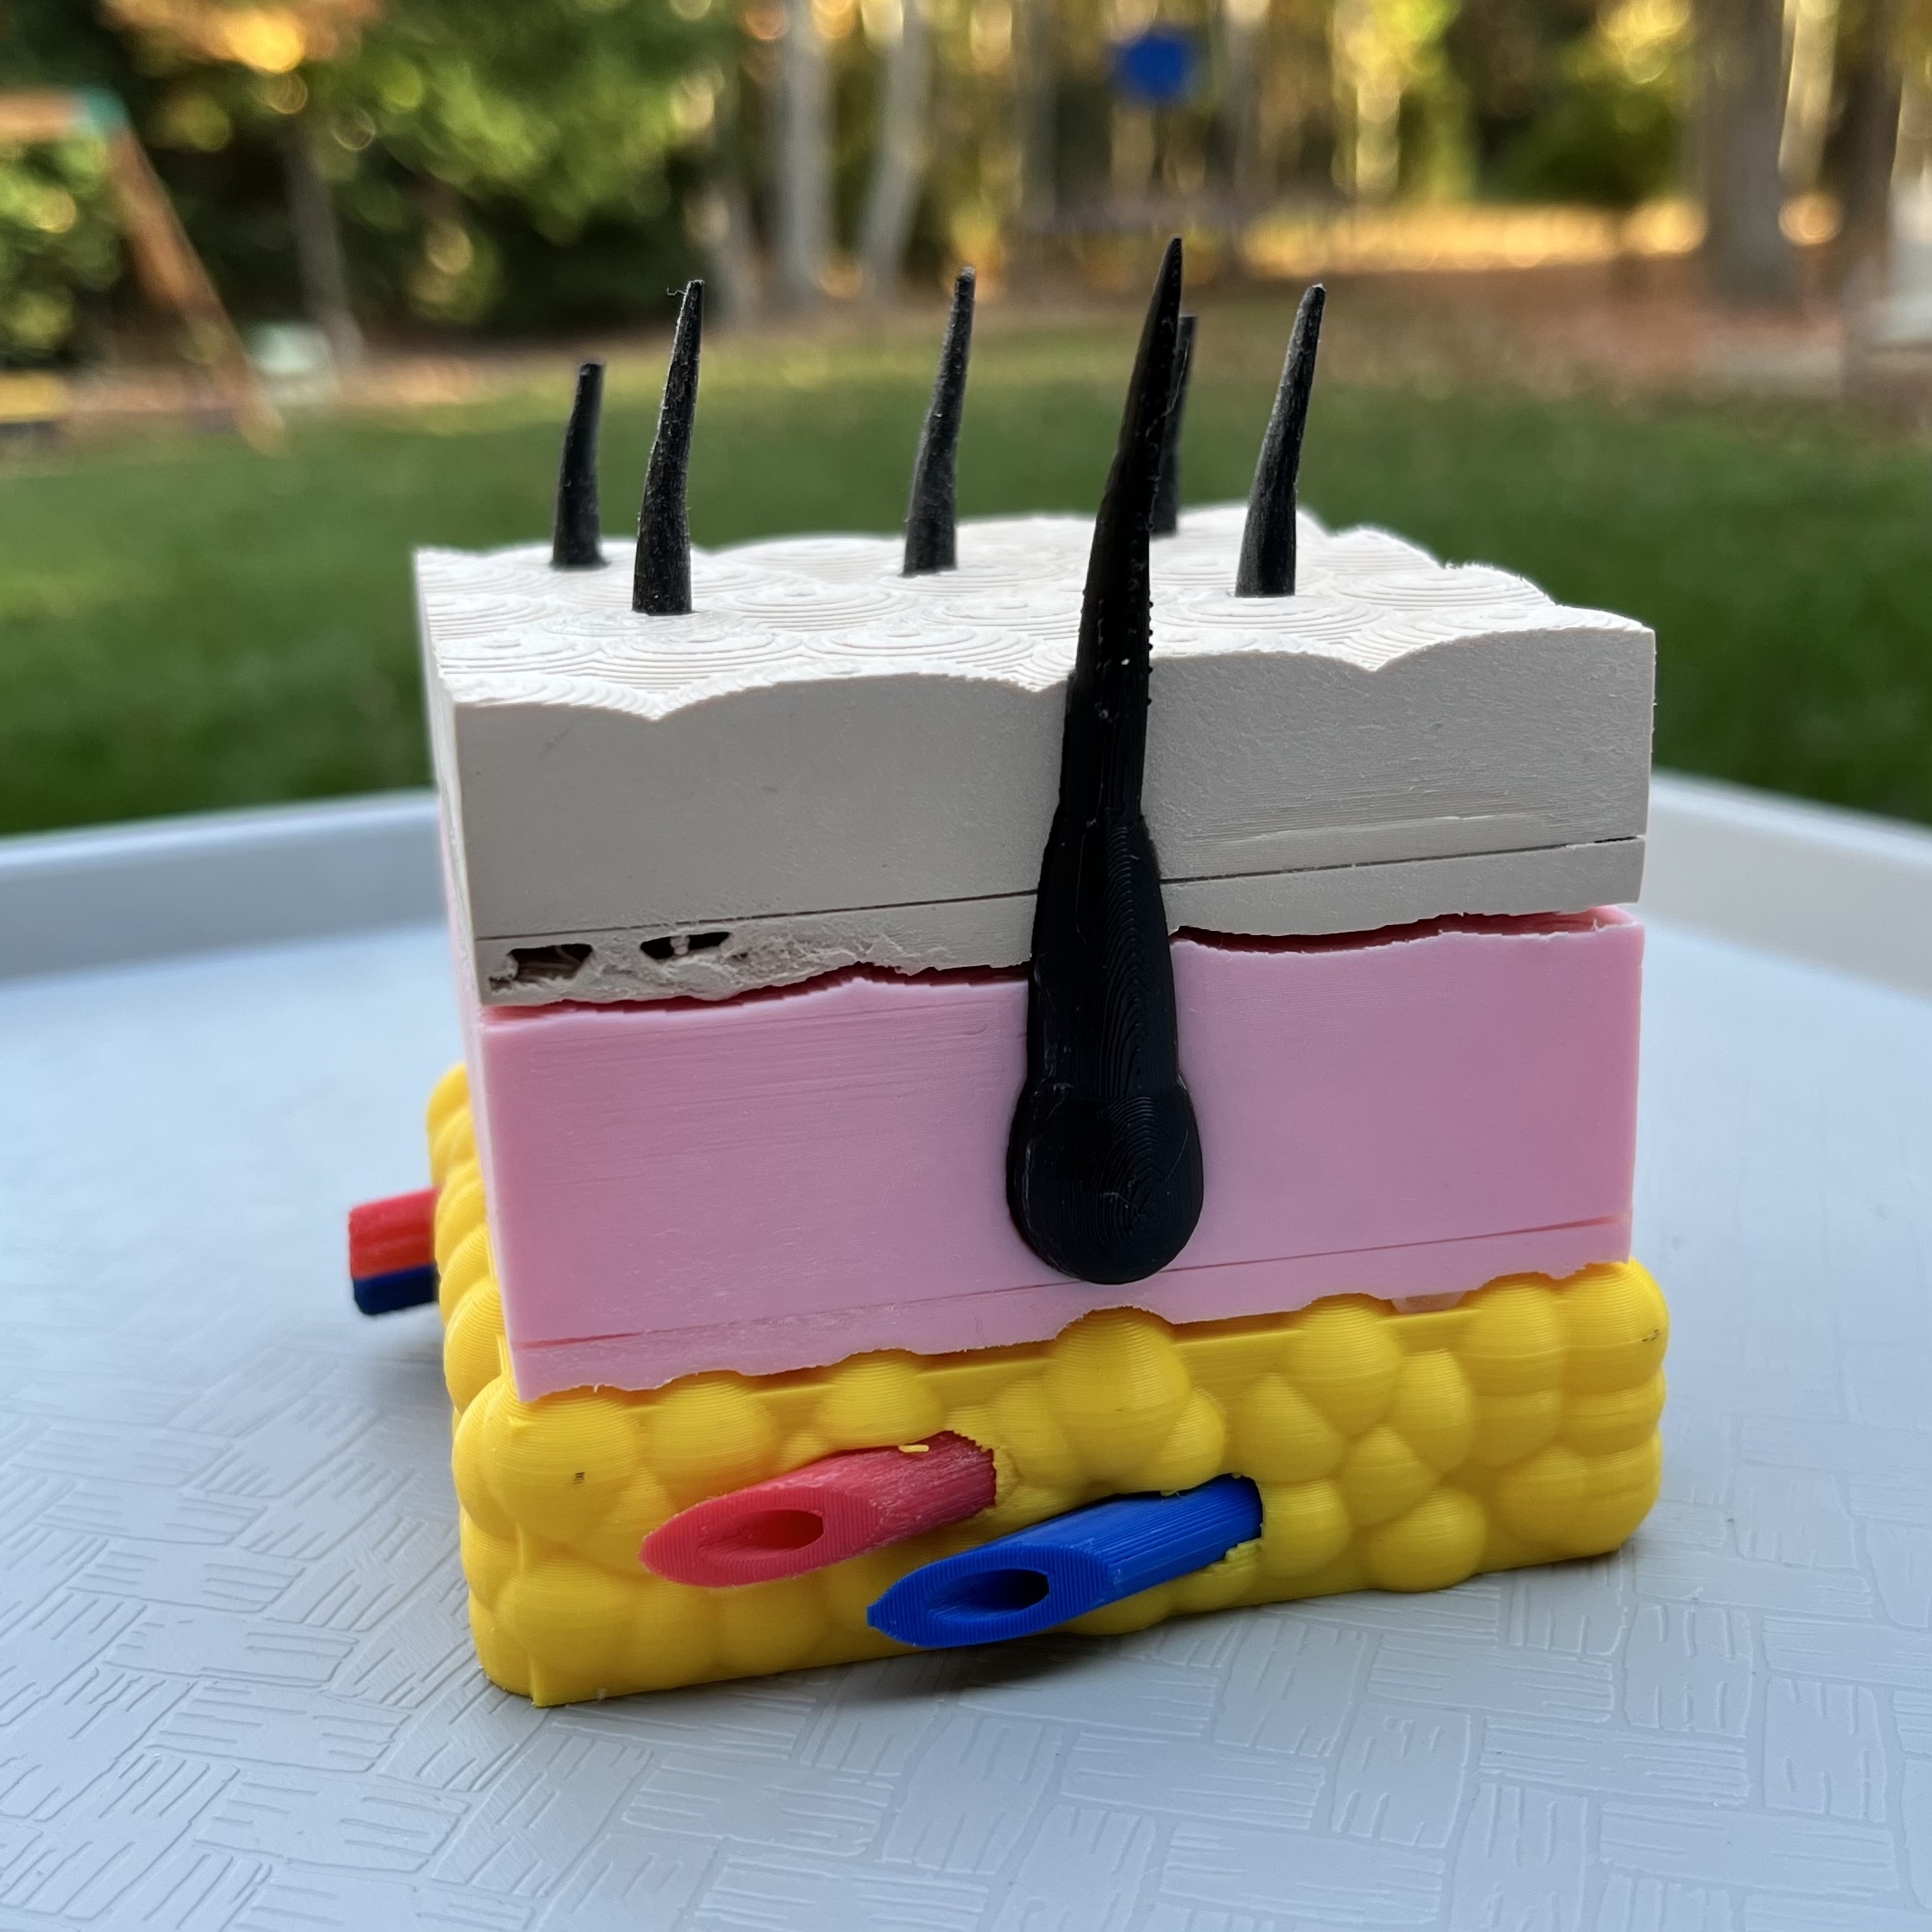
<p>This is a remix of <a href="https://www.printables.com/model/255549-skin-layer-model">https://www.printables.com/model/255549-skin-layer-model</a></p><p>This was a very hard model to print, but it is a very cool model to have. My daughter wanted to give it to her 3rd grade teacher. </p><h5>Changes: </h5><ol><li>I recreated the veins and arteries from scratch, and they are now one piece. This makes it easier to take in and out. I reduced the original diameter from 6.35mm to 6.33mm to make it better fit. I kept the same (sharp!) angle, and the Arteries are 170mm long and Veins at 185mm long. You will need 2 of each of these. I included a combo file that makes it easy to print both. </li><li>I cut the Epidermis (top layer) in half, because the original had an intricate pattern on the bottom layer, which did not print well at all. </li><li>Rotated some files for better printing</li><li>Renamed files for clarity</li></ol><h3>Printing Notes: </h3><p>This was a TOUGH model to print. There are lots of thin areas. I had stringing on the Dermis layer, which is effectively a test of how well your printer handles stringing. I had to sand this off from my print. </p><h4>Vessels: </h4><p>The blood vessels are best printed long ways using a 0.12mm layer height. Make sure the sharp tip is touching the build plate. I also used z-seam hiding to make sure the seams are on the less-sharp side, and this produced a very nice print. </p><p> 0.12mm layer height, 4 walls, 100% infill. A brim helps keep the edges from curling up and is easy to remove. Print slowly, like at 40mm/s. </p><h4>Hair:</h4><p>I tried printing this in the original configuration (vertically) many many ways. It failed many many times. Because it is basically a ball on the build plate, very hard to get it to stick. I had to resort to printing it long ways using both a RAFT and Normal Supports. I rotated 90 degrees on Z, and 90 degrees on Y so that raft/supports will be on the backside. I included the rotated file, so its ready to print. </p><p> 0.12mm layer height, 4 walls, 100% infill, raft, supports. Print slowly, like at 40mm/s. </p><h4>Hypodermis: (Skin Layer 1) </h4><p>Easiest to print. No supports, no adhesion. </p><p> 0.2mm layer height, 4 walls, 40% cubic subdivision infill. Kept original file, but renamed. </p><h4>Dermis: (Skin Layer 2, top and bottom)</h4><p>In Cura, I created a “Support Blocker”, positioned it a few layers below the top pattern, and then changed it to “Mesh Type: Modify settings for overlaps” and set it to 100% infill for just the top layers and all of the hair. </p><p>I also did a “filament change” and I changed from pink to black for the hairs. Its not perfect, because there is a bit of hair that is in the same layer as the top skin batter, but it came out pretty good. </p><p>The hair is pretty fragile, and I had a lot of stringing - had to sand it off at the end. </p><p>Depending on filament, I had some warping in the corners. Might want to try with a cold build plate and a gluestick. </p><p> 0.2mm layer height, 4 walls, 40% cubic subdivision infill. 100% infill for the hair + 4-8 layers below the top. </p><h4>Epidermis: (Skin Layer 3, top and bottom)</h4><p>Pretty easy print. </p><p>Depending on filament, I had some warping in the corners. Might want to try with a cold build plate and a gluestick. </p><p> 0.2mm layer height, 4 walls, 40% cubic subdivision infill. </p><p> </p><h3>Assembly: </h3><p>I roughed up the top/bottom layers of the dermis and epidermis with 80grit sandpaper. I used 5 minute epoxy to combine the layers, and clamped it until dry. Then I sanded the edges. Epoxy was a bit messy, next time I might just use superglue. </p><p>I sanded down the dermis hairs with a dremel and drum sanders. </p><p>I superglued the big hair to the dermis. Careful, sometimes superglue leaves a white residue that is obvious on black filament. </p><p>I used 80/120/220/400 grit sand paper and a random orbital sander. </p><p>I accidentally over-sanded some of the epidermis layers, but I'm leaving it - my daughter says skin isn't perfect - and she's right! Its more realistic this way! </p><p> </p><h3>Durability: </h3><p>The hair is pretty fragile, so be careful! There are also some very sharp corners on the blood vessels containers in the hypodermis layer. Also there are some fine details in the skin patterns, especially where it meets the edge. </p><p> </p><p>Great print, learned a lot. Thank you <a href="https://www.printables.com/social/331130-riley-clz-tech-studio">Riley CLZ Tech Studio</a>!!!! </p>
With this file you will be able to print Skin Layer Model: improved with your 3D printer. Click on the button and save the file on your computer to work, edit or customize your design. You can also find more 3D designs for printers on Skin Layer Model: improved.