Skware: Go/No-Go Compensation Test
thingiverse
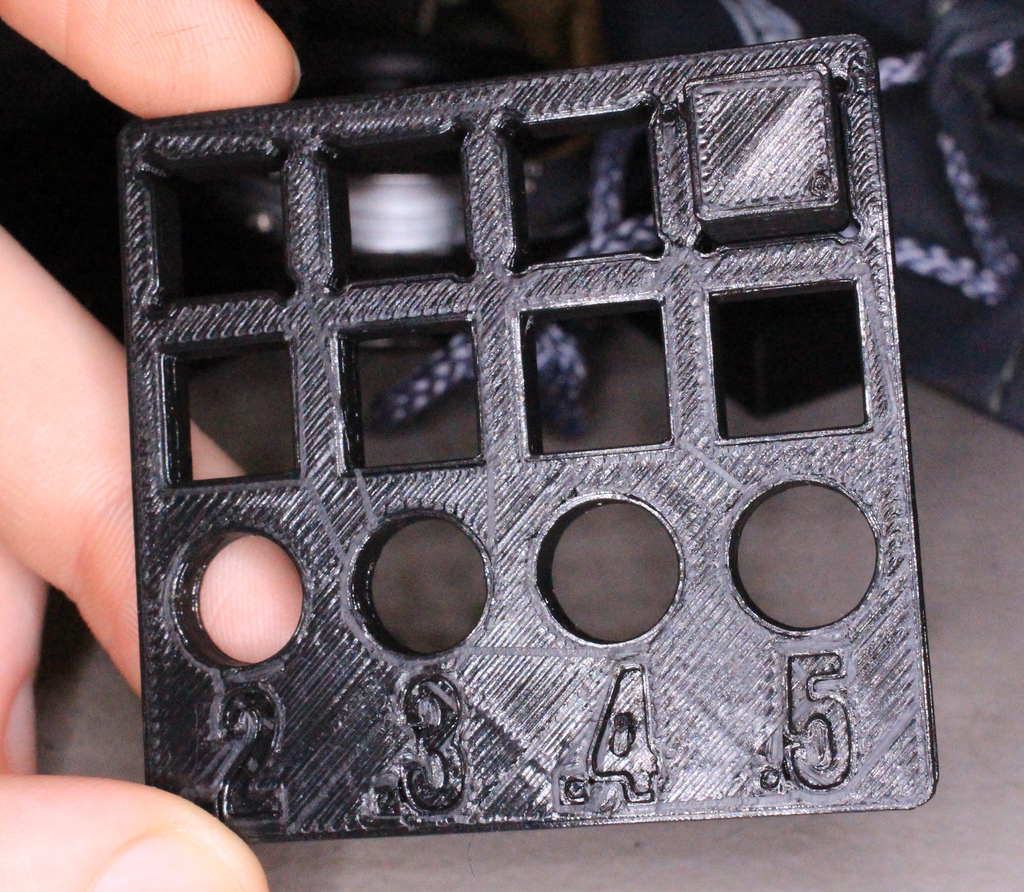
<h1>The Skware</h1> <h2>About</h2> The Skware is a compact traditional Go/No-Go test that helps determine the necessary compensation for engineering parts made on 3D printers to be true to size. This test is particularly useful for creating parts with sharp corners, which can be notoriously difficult to perfect, especially when using a 3D printer. Fortunately, there are ways to minimize this effect. By adding an extra row and relieving the corners or by chamfering the peg used for fitting within the pocket, additional simulation options become available. Use The Skware to discover the potential for improvement in your designs. <h2>How to Use</h2> Print out the test and the pegs, then clean them as needed. Printing at a slower speed will result in a better first layer, which is critical for this test. Insert each type of peg across each row, starting from the left and working your way right until the peg can fit into the hole to determine the minimum compensation amount required due to printer inaccuracies and settings. The holes represent a width of 10MM plus the number found at the bottom of the column. Each peg represents a width of 10 MM. If the 10MM peg fits in the 10.4 hole, for example, then the design must compensate for this amount to ensure fit after printing. To make our designs work according to this discrepancy in accuracy, we can enlarge our holes by 0.4MM or decrease the width of our inserting part by the same amount. <h2>Scale</h2> Each column features a size, such as ".2", which means that .2 has been added to the total width of the regular diameter or width (10 MM). Essentially, in the virtual scenario, the .2 sized hole is actually 10.2 MM wide hole, meaning .1 MM will be on either side of the peg used when inserted. <h2>Contents</h2> • Regular Fitting Guide • Oversize Fitting Guide • 10MM Cylinder • 10MM Chamfer Cube • 10 MM Plain Cube <h2>Changes</h2> November 14, 2017: Added "Oversize Fitting Gauge". This allows for looser fits and testing for poorer calibrations. Please check back to see future additions and other gauges. <h2>Recommended Settings</h2> It is recommended that your first 2-3 layers go quite slow (10-25 mm/s) in order to lay the many inside perimeters of the test well. A 15% Infill is suggested. <h2>Disclaimer</h2> Creative Commons License - Attribution I'd love to hear from you. Leave me a message if you have any questions, comments, or suggestions, and I'll get back to you right away. Thanks, and happy printing, Inventorsquare
With this file you will be able to print Skware: Go/No-Go Compensation Test with your 3D printer. Click on the button and save the file on your computer to work, edit or customize your design. You can also find more 3D designs for printers on Skware: Go/No-Go Compensation Test.