SLA/DLP Flex VAT
thingiverse
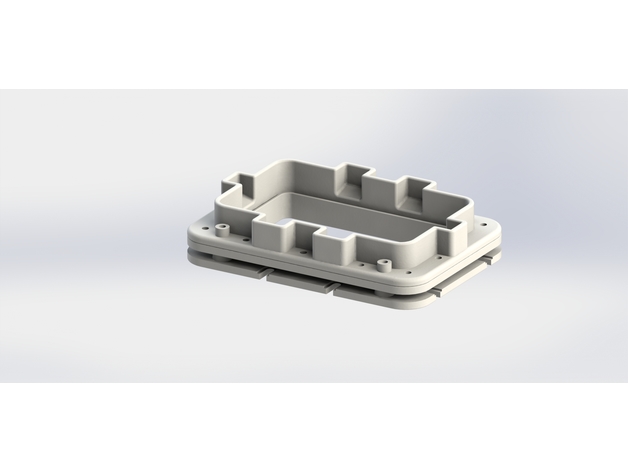
I could not find any reasonable bigger Flex VAT for DLP/SLA printer, so I made one. Usable area is ~14.5 cm x ~8.5 cm. VAT is assembled by assembling top part first. Take "middle" part and use that as a template to make a seal from some sort of thin rubber (~1mm). I used EPDM and it worked fine. Choose one of "top" parts, print it. Stack everything together: (1) middle part, (2) FEP film, (3) seal, (4) top part. I used M5 screws. Fix tensioner to your printer, align it well and mount top assembly with four dedicated screws in each corner. You can easily remove top part just by unscrewing those four screws. WARNING: when placing assembled top part on tensioner, screw every corner very gently and do NOT over stress FEP film. FEP tensioning must be done very carefully. If you experience serious sagging (since I do not like to tension FEP film too much), get yourself some acrylic glass (I used 2mm thickness), and use tiny glass supports that I have also added to fix that acrylic piece of glass at the top of tensioner. This would provide good foundation for FEP film. Remember, that glass support MUST not come out of the tensioner - glass must be in one line / plane / flat with tensioner edges. The easiest way to mount glass is simply to put tensioner on the flat surface up side down, put the glass rectangle inside the tensioner (then tensioner and glass will both be flat) and then use glue to fix those supports: push each support hard against the flat surface in each corner (see attached photo), wait a bit for glue to harden. It is possible to modify tensioner to include those glass supports, but by printing them separately you can use glass of any thickness. I do not recommend using window glass, since if you shatter it, you might seriously damage your printer. Piece of acrylic can bend easily and will let you make some errors when leveling printer. Remember to sand corners of acrylic piece, make them round and smooth. This will lower risk of damaging FEP film. P.S. I know that funnel is not in the best place, but there just wasn't room for it. So you can choose if you want to have it or not (choose appropriate top part). You can also print it together with top part or separately and use glue to fix it in place later. UPDATE: I have updated all parts, since there were issues with scale. The software I used to position them properly modified scale factors of some parts, so I have re-uploaded parts in their original printing position, so please orient them yourself since best position is pretty obvious. Sorry for that. For other great content, please visit our blog at http://ameralabs.com/blog/ Print Settings Printer Brand: MakerBot Printer: MakerBot Replicator 2 Rafts: No Supports: No Resolution: 0.3 Infill: 15% Notes: Number of shells: 3.
With this file you will be able to print SLA/DLP Flex VAT with your 3D printer. Click on the button and save the file on your computer to work, edit or customize your design. You can also find more 3D designs for printers on SLA/DLP Flex VAT.