Sleep Box
thingiverse
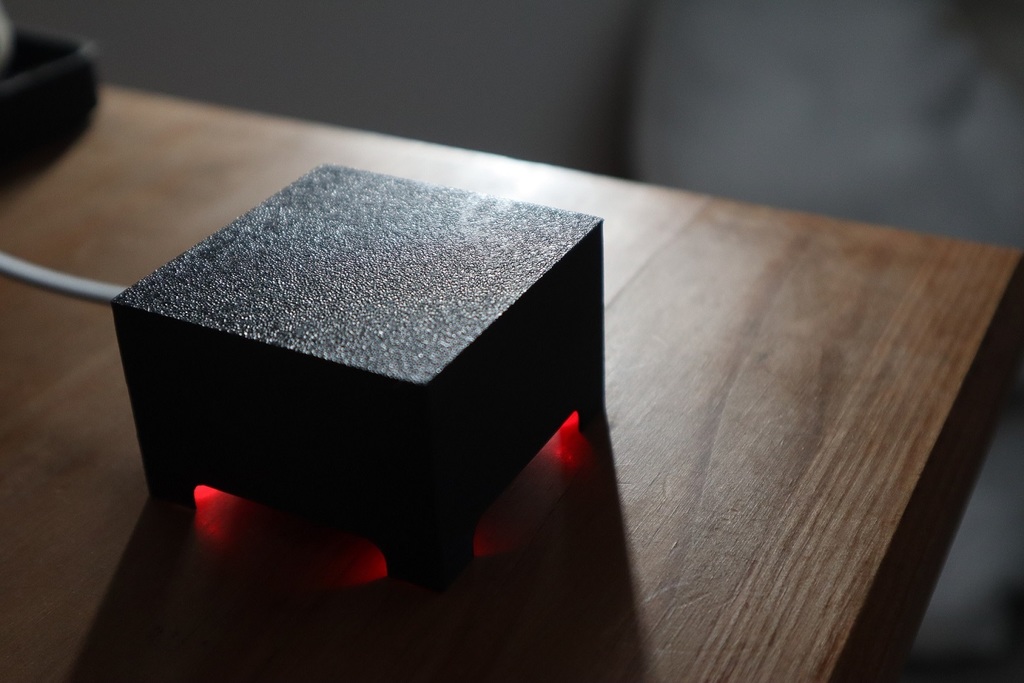
# sleep-box Simple Sleep Box implementation using ESP32, inspired by https://www.dezeen.com/2019/05/03/mark-zuckerberg-sleep-box-design/ Uses an ESP32 to keep track of time and turns the LEDs on for a set time every day. Source code is available at https://github.com/martysweet/sleep-box ## Components 1. Adafruit Huzzah32 (ADA3405) - should also be ESP8266 compatible - adjust the PIO config and pin configuration 2. 4x LEDs - 4 was chosen, 1 for each corner but less can be used if needed 3. 4x Resistors - chosen for brightness, for the LEDs I used, 4.7k resistors worked well 4. 2x Self tapping screws - 2mm thread to keep the Huzzah in place when (dis)connecting the micro-USB 5. A short bit of wire to connect the LED grounds 6. (Optional) Crypton tape - Useful for soldering the eletronics in-place with minimal damage to 3D printed parts ## Software Build Instructions 1. Use VSCode with PlatformIO Plugin 2. Adjust the configuration at the top of src/main.cpp as required 3. Adjust the PIO settings as required 4. Build the project and flash the chip See https://github.com/smurf0969/WiFiConnect/issues/5 for issues with the WiFiConnect library. 5. Join the ESP WiFi network with your phone at http://192.168.4.1 6. Click Join WiFi and enter your WLAN settings 7. The device should now turn on the outputs as you've programmed. ## Hardware Construction 1. Print the STL files located in the `models` folder, you can optionally edit the `f3d` (Fusion 360) files. 2. Print the two parts, platform and housing in your desired material 3. Use the platform to align the LEDs and place crypton tape where needed at the joins 4. Join the neutral LEDs legs together on each side and join a wire between the two side 5. Solder 4x resistors to the Adafruit (A0, A1, 12, 13) 6. Use an resistor off-triming to join the neutral LED wiring to the GND pin on the Adafruit 7. Join each LED positive leg to its own resistor (wrap the resistor wire round the LED leg for ease of soldering) 8. Screw the Adafruit down 9. Place into housing so the LEDs are visable until the stop is met on both sides    ## Operation - Once time is synchronized with NTP over WiFi, the ESP32 will perform timekeeping using built-in timers.
With this file you will be able to print Sleep Box with your 3D printer. Click on the button and save the file on your computer to work, edit or customize your design. You can also find more 3D designs for printers on Sleep Box.