Slide-In Drawer Label Holders for Plastic Drawers or Boxes, with Easy Install Templates
thingiverse
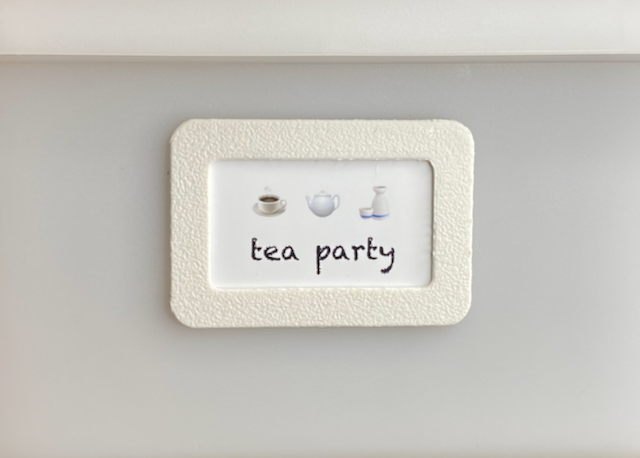
<b>BACKGROUND:</b> Needing to bring order to my daughter's toy storage, I designed a simple label holder. My intention was to glue them to the drawer fronts with double-sided tape or superglue. Then I realised IKEA's Trofast drawers are made of polypropylene (PP), to which apparently no adhesive will adhere... Version 2 uses simple stud fasteners instead for a firm, glueless hold. It does require drilling 4x holes, but the included templates make it child's play to do this precisely and repeatably with perfectly centred, level placement every time. Finally, the label sizing is based on standard photo paper to simplify printing/cutting. The resulting tags will be approx 50 x 30mm (2 x 1.2inches) Overall I think the stud installation is probably just as fast as adhesive, if not faster, and generally more robust for years of abuse by children. Even so, I have also included the holder without studs just in case anyone wants to try it with glue/tape as I originally planned. Just check the bottom of your box for that cursed 'PP' symbol and/or do a test run <i>before</i> you print 20 of them... unlike me! <br> <b>TEMPLATES:</b> IKEA Trofast drawers have moulded ribs under the top edge. I found my other plastic storage boxes all have similar features. The slots on the included jigs utilise these ribs for easy alignment/spacing across multiple drawers. If the templates don't work for whichever box, bin or drawer you have--or if you just want different spacing--it should be pretty simple to remix them to suit your application. <br> <b>INSTALLATION:</b> 1. Line up the template on your drawer/box 2. Holding it firmly in place, drill the 4x holes with a 3mm bit (7/64" should work too, though I haven't tested this). 3. Whip off the template, clean up the holes if needed then click the label holder in place 4. OPTIONAL for a REALLY firm hold: use a soldering iron (on low) to melt the studs against the back/inside of the drawer. Careful not to melt all the way through! <br> <b>LABELS:</b> 1. In your favourite office or design software, set the paper size to 6x4 borderless (no margins) 2. Divide the page into a 5x2 table/grid 3. Design! 4. Print! 5. Cut!
With this file you will be able to print Slide-In Drawer Label Holders for Plastic Drawers or Boxes, with Easy Install Templates with your 3D printer. Click on the button and save the file on your computer to work, edit or customize your design. You can also find more 3D designs for printers on Slide-In Drawer Label Holders for Plastic Drawers or Boxes, with Easy Install Templates.