Small Parts Cabinet
thingiverse
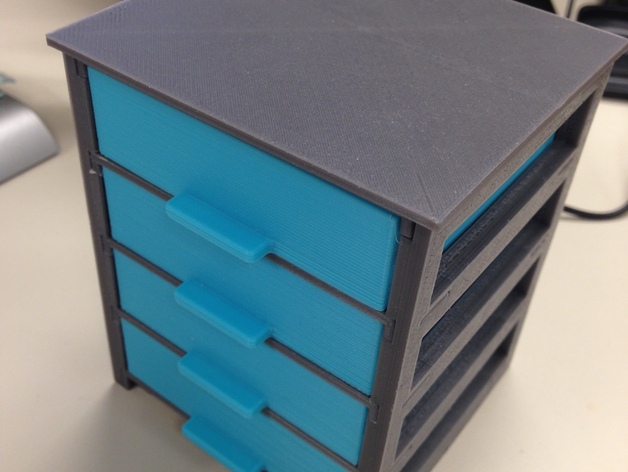
I was not happy with most of the one piece cabinet and drawer units that I encountered here on Thingiverse and other sites. The frames were somewhat flimsy and would require a pretty capable printer to create. So I combined my admiration for Mission-style furniture and the mortise and tenon construction and created a snap together cabinet frame. The cabinet is designed to be printed on the smaller beds of the lower cost printers that have become available and should print on a 120mm x 120mm bed. The tolerances are very tight, so depending on the accuracy of your printer, some light sanding of the tenons and rails might be necessary for the best fit...you want the joints to be tight, but not too tight. By the same token, if your printer has some slop in it, glue might be needed. I was able to print a nicely fitted cabinet assembled with only a small amount of sanding with my Monoprice Mini Select. To build the cabinet, you need to print the following: 4 drawers (any combination that you desire) 3 dividers 1 each of the top, base, left and right sides and back Assembly - refer to the Small_Parts_Cabinet.stl file for parts orientation and position. Test fit and adjust joints by light sanding as needed Insert the base into the back. Insert the three dividers into the back Attach the left side Attach the right side Place the top and carefully align the long slots and press into place. Slide the drawers into the frame and fill with nuts, bolts or other small parts.
With this file you will be able to print Small Parts Cabinet with your 3D printer. Click on the button and save the file on your computer to work, edit or customize your design. You can also find more 3D designs for printers on Small Parts Cabinet.