Smart Bed occupancy sensor
thingiverse
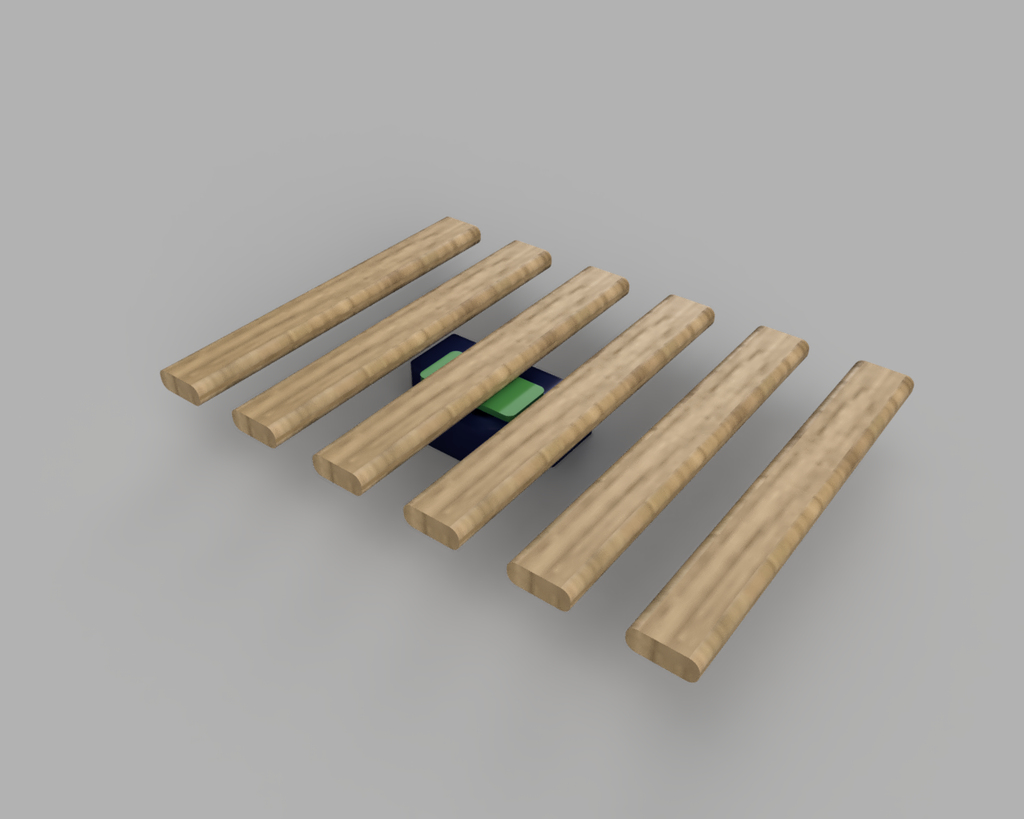
Very simple holder for HX711 load cells, to be installed under bed mattress. it is holding by two screws with washers. Main motivation was to be able to run automations like turn off all lights and open blinds in the morning. Overall it came out surprisingly exact, as whole mattress became giant scale. The build should be under 10 €. HX711 with 4 load cells, Wemos D1 mini, and 3D printed mounts. Flashed with ESPHome. Device itself is connected by scheme attached, and wired to Wemos D1 mini through I2C ## Shopping list [HX711 Load cells](https://www.aliexpress.com/item/4000205992686.html?spm=a2g0s.9042311.0.0.51ec4c4dvAl9yP) [Wemos D1 Mini](https://www.aliexpress.com/item/32688079351.html?spm=a2g0s.9042311.0.0.27424c4d0Hicaz) Telephone 4 wire cable Telephone 4 pin connectors I had laying around. Bellow is firmware for ESPhome to use it with HomeAssistant. After installing you have to look for logs, mark the number sensing with no weight, and then put some known weight and again mark this number from sensors even if it's negative. Then put these numbers as calibration filter bellow. ```yaml substitutions: devicename: "smart_scale" upper_devicename: "Smart scale" esphome: name: $devicename platform: ESP8266 board: d1_mini wifi: networks: - ssid: "IoT-WiFi" password: !secret Luc3as_IOT_WIFI_PASS #manual_ip: # static_ip: 192.168.3.123 # gateway: 192.168.3.1 # subnet: 255.255.255.0 # dns1: 192.168.3.1 ap: ssid: ${upper_devicename} AP password: "password" captive_portal: # Enable logging logger: #level: debug # Enable Home Assistant API api: password: !secret esphome_api_pass ota: password: !secret esphome_ota_pass text_sensor: - platform: template name: ${upper_devicename} uptime lambda: |- uint32_t dur = id(uptime_s).state; int dys = 0; int hrs = 0; int mnts = 0; if (dur > 86399) { dys = trunc(dur / 86400); dur = dur - (dys * 86400); } if (dur > 3599) { hrs = trunc(dur / 3600); dur = dur - (hrs * 3600); } if (dur > 59) { mnts = trunc(dur / 60); dur = dur - (mnts * 60); } char buffer[17]; sprintf(buffer, "%ud %02uh %02um %02us", dys, hrs, mnts, dur); return {buffer}; icon: mdi:clock-start update_interval: 30s sensor: - platform: uptime id: uptime_s update_interval: 30s - platform: wifi_signal name: ${upper_devicename} WiFi Signal update_interval: 60s - platform: hx711 name: "Weight" dout_pin: D1 clk_pin: D2 gain: 128 update_interval: 30s filters: - calibrate_linear: - 7711 -> 0 - -156518 -> 79.5 unit_of_measurement: kg switch: - platform: restart name: ${upper_devicename} restart ``` ### If You liked my work, You can buy me a coffee :) <a class="" target="_blank" href="https://www.buymeacoffee.com/luc3as"><img src="https://lukasporubcan.sk/images/buymeacoffee.png" alt="Buy Me A Coffee" style="max-width: 217px !important;"></a> ### Or send some crypto <a class="" target="_blank" href="https://lukasporubcan.sk/donate"><img src="https://lukasporubcan.sk/images/donatebitcoin.png" alt="Donate Bitcoin" style="max-width: 217px !important;"></a>
With this file you will be able to print Smart Bed occupancy sensor with your 3D printer. Click on the button and save the file on your computer to work, edit or customize your design. You can also find more 3D designs for printers on Smart Bed occupancy sensor.