Smarthub Enclosure for Raspberry Pi Home Assistant Build with Official 7" RPi Touchscreen
thingiverse
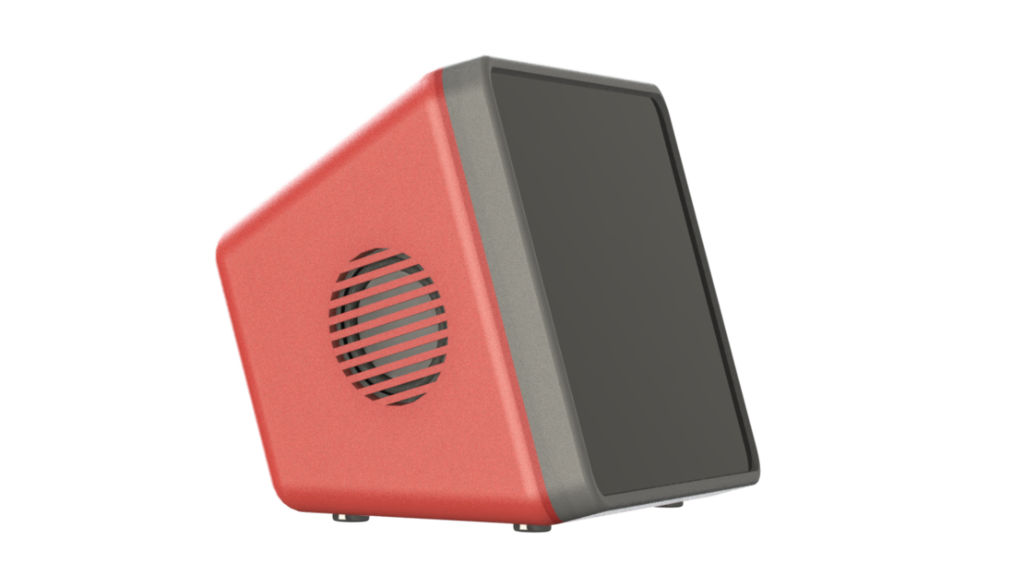
I was cruising around Github and found [this project](https://github.com/shivasiddharth/GassistPi/tree/Google-Assistant-SDK-Smart-Screen) and thought it was great! I have a small pile of Pis and a touchscreen so I made this to use them. It's held together with 6mmx2mm magnets and M3 screws. The Microphone board needs 2x 2.5x5mm screws or some superglue. Can use any Pi board that's full size. #BOM: - Your favorite Raspberry Pi - A 32gb or so SD for that Pi - [MAX4466 Microphone board](https://www.amazon.com/gp/product/B08T9C4VF6/ref=ppx_yo_dt_b_asin_title_o01_s00?ie=UTF8&psc=1) - [USB C Panel Mount](https://www.amazon.com/gp/product/B086YBP5VW/ref=ppx_yo_dt_b_asin_title_o04_s00?ie=UTF8&psc=1) - [USB Soundcard](https://www.amazon.com/gp/product/B00IRVQ0F8/ref=ppx_yo_dt_b_asin_title_o00_s00?ie=UTF8&psc=1) - [USB 3 or USB 2 Panel Mount](https://www.amazon.com/USB-3-0-Extension-Cable-Panel-Mount/dp/B087BK3WRB/ref=sr_1_3?dchild=1&keywords=usb+3+panel+mount&qid=1625688915&sr=8-3) - [40MM Speakers](https://www.amazon.com/Cylewet-Diameter-Loudspeaker-Speaker-Arduino/dp/B01N1XLS87/ref=sr_1_11?dchild=1&keywords=40mm+speaker&qid=1625689157&sr=8-11) - [Amplifier Board](https://www.amazon.com/DEVMO-Amplifier-PAM8406-Digital-Channel/dp/B0899X1Y5X/ref=sr_1_5?dchild=1&keywords=5v%2Bamplifier&qid=1625689255&sr=8-5&th=1) - [Audio Cable](https://www.amazon.com/UGREEN-Auxiliary-Compatible-Smartphones-Speakers/dp/B00LM0U8I6/ref=sr_1_25?dchild=1&keywords=3.5mm+audio+jack&qid=1625689399&s=electronics&sr=1-25) - [6x3mm Magnets](https://www.amazon.com/HHOOMY-Multi-Use-Magnets-Refrigerator-Whiteboard/dp/B088TCJQQF/ref=sr_1_6?dchild=1&keywords=6mm+magnet&qid=1625689688&sr=8-6) - 10mm rubber feet - Some wire, maybe 26AWG or so I used the big speakers because I wanted it to sound good enough to listen to music on. Glue the speakers in with some hot glue or superglue. Now if it's a link it's what I used, I used a pi4. If using a pi3 or older you can still use the USB C input, but you need one with a micro on the other end or an adapter, or cut it off and solder the wires to the 5v in on the GPIO header. The information on how to build it is in the Github link. The alignment pegs print separate to make it easier and glue into one side of the base of bezel along with the magnets. I use superglue. The power for the amplifier and microphone board comes off the GPIO header. #Thank you! If you got questions you can find me and others at [Morninglion Industries Discord](https://discord.gg/R2vPAdQPEQ)
With this file you will be able to print Smarthub Enclosure for Raspberry Pi Home Assistant Build with Official 7" RPi Touchscreen with your 3D printer. Click on the button and save the file on your computer to work, edit or customize your design. You can also find more 3D designs for printers on Smarthub Enclosure for Raspberry Pi Home Assistant Build with Official 7" RPi Touchscreen.