SMDquick Solderless Surface Mount to Breadboard Prototyping Socket for SSOP or SC70 components (0.65mm pitch,16 or fewer pins)
thingiverse
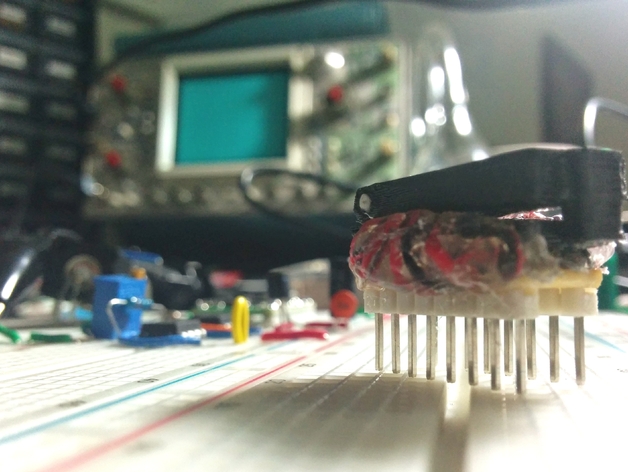
This design is meant to replace something like (http://www.aprilog.com/images/20SSO17-D6-ZL.jpg), typically sold for $50-75 each. It securely holds one component with 16 or fewer pins, or several smaller components at once. The device holds an SC70 package in place without movement or shorting. Be sure no pins are accidentally shorted together when inserting a component into the socket. Using magnet wire makes assembly and appearance easier, so highly recommended over standard insulated wire. For detailed instructions see further down. Instructions Print with 0.1mm layer thickness, and support material for bottom half overhangs. Two prints at once are best, to give final layers time to cool. No surface preparation is needed between print and assembly. To secure the hinge, use insulated 26 gauge wire and trim excess. Use two 8-pin SIP header segments (0.1" spacing), soldered to perf-board or breadboard for easy pin placement. SC70 PCB pieces are easily cut from scrap board. Using this SOP28-SSOP28-TSSOP28 Adapter would be a simpler option in the future. For a more professional finish, use insulated magnet wire gauge 26 or higher. This eliminates unsightly soldering, but hot-glue works for a makeshift look. Attach printed body to perf-board with secure glue. Check connections with multimeter after completion, ensuring no shorted pins were left behind.
With this file you will be able to print SMDquick Solderless Surface Mount to Breadboard Prototyping Socket for SSOP or SC70 components (0.65mm pitch,16 or fewer pins) with your 3D printer. Click on the button and save the file on your computer to work, edit or customize your design. You can also find more 3D designs for printers on SMDquick Solderless Surface Mount to Breadboard Prototyping Socket for SSOP or SC70 components (0.65mm pitch,16 or fewer pins).