Snapmaker 2.0 A350 Touch Screen Enclosure Seat
thingiverse
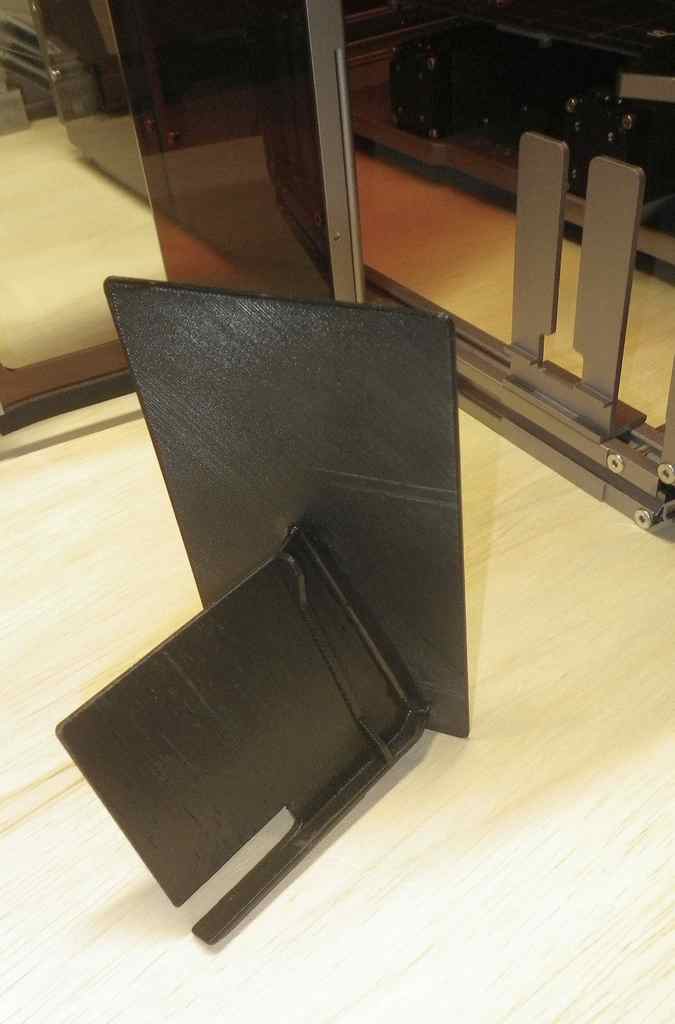
ONLY for the SnapMaker 2.0 A350 Enclosure. I do not know if it fits others. 3 piece assembly so that the SnapMaker 2.0 A350 control pad is easily visible from the side. My 3D printer table setup has the longer side door panels facing me so the original touch screen holder is not easy to view. This makes the touch screen visible and accessible. The touch screen is angled for better viewing and to clear the front door panel hole when opening. These models are an updated version on the first build shown in the photos. The build direction is important to make the cantilever seat stronger. For the panel, it is to make the main face flat as it faces the door panel. I used PLA and it holds up fine. You will need to add supports to the 2 larger parts when printing. Use cyano or epoxy to bond the parts. I used Harbor Freight disc magnets (Rare Earth Magnets; SKU(s) 67488, 98371) in the 4 wells on the seat for the control pad. To bond the magnets in place so the magnetic attraction is correct; 1) do a dry run to correctly orient the magnets in each well; place the control pad in position and carefully seat each magnet so it is attracted to the magnet in the control pad. Repeat the above steps and glue the magnet into the wells.
With this file you will be able to print Snapmaker 2.0 A350 Touch Screen Enclosure Seat with your 3D printer. Click on the button and save the file on your computer to work, edit or customize your design. You can also find more 3D designs for printers on Snapmaker 2.0 A350 Touch Screen Enclosure Seat.