snapmaker 3-in-1 pcb clamp 70x60mm
thingiverse
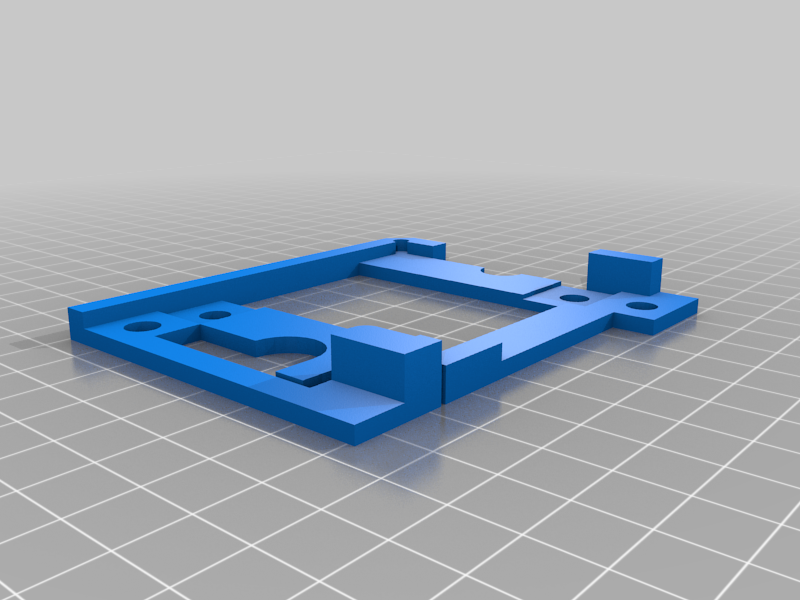
I wanted to use my snapmaker 3-in-1 for PCB plotting with a permanent marker. I cut my PCB's to size 70x60mm and wanted an easy clamp to screw onto the selfmade MDF platform. Cut the MDF to size an make sure it doesn't hit the z-axis. Home X and Y until you hit the end stops. Lower the pen and draw two lines at X=0 and Y=0. Align the 3d printed clamp and screw onto the MDF. The clamp uses a 3d printed spring mechanism to keep the PCB fixed. 1) Why 70x60mm? => I buy PCB's with total size of 150x200mm, I cut it in 6 pieces. 2) Why not tape or screw the PCB? => I prefer to just click the PCB into the holder, I find it easier. Just some information. I like the pen holder I use now, but a downside is that when you home to X=0, the location is a bit to the left of the Z gantry. Therefore you need to cut out a bit of the MDF platform and you cant use the full 130x130mm. It is not a big problem for me now, because I use smaller PCB's. A solution would be to offset the penholder to the right, mark new X=0 and screw the clamp to the new position. But you need to redesign a new pen holder. Another solution would be to move the x-endstop to the right, but It is build in the gantry.
With this file you will be able to print snapmaker 3-in-1 pcb clamp 70x60mm with your 3D printer. Click on the button and save the file on your computer to work, edit or customize your design. You can also find more 3D designs for printers on snapmaker 3-in-1 pcb clamp 70x60mm.