Snapmaker Laser Shield
thingiverse
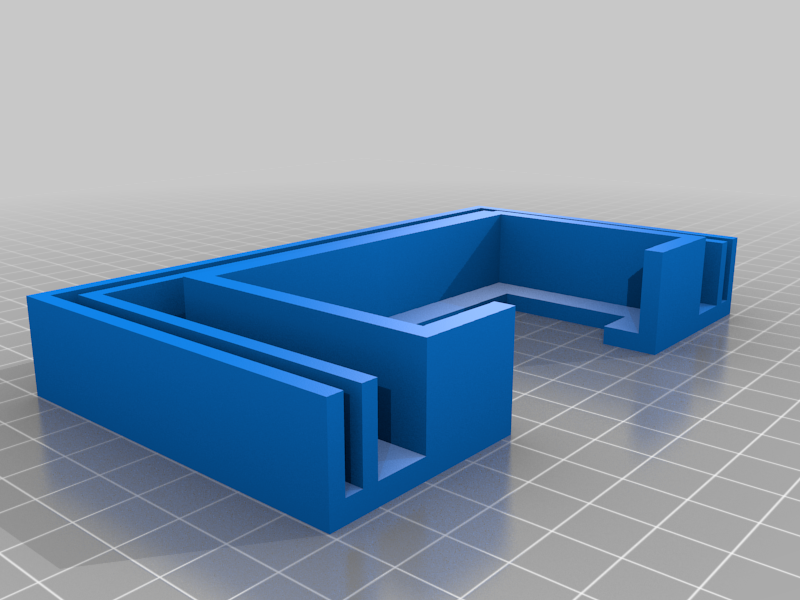
This is a laser shield I designed for use in my shop. I wanted some general protection when doing other things and the laser was running. Warning: it does not provide full coverage and is not intended to replace the manufactures suggested safety procedures. Do not use it with pets or children present. I purchased the glass at ( https://l.facebook.com/l.php?u=https%3A%2F%2Fjtechphotonics.com%2F%3Fproduct%3D445nm-laser-shielding%26fbclid%3DIwAR3FMIevMAfejYtfDhL-fmJr3Dqk1YJaOKw67jxYAt-lpFeZwf1uTEajPPY&h=AT2YjPOtrCgi5JAzw8TWAYp2Zm-3ZuKLpuaBU1D9otRU74rB-3V8Boa65RMn3MdaofJ7V4wACqLlIyH__n01TUDl4V_vf8VAygcrugLQs1l8zZsm98PjAwPFbGtdJT51HOlJ&__tn__=R]-R&c[0]=AT0b_QC-cRdcpPGdPI_tnanvMVRjy6CFBsv6rjUNR4V-gC0XFQoQyuWpZ7T0vVZm5kZ2jNtrBkjZNsh4q_T3atpniO2xehV7dtaWCHkpk7XZ1165T0bKFC8JLy8cSCKLbFh80RDWvr8RBVDqdv5KWNO8oGQXO1fe9Ea-kZz9rWuGTwHmeFZlYwHAGyt7Q6SZNGvh4SljizYpfHlN3iI6W668glzRkg ) After printing you will need (1) 1/8" x 100mm x 131mm and (2) 1/8" x 100mm x 69mm pieces of glass. Place the bigger piece in the front slot. Drill 2 holes through the glass using the holes in the shield as a guide. I used hot glue to then fill the holes and lock the glass in place. You could also use silicone but it will take longer to set up. Do the same for the two sides. The guard is a press fit onto the module. If it is too low for and item your burning just don't push it all the way down.
With this file you will be able to print Snapmaker Laser Shield with your 3D printer. Click on the button and save the file on your computer to work, edit or customize your design. You can also find more 3D designs for printers on Snapmaker Laser Shield.