Snowflake Symmetry
thingiverse
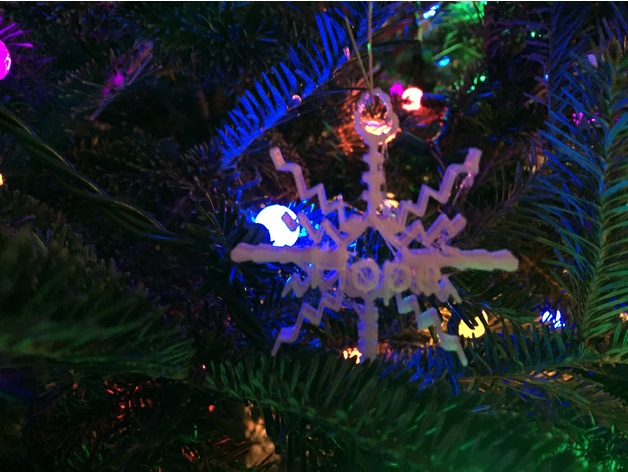
Students will be immersed in a comprehensive unit on symmetry before tackling this lesson, which combines 3D printing and the study of symmetry. This lesson serves as a culminating assessment where students create their own snowflakes to demonstrate their grasp of symmetry, with the option to design using various programs. Print Settings: Printer Brand: MakerBot Printer: MakerBot Replicator (5th Generation) Rafts: Yes Supports: No Standards: CCSS Overview and Background: Students will create their own snowflakes to showcase their understanding of symmetry. They will be able to explain how their snowflake is symmetrical. Step 1: Understanding Symmetry https://youtu.be/W4oPWaNxp14 Students will learn about symmetry, then apply this knowledge to design a snowflake. Lesson Plan and Activity: Step 2: Using Morphi See the video tutorial on drawing tools. Extension - add a word to your snowflake. Step 3: Using Snowflake Maker website, jpeg to svg converter, and Tinkercad Step 4: Printing the Snowflakes Step 5: Extensions Art - After printing the snowflakes, students can create dioramas or a showcase of different lines of symmetry. Morphi Creation Make a Flake Website Option - First Step Materials Needed Clear filament Morphi app for iPad or Tinkercad
With this file you will be able to print Snowflake Symmetry with your 3D printer. Click on the button and save the file on your computer to work, edit or customize your design. You can also find more 3D designs for printers on Snowflake Symmetry.