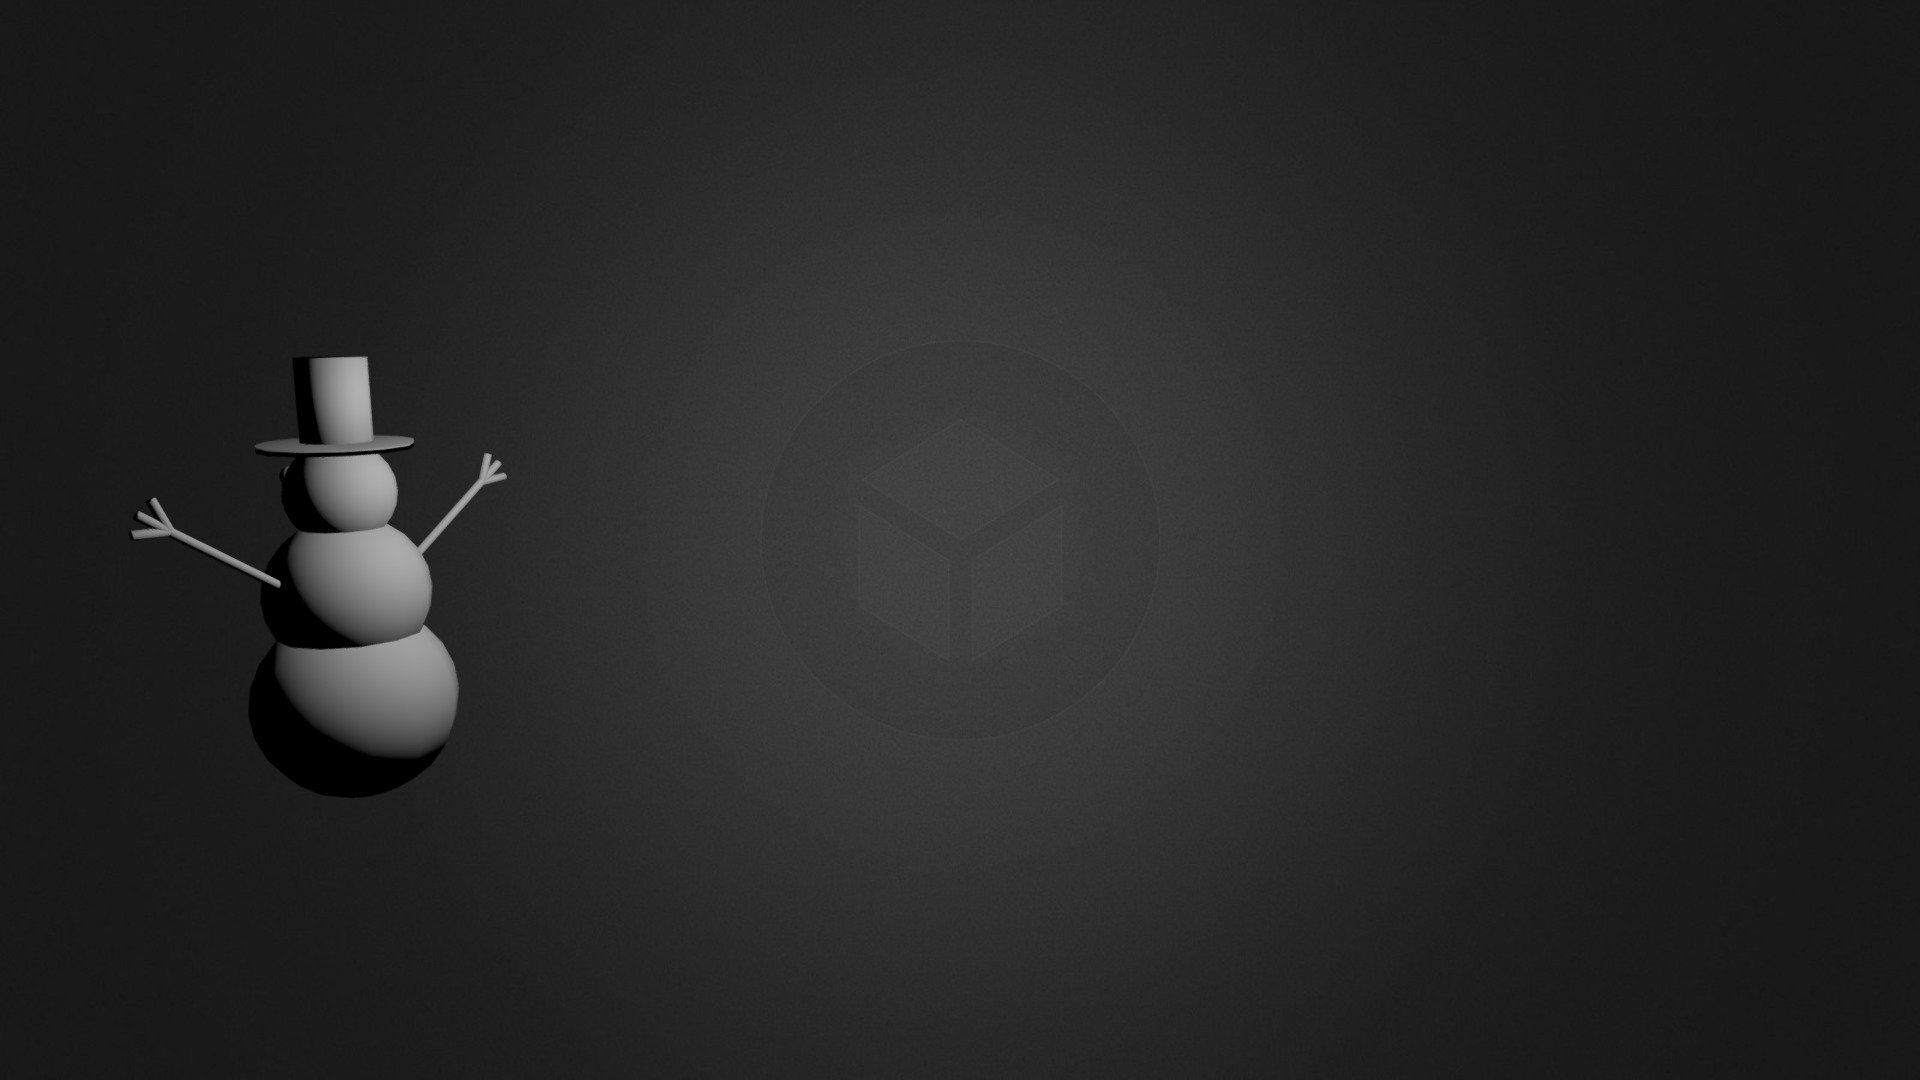
SnowMan
sketchfab
Establishing a Basic Snowman Structure within Blender's Interface To rapidly configure a snowman model using Blender's intuitive tools, start by accessing the application and selecting the "Cube" object from the default options. Next, duplicate this cube twice to create a base and middle section for your snowman. By employing the "Ctrl+D" keyboard shortcut or navigating to the "Object" menu and choosing "Duplicate," you can quickly replicate the initial cube. Position these newly created cubes beneath each other, ensuring they form a stable foundation for your snowman's structure. You can use Blender's 3D viewport to align them visually or employ precise measurements using its measurement tools if required. Now that the base and middle section are in place, you're ready to add the final detail: the head of your snowman. Duplicate the initial cube once more and position it atop the existing structure. This will complete the essential components necessary for a basic snowman model within Blender's creative environment.
With this file you will be able to print SnowMan with your 3D printer. Click on the button and save the file on your computer to work, edit or customize your design. You can also find more 3D designs for printers on SnowMan.