Snowman with a lantern
prusaprinters
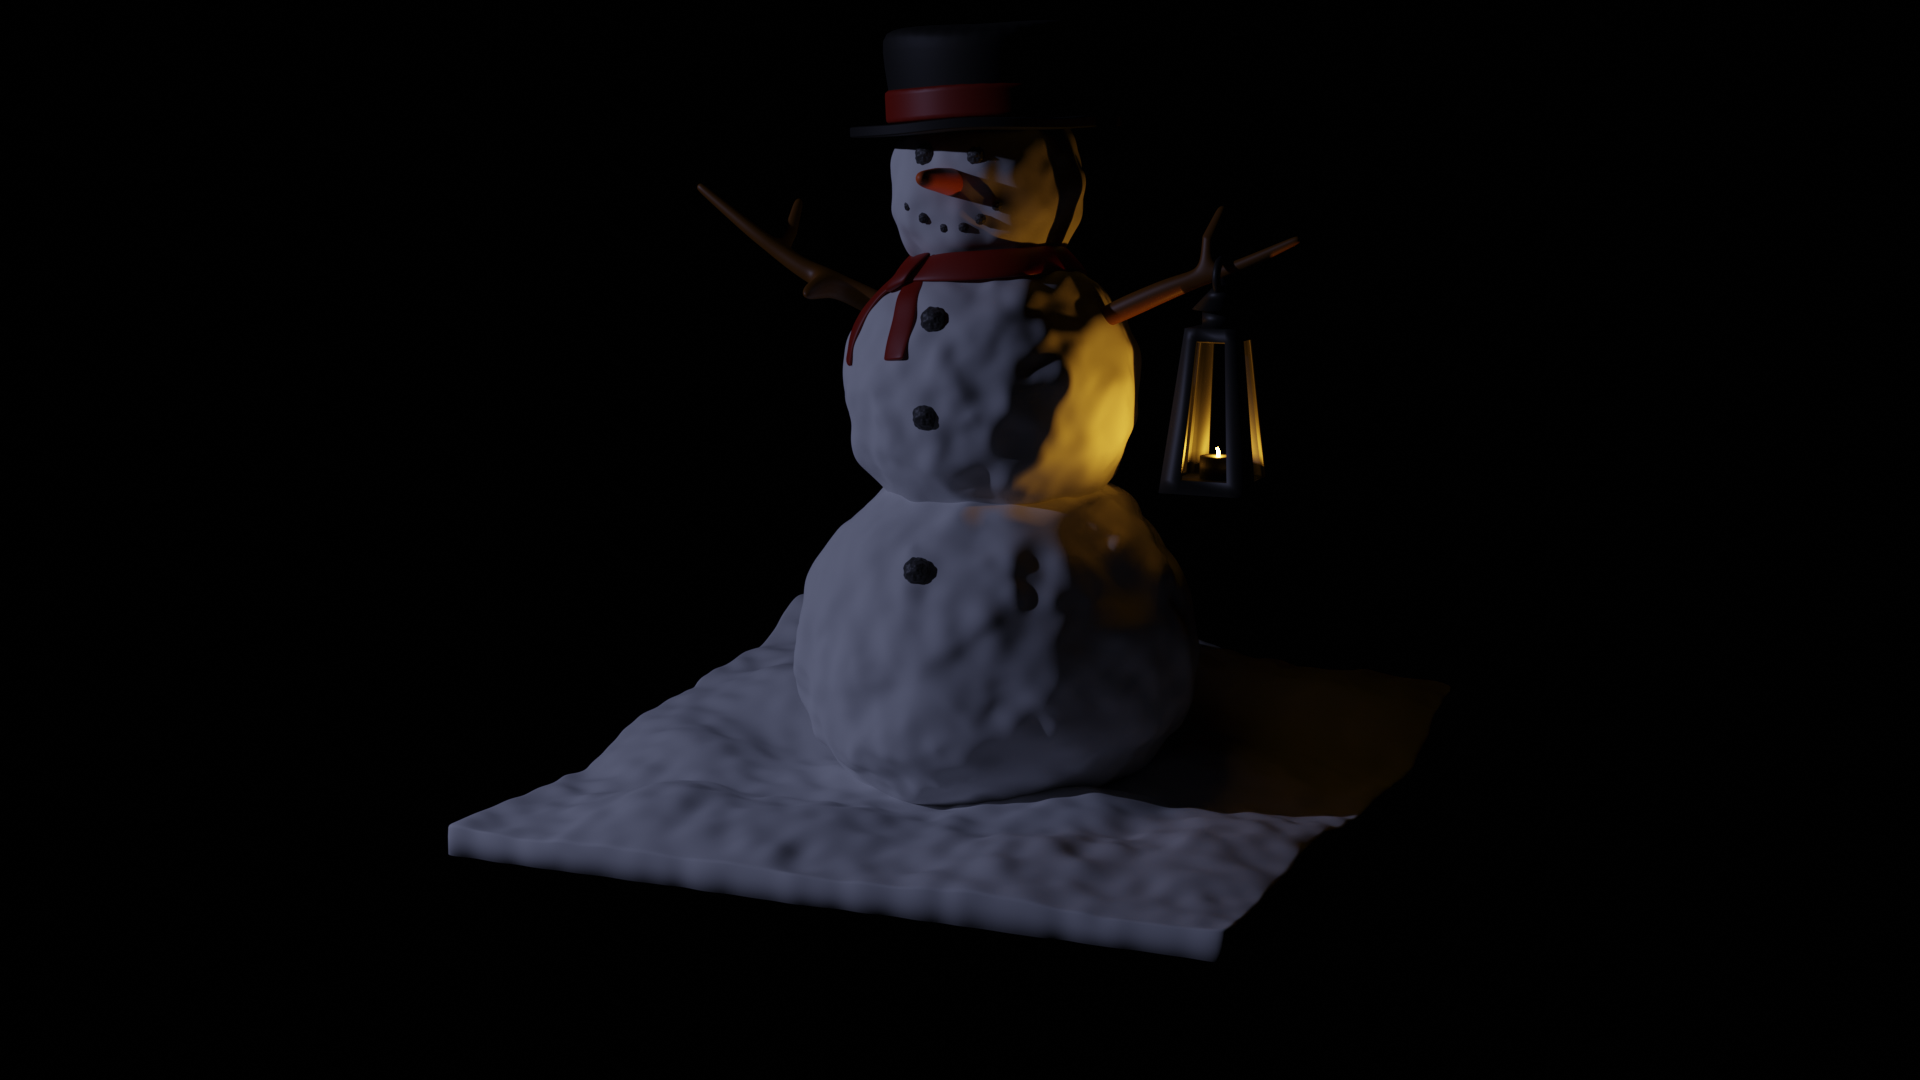
<p>Just a snowman with a USB-powered lantern. It's designed to be printed in two parts, with supports enabled. I printed the snowman in white PETG and painted it with acrylic paint. The lantern was printed in black ABS. The ABS and PETG was chosen because that's what i had available at the time. PLA would probably be a better choice for both the snowman and the lantern. The layer height is not that important, but i would recommend 0.15 mm for both parts. 15 % infill is enough for the snowman. The lantern should be printed with 100 % infill and a 0.4 mm nozzle or smaller. The model was designed in Blender and printed on a Prusa mini.</p><p><br><strong>Materials</strong></p><ol><li>Paint, e.g. acrylic paint</li><li>1 mm steel wire</li><li>1.5 mm drill bit</li><li>Superglue</li><li>Small LED, e.g a 1206 SMD LED or a 3 mm LED</li><li>Soldering iron & solder</li><li>Thin white translucent paper, e.g. parchment paper</li><li>220 Ohm resistor</li><li>Heat shrink tubing/electrical tape</li><li>Two cable ties</li><li>Cable with a USB connector at one end</li><li>Thin electrical wire, e.g. enameled wire<br> </li></ol><p><strong>Assembly instructions </strong></p><ol><li>Paint the snowman in whatever way you want. </li><li>Drill a 1.5 mm hole through the top of the lantern, horizontally</li><li>Place the 1 mm steel wire through the hole in the lantern and bend it so that it forms a ring.</li><li>Solder the thin electrical wire to the LED and glue it to the inside of the lantern so that the LED is suspended in the middle of the lantern. Let the thin wire exit through one of the sides of the lantern. </li><li>Glue the paper to the sides of the lantern, this can be rather finicky.</li><li>Hang the lantern off the left arm (using the steel wire ring) of the snowman and fix it in place with a drop of glue.</li><li>Glue the thin electrical wire along the arm of the snowman and then down the back of the snowman. Thread the wire through the hole in the base into the cavity in the bottom.</li><li>Solder one leg of a 220 Ohm resistor to one of the thin electrical wires. </li><li>Pull the USB-cable through the larger hole in the base of the snowman. Put heat shrink tubing the individual wires of the USB-cable. If you use electrical tape instead, then apply it as described in step 12.</li><li>Test which way around the USB-cable should be soldered to the other leg of the resistor and thin electrical wire by connecting the USB-cable to a USB power source and testing which way around makes the LED light up.</li><li> Solder one wire of the USB-cable to the other leg of the resistor, and the other wire to the thin electrical wire that leads to the LED, making sure that the polarity is the same as in the previous step.</li><li>Test that the LED lights up, and then slide the heat shrink tubing over all the exposed connections, and shrink it. If electrical tape was used, wrap it around all the exposed connections.</li><li>Put a cable tie over the USB, cable on the inside of the base of the snowman, and on the outside. It should form a primitive strain relieve that prevents the cable from being pulled out of the base of the snowman, or pushed further into the base of the snowman.<br><br>This is the first model that I publish, so please comment if any information is missing or if something is unclear!<br> </li></ol>
With this file you will be able to print Snowman with a lantern with your 3D printer. Click on the button and save the file on your computer to work, edit or customize your design. You can also find more 3D designs for printers on Snowman with a lantern.