Solar Light for 4x4 Vinyl Fence Post
thingiverse
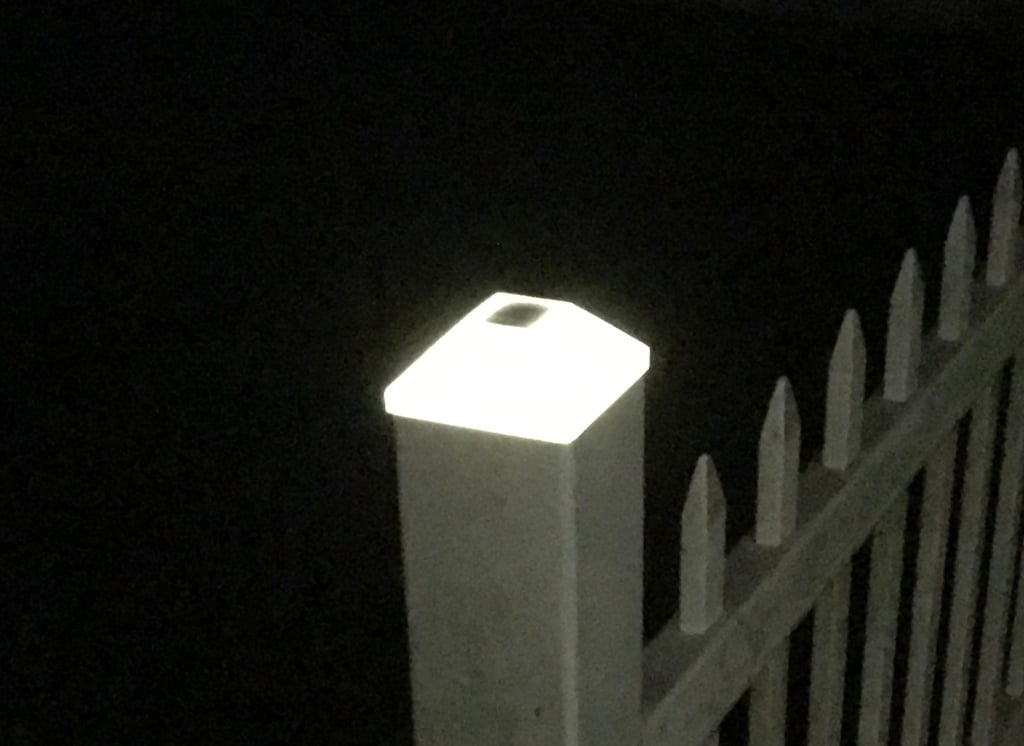
Using the guts from a $1 Dollar Tree solar light, I designed a solar light cap to go onto a 4x4 vinyl fence post. No support required as everything is at 45 degree angle including the inside overhang area that would normally need support. No soldering required as you can remove the entire guts if you carefully remove the old electronics and break the old black case to get the wires out (without needing to cut them). The terminals for the battery go into mounting slots just like the original dollar tree design. The battery sets in place between the terminals held in place by the terminal spring. The battery holds the solar panel in place too. The LED light board gets inserted into a clip that clips onto the battery. The picture is a bit misleading as it is not as bright as the picture makes it look. I designed this with the idea of using clear PLA for the first 2 layers for the window area where the solar panel is exposed to the sun and using white PLA for the rest. In my testing though white PLA for for whole thing works just as well. That window area is only 0.4 mm thick. It surprisingly doesn't loose much current going from a clear PLA window area to just using white PLA. Print 1 clip and one solar light for each of the solar lights. There are 2 versions. - BatteryTerminal_8.01_Wide: -- For older versions of the dollar tree solar light that have smaller battery terminals. They are around 8.01 mm wide. - BatteryTerminal_9.65_Wide: -- For newer solar lights from dollar tree that have wider terminals. They are around 9.65 mm wide. For assembly, After the print, First put the solar panel in place.The solar panel mount area has one side with a lip to hold it in place. The other side doesn't have anything to hold it in because the battery when mounted does that. Next, slide the battery terminals into the mount points for them (similar to how they were originally in the old case). You then put the battery into place. After that, mount the charge board from the old electronics into the clip holder that I designed for it. There is a little bulge in the clip holder that coincides with the hole where the screw used to go into the circuit board. When you slide the board into the clip, it should sort of snap into place. You then snap the board and clip onto the battery where it will clip onto the battery holding it in place. I have also added on 2020-01-08 an aluminum foil tool so that you can use it as a template to cut aluminum foil about 3mm bigger than the tool and then use the tool to push the aluminum foil evenly up into the bottom opening. This reflects more of the light from the LED upward that would normally get absorbed by the 4x4 light post. It helps to brighten the light noticeably. You can pull the tool back out or leave the aluminum foil tool in place if you want so that the aluminum foil doesn't come out. In my experience though, the aluminum foil stays in pretty well by itself. I added notches to the solar light so that the tool will stay in place if you decide to leave it in. Before you go buying a bunch of solar lights, buy one first and make sure the solar panel and the circuit board fit the mounts. The solar panel size is critical. The board could be glued into place if it doesn't fit the mount or give me the dimensions and I might create a new clip for it. If the solar panel is a little different, I might have time to change the dimensions on the mount to fit the new panel if you give me the dimensions with a caliper (Width, Height, Thickness). I am hopeful that the solar panels and circuit board are pretty standard size, but I really don't know as I only have the dollar tree solar lights that I bought locally. Please provide feedback so that I know how different they are around the US. I don't know if the dollar tree lights are available in other countries Dimensions of the solar panel that are in the lights that I bought are 35.7 x 29.7 X 3.23 mm The LED/charger circuit board wafer dimensions that are in the lights that I bought are 10.7 x 18.7 x 1 mm You can use the TestDimensions.stl file to test your extrusion to make the solar pane fits in before printing the entire thing. I put tolerance to the dimensions so that the panel and battery terminals will fit the model. You should be able to adjust your extrusion multiplier or flow to get it to fit if it is a little too tight... as long as the solar panel matches the dimensions above. Dollar Tree solar light. I do not know if the internal design of the solar panel dimensions and electronics are consistent or not. I only know that the local lights that I bought were consistent. If you get one with different solar panel dimensions, let me know. https://www.dollartree.com/garden-collectiondiamond-textured-black-solar-stake-lights-14-in/302600 I got the idea to use a dollar tree solar light for a fence post from CHEP on youtube. And yes... I need to clean my vinyl fence :). 2020-03-08 - Updated to v18 with rounded corners to reduce curling with PLA that curls up on the edges when printing the top section. Rounded the other corners too to make it consistent and match the vinyl siding rounded corners. - Added an aluminum foil tool to make it easier to put aluminum foil on the inside to help with reflecting the light back up toward the top instead of some of the light being absorbed by the internal 4x4 post. Cut notches into the light so that you can leave the tool in place if you want to. 2020-02-20 - 2 versions are included now. Newer versions of the light have a wider battery terminal than the older ones. 2020-02-19 - Increased inside solar cell area by 0.1 mm to give it a little more room 2020-02-15 - Initial release
With this file you will be able to print Solar Light for 4x4 Vinyl Fence Post with your 3D printer. Click on the button and save the file on your computer to work, edit or customize your design. You can also find more 3D designs for printers on Solar Light for 4x4 Vinyl Fence Post.