Solar Tracker - Solar panel sunflower
thingiverse
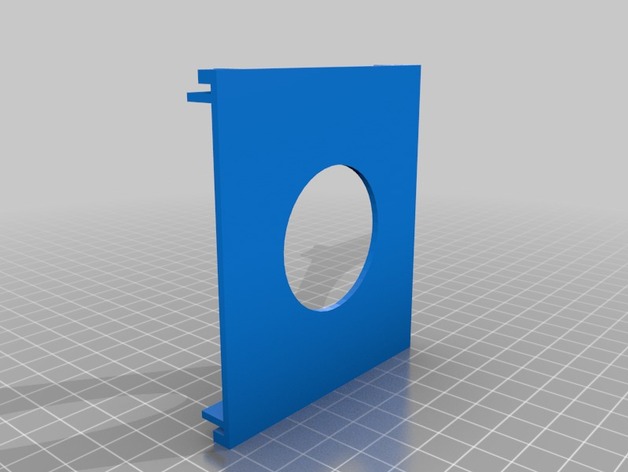
This is a mount for this solar panel (http://www.amazon.com/gp/product/B008DFW1WE/ref=oh_details_o03_s00_i00?ie=UTF8&psc=1) which has the mounts for 4 photo resistors on each corner. The aim is reproduce this solar tracker (http://www.instructables.com/id/Arduino-Solar-Tracker/) but use it for a solar panel, kinda sun-flower. Great for outdoor/offgrid projects, check mine at http://plaqueteros.blogspot.com.ar I added a onmigraffle file explaining the piece, its in spanish. Instructions With this thing, you are good to go: 1)Drill the holes for each photoresistor, I used a dremmel with a 1mm bit, I did them slow, as not to melt the plastic. 2) Place the 4 Photo resistors (check later that both ends are not touching each other) 3) Wire the 4 photo resistors according to the instructable link. 4) Place the Solar panel in the middle place the cable through the hole. Feel free to contact me for further detail, until today (Feb 13th 2014) whole project is not completed, solar mount 3d printing is completed. check my blog for further information in the future.
With this file you will be able to print Solar Tracker - Solar panel sunflower with your 3D printer. Click on the button and save the file on your computer to work, edit or customize your design. You can also find more 3D designs for printers on Solar Tracker - Solar panel sunflower.