Soldering Iron Powered Filament Joiner - Make Multicoloured Parts
thingiverse
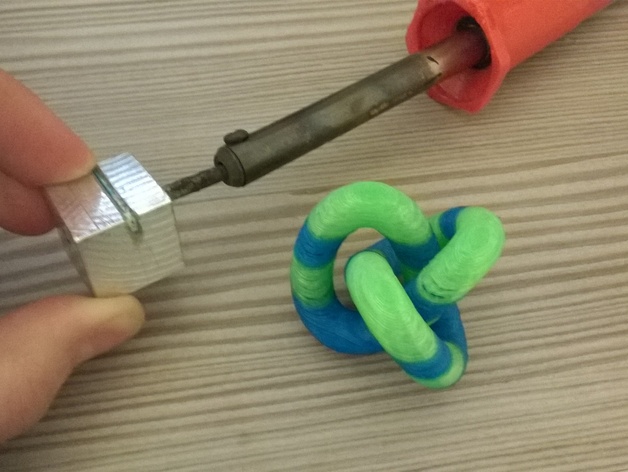
I machined this out of scrap aluminium, and friction fitted it onto an old soldering iron bit. Easy to make with a drill and hacksaw though! If anything, this part a little bit big. All you really need is the angled surface to press the two bits of filament together, and a hole to ram the soldering iron in. To use, press the two filament parts together where the two channels join, then smooth the filament around while still hot in the groove. Remove the joined filament and carefully roll the junction between your fingers. Use side-cutters and / or sandpaper to clean up the joint. You shouldn't be able to feel the junction significantly if it's done right. You might get a blockage at your cold end if the joint is too wide. If this happens, pause the print, back it out, cut out the joint and reload filament. Instructions I used a CNC mill and a scrap piece of aluminium from my university machine shop. No precision equipment is needed, you could easily knock one of these together with a hacksaw. The channels are the main part to get this to work. Improved designs could use set screws to hold the iron in.
With this file you will be able to print Soldering Iron Powered Filament Joiner - Make Multicoloured Parts with your 3D printer. Click on the button and save the file on your computer to work, edit or customize your design. You can also find more 3D designs for printers on Soldering Iron Powered Filament Joiner - Make Multicoloured Parts.