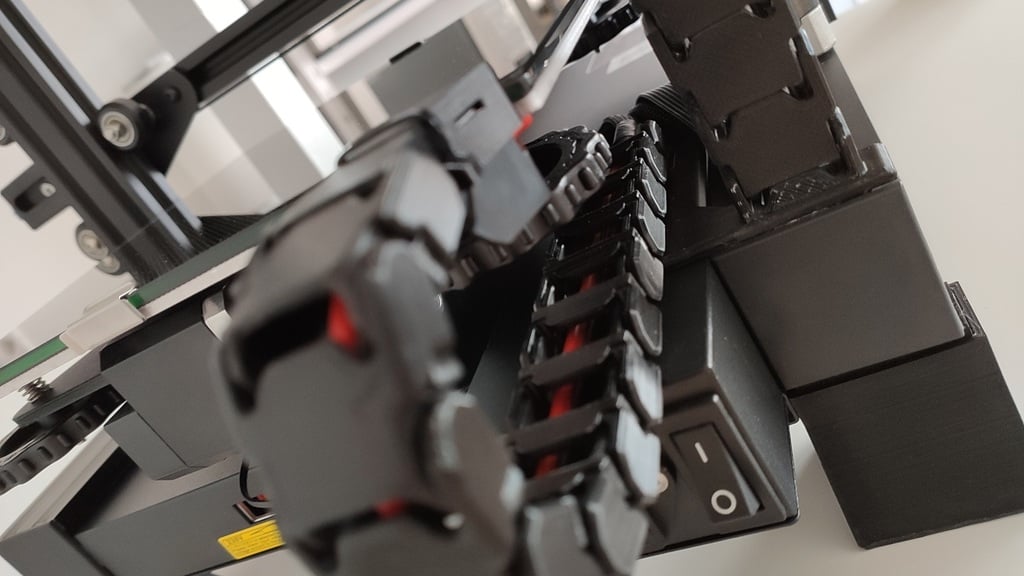
Solid Ender 3 V2 Cable Chain mount for Y/Z axis with rerouted cables
thingiverse
Update at 2021-07-04: I added the new mounting option "X-Axis_Upper_Mounting.stl" for everything that goes to the X-Axis. For a long time I used [this mount next to the Z spindle](https://www.thingiverse.com/thing:4642235) by [snifflezz](https://www.thingiverse.com/snifflezz) which was really nice. Today I remixed it (well, basically it was a total redrawing). The reinforcing structure is now on top (no more support during the print required). I shortend it by 12mm to reduce the lever arm. Maybe it collides now with the extruder motor (which I don't have -> direct drive setup). I removed the old parts and updated the description (containing "XY-Slipon" in the file names). Update at 2021-04-01 (no April fool): In the comments [squirrelf](https://www.thingiverse.com/squirrelf) and [kaikhong](https://www.thingiverse.com/kaikhong) pointed out ways to use this design without cutting the PSU cover. Shortcut: guide the cables from the bottom over the outside ot the left side to the top. For the Y-Axis there might be another route by utilizing the upper rail on the back. Update at 2021-01-01: I split the design into two pieces. Now it is possible to place them individually and it saves some filament. I left the original design online for those who liked it (containing "XY-Slipon" in the file names). ### The Story so far... Because I kind of disassembled my Ender3v2 for different reasons I also started to thing about rerouting the cables, tape the cutout in the bottom 4040 which is used to guide the cables to the back and some other stuff. While doing this I noticed a tiny gap between the PSU cover and the 4040 rail and came up with the idea to enlarge it for a more "direct" way to route the cables and get a little bit more usable length. At this point a Dremel and a file were brought into action. Since I intended to use the printer in an Ikea LACK enclosure I had to make sure it will not crash into its housing while moving during the prints. Sadly the drag chain of the Y-Axis stuck out a bit too much at the back. The rerouted cables give me the opportunity to fix this issue. I was not aware of that btw. I attached the SketchUp files. If you want a more "tech"ish look, just move the mount even further in but keep in mind that there should be enough space for the other cables. ### Retreat! Get them inside! To fix this I just had to move the lower mounting point of the drag chain closer to the new cable lead-through. So I grabbed [YucA305](https://www.thingiverse.com/yuca305/designs)'s [Drag_Chain_YZ_Slipon.stl](https://www.thingiverse.com/thing:4648673), put it into SketchUp Online, used the STL as a mask for sizes and alignment, simplified the model a bit and created a version that was just right for my needs. ### The two towers (or versions) New new parts can be used independently. There is one for the lower part of the Y-Axis which guides the cables to the heatbead. For the upper part you still need "Y_axis_chain_connector.stl" provided by [the remix source](https://www.thingiverse.com/thing:4316238/files). The other two things are for the X-Axis. One for the lower part and one for the upper part. Instead of using my "X-Axis_Upper_Mounting" that attaches to the Z spindle you can use "Z_axis_stepper_connector.stl" from [the remix source](https://www.thingiverse.com/thing:4316238/files) which attaches to the extruder motor. While installing the drag chain I recommend to remove the mesh stocking. It causes horrible noise when being in the chain. ### Credits (to the fellowship of drag chains) [YucA305](https://www.thingiverse.com/yuca305/designs) did a solid job with his remix which I used for some time to mount the drag chains of [diogosantos88](https://www.thingiverse.com/diogosantos88/designs) and the additionals made by [tobi0892](https://www.thingiverse.com/tobi0892/designs). [snifflezz](https://www.thingiverse.com/snifflezz/designs) made a mount for Y-axis that works great for those who use a direct drive setup. Thanks to all of you. You did an awesome job <3 By installing a Micro-Swiss Direct Drive (with all-metal hotend) there are a few differences to a "normal" Ender3v2. Especially (of course) at the X-Axis. Time will tell the rest of the story.
With this file you will be able to print Solid Ender 3 V2 Cable Chain mount for Y/Z axis with rerouted cables with your 3D printer. Click on the button and save the file on your computer to work, edit or customize your design. You can also find more 3D designs for printers on Solid Ender 3 V2 Cable Chain mount for Y/Z axis with rerouted cables.