Solidoodle "Slop Nut" - Fixes Z-Banding
thingiverse
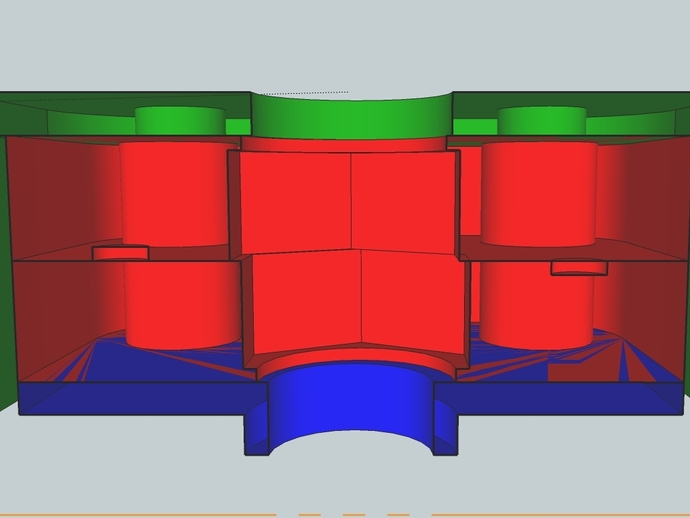
UPDATE: 5/16" Aluminum bed setup has been fixed in customizer. The operation currently being tested includes the use of the original boss nut. Please do not remove your boss nut unless you are a competent technician capable of repairing any unexpected problems. Make sure your print 2 of these sets before doing any unreversable modifications. This is a design that I came up with after seeing some slight banding still in my prints even after doing the M5 threaded rod upgrade. The idea behind how this works is that we want to let the rod go where it wants to go in the X and Y axis without letting it affect the position of the bed. We do this by encapsulating the nut in a low friction "wobble space". This space allows the nut travel space in the X and Y but not in the Z axis. All this results in little to no movement in the bed even when the threaded rod is slightly bent or off center. Full documentation of this project can be found on the soliforums.http://www.soliforum.com/topic/2727/fix-zbanding-without-caring-about-backlash-slop-nut/ The 5/16" kit only uses one nut currently. This may be altered in the future but will required longer hardware to accomodate. All the current files use the stock solidoodle hardware for mounting. http://www.youtube.com/watch?v=oOce33y1E44 Instructions Use the customizer to select with bed you have and what size rod you are going to use this for. http://www.soliforum.com/topic/2727/fix-zbanding-without-caring-about-backlash-slop-nut/ Please view the forums for full instructions.
With this file you will be able to print Solidoodle "Slop Nut" - Fixes Z-Banding with your 3D printer. Click on the button and save the file on your computer to work, edit or customize your design. You can also find more 3D designs for printers on Solidoodle "Slop Nut" - Fixes Z-Banding.