Solve a Problem
thingiverse
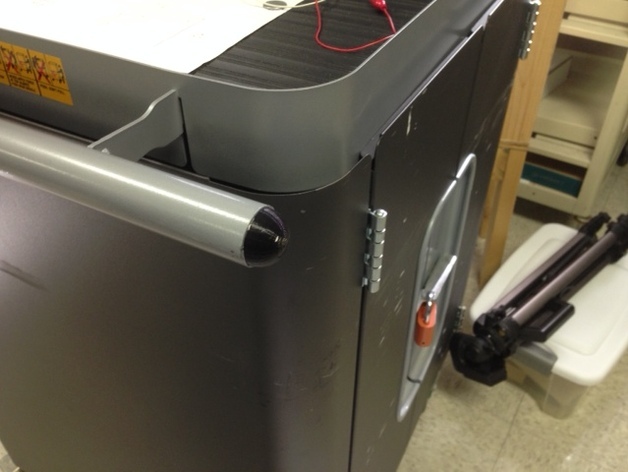
This is a collection of things that represent replacement parts for missing or broken things. These were either created by remixing other models or by creating from measurements of existing parts. I brought these previously published designs together here as an example of a project that could be done with students. Print Settings Printer Brand: MakerBot Printer: MakerBot Replicator Rafts: Doesn't Matter Supports: No Notes: Specific settings, of course, depend on the particular part you are making. How I Designed This Create a Thing Bretford iPad Cart Knob This ended up being a little more complicated than I originally thought. My first attempt looked remarkably like the original part to be replaced, but it failed utterly. I'll explain more below. Step One is to take good measurements. While you can use a ruler for this, I would recommend digital calipers. I use a cheap set. I know this might not be the most precise tool, but for what I and my students need it is more than enough. The next thing to consider is that 3D printing has different advantages and disadvantages when compared with traditional manufacturing. The original part (pictured below) is hollow. This means the part uses less plastic and will be cheaper to manufacture. Original Part I mimicked this part fairly well in my first attempt. However, it didn't even make it back on its first trip out on the iPad cart. The inherent weakness caused by the layers in FDM printing meant it was destined to break. It sheared off even with the handle the first time it hit a wall or door jam. There is no need to make the replacement a carbon copy of the original. 3D printing has different advantages and disadvantages. It is important to keep these in mind when designing a part. In this case, I needed to redesign the cart knob to be stronger and more durable. Create a cover for Canon Camera Body This project involves remixing a macro extension tube to create a cover for a Canon camera body. Students will learn how to use Tinkercad to create models for 3D printing and how to evaluate designs to make improvements. Objectives Students will be able to create and print a basic 3D design. Students will be able to evaluate a design, either their own or one they’ve found, and make improvements. Audiences This is a project that could be done by students at many levels. It is suitable for engineering, general tech class, and other subjects where students are learning about technology and design. Skills/Standards NGSS Science and Engineering Practices: Asking questions and defining problems Constructing explanations and designing solutions NGSS Core Ideas: Engineering, Technology and Applications of Science ETS1.A: Defining and Delimiting an Engineering Problem ETS1.B: Developing Possible Solutions ETS1.C: Optimizing the Design Solution Lesson Plan and Activity Introduce students to Tinkercad and give them a brief overview. Something similar to the video below. Have students play and create an interesting thing. I typically have students skip the Tinkercad tutorials and dive right in. Share a couple of the students’ creations with the class and talk a bit about the capabilities and limitations of 3D printing. Would these designs be printable? Would support be required? Should it be printed in multiple parts and then assembled? Introduce the Assignment. Design a part to solve a problem. This can be to fix something broken, redesign an existing thing to make it better, or make a new thing that in some way makes life easier. Send students home to find a problem Break students into groups of 2-3 and have them help each other design solutions. Students use Tinkercad to create models for 3D printing. Print, test model, and share with class for input. Students refine or re-design their models to make improvements. Re-print, test and make improvements as needed. Duration One class period to introduce and create a sample thing in Tinkercad One class period to share designs, discuss 3D printing, and introduce the assignment. Try to work in a weekend so students have time to find a problem to solve. One class period for students in groups of 2-3 to measure, plan, and sketch ideas. 1-2 class periods to create models in Tinkercad for printing. One class period for testing and demonstrating to the class. 1-2 class periods to improve on or re-design their objects.
With this file you will be able to print Solve a Problem with your 3D printer. Click on the button and save the file on your computer to work, edit or customize your design. You can also find more 3D designs for printers on Solve a Problem.