Sonicare HX6100 Wall Mount - Double-sided Tape
thingiverse
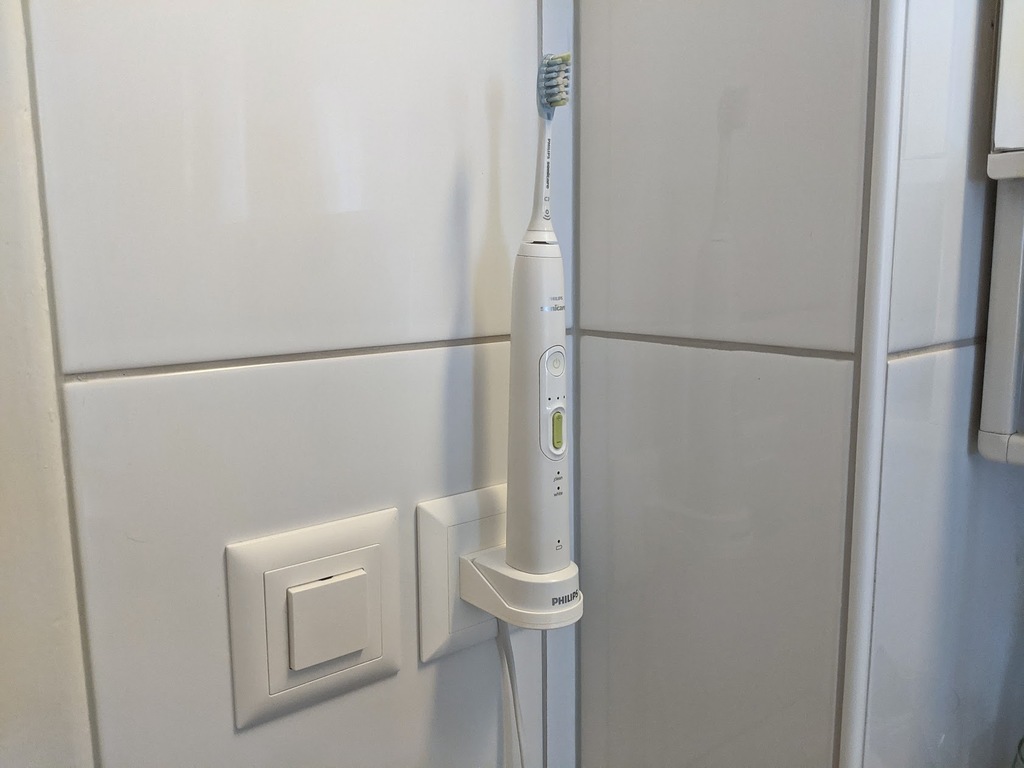
This is a remix of [thing:1118084](https://www.thingiverse.com/thing:1118084) by [Roy Edwards](https://www.thingiverse.com/endar). This is a **wall mount for Philips Sonicare HX6100 chargers**. It's intended to be mounted to a wall or tiles using double-sided tape such as 3M VHB and resembles a Feller light switch to blend in nicely. Note that this is the EU charger version but a US charger probably fits too. You can remix this using the STEP files in the downloads section or directly [edit in Onshape CAD](https://cad.onshape.com/documents/d7929b1b81bab2cd3d00e32b/w/819d6727f4b1629fc0cef698/e/6841ce3391f7a93d22290836). ### Additional Hardware - 2 x M3 brass insert 5mm to 7mm long - 2 x M3x10mm screw (8mm probbaly works too) - Double-sided tape  ### Printing It is recommended that you print with very high detail at **0.1mm layer height** in order to get a smooth finish. Especially the the plate because it has a curve. You can use 0.2mm for the holder but 0.1mm obviously looks nicer. Use 3 or more perimeters to support the screws and 10% or more infill. You can print this in what ever material you like. PLA is strong enough for this.  ### Post Processing & Assembly - Clean out the holes of the holder with a 3mm drill bit. - Expand the holes on the plate for your brass inserts if they don't fit. I used a 4.5mm drill bit. - Insert the brass inserts using a soldering iron. Set the soldering iron temperature to approximately your printing temperature. - Screw the holder on to the plate using the M3 screws. - Apply double-sided tape to the back of the plate and mount it to the wall. - Thread your charger's power cord through the holder from the top and seat the charger in the holder.  
With this file you will be able to print Sonicare HX6100 Wall Mount - Double-sided Tape with your 3D printer. Click on the button and save the file on your computer to work, edit or customize your design. You can also find more 3D designs for printers on Sonicare HX6100 Wall Mount - Double-sided Tape.