Sparkcube XL E3D V6 Cooling-Assembly + Mount + Part Cooler
thingiverse
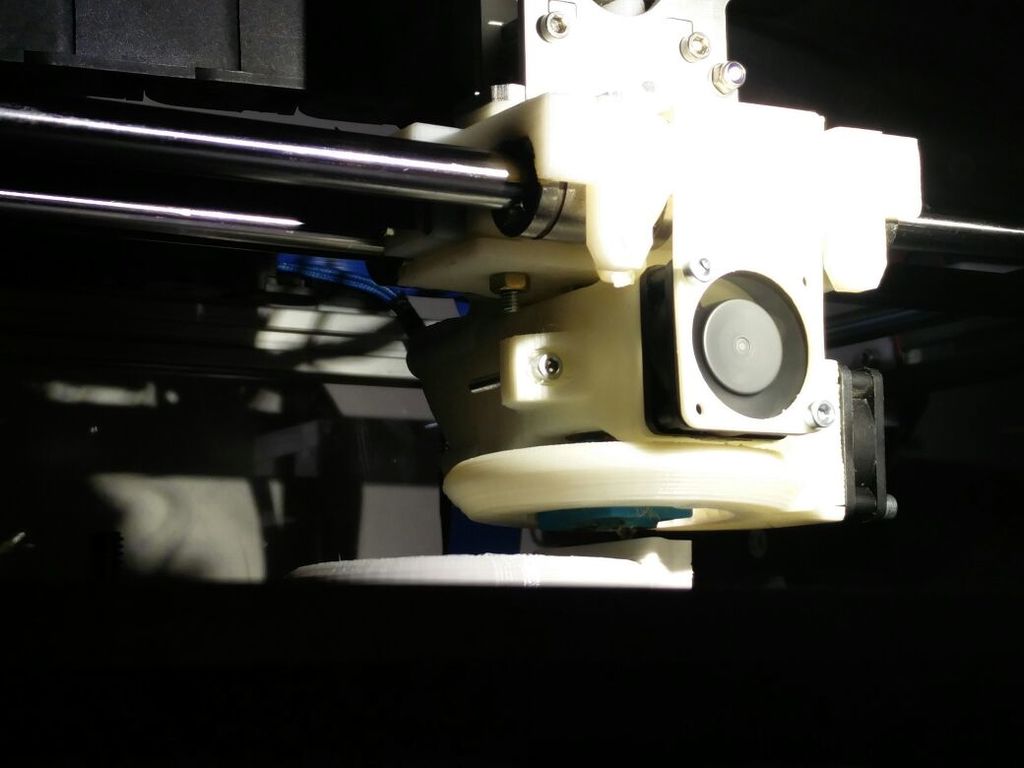
I made a redesign of the parts, specifically for a friend who owns an E3D V6 Full Metal hotend in a Sparkcube XL 2017 design. They had issues with the original cooling fan design and its inadequate cooling effect. To address this issue, I created a fast re-design without fine-tuning it (some corners and edges appear slightly sharp), but it works as intended. If I had more time, I would have designed the partcooler with 4 mounting screws for added stability. However, I did design and upload version V2, which features larger bores for M3 screws and a deeper Partcooler setup. This design has not been tested thoroughly. The Hotendcooler/Mount is a re-design of Skimmy's parts, while the Parts-cooler is based on Middleman Part's design. The pictures shown are courtesy of my friend, who will provide better detailed images in the future. Some minimal support material may be required during printing due to the design constraints. Unfortunately, I couldn't find a way to create a support-free design. Important: The Heatblock of the hotend must be completely covered with Kapton tape or Silicone to prevent damage to the printed parts and potential fires. The redesign is modular in nature, allowing for various configurations. The first combination includes: * Fan-Carrierclamp * A 30x30x10mm fan (similar to those delivered with E3D V6 hotends) * Airduct Part A (interchangeable with Part B, featuring a screw or nut connection) * Airduct Part B * Airoutlet * Partcooler The second combination adds: * A larger fan (optional) * Fan adapter (example: https://www.thingiverse.com/thing:21112) * Fan-Carrierclamp * Fandummy 30x30x10mm * Airduct Part A (interchangeable with Part B, featuring a screw or nut connection) * Airduct Part B * Airoutlet This system is designed to work in conjunction with the redesigned mount for the Hotend. All M3 screws used for mounting are secured with M4 screws.
With this file you will be able to print Sparkcube XL E3D V6 Cooling-Assembly + Mount + Part Cooler with your 3D printer. Click on the button and save the file on your computer to work, edit or customize your design. You can also find more 3D designs for printers on Sparkcube XL E3D V6 Cooling-Assembly + Mount + Part Cooler.