SparkFun Decade Resistance Box
thingiverse
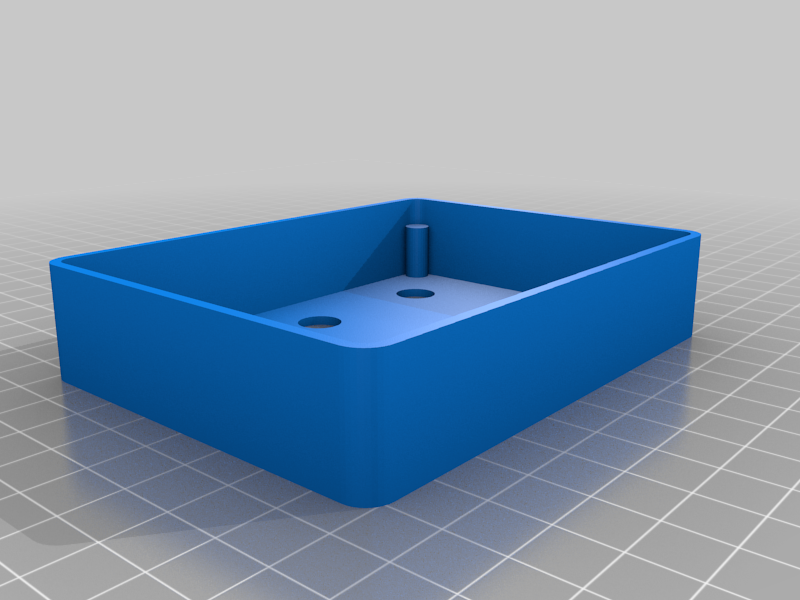
Having had this PCB sitting on my desk for years; I finally decided it’s time to “box it up!” I used Fustion360 to model the PCB dimensions into a minimal enclosure. Note the Sparkfun kit makes room for the terminals to come out the top. I wanted my terminals to come out the side. I chose to model this with NO holes for the terminals, leaving for the end user to drill holes in the location they prefer. Simple print that fit on the first iteration. When does that ever happen? Anyway, print both the top and the bottom. Insert the PCB and install the mounting nuts, provided with the PCB. The PCB corners should be sitting on the corner pillars. After the PCB is secured, place a dab of hot glue or super glue in each corner and snap the two pieces together. I put a drop of super glue on each corner of mine and it’s held solid. Enjoy!
With this file you will be able to print SparkFun Decade Resistance Box with your 3D printer. Click on the button and save the file on your computer to work, edit or customize your design. You can also find more 3D designs for printers on SparkFun Decade Resistance Box.