Sparrow Glider
thingiverse
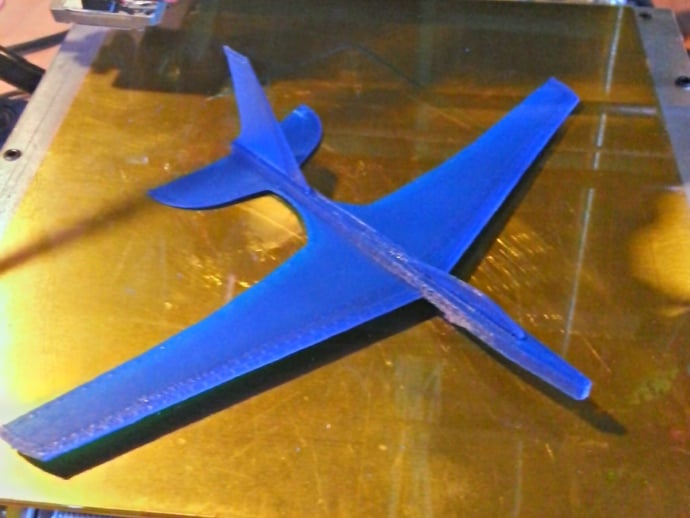
The Sparrow is an improved version of my older planes, featuring enhanced stability and a high energy launch capability. For better gliding experience, check out the Super Stratos at thingiverse.com/thing:97803. To design amazing 3D prints, refer to my books Functional Design for 3D Printing and Zombie Apocalypse Guide to 3D Printing on Amazon. You can also find more of my models on Thingiverse and threedsy.com. The Sparrow is designed for smooth printing with a layer height of .15mm and requires adjustments in first layer settings. It's recommended to use ABS filament, 2 perimeters, 2 solid layers, and 30% rectangular fill. For the launcher, print it using 3 perimeters and scale it according to your preference. Safety glasses are advised during flight as the plane is small and may return at high speed. Adjusting wing dihedral and elevators can improve flight stability. Additional weight can be added for longer flights or more stability. Avoid side-slip drag by using the rudder only to align the fuselage with the direction of flight, and tweak elevons for desired flight profiles. Experiment with different materials and layer heights for optimal results. Please share your findings!
With this file you will be able to print Sparrow Glider with your 3D printer. Click on the button and save the file on your computer to work, edit or customize your design. You can also find more 3D designs for printers on Sparrow Glider.